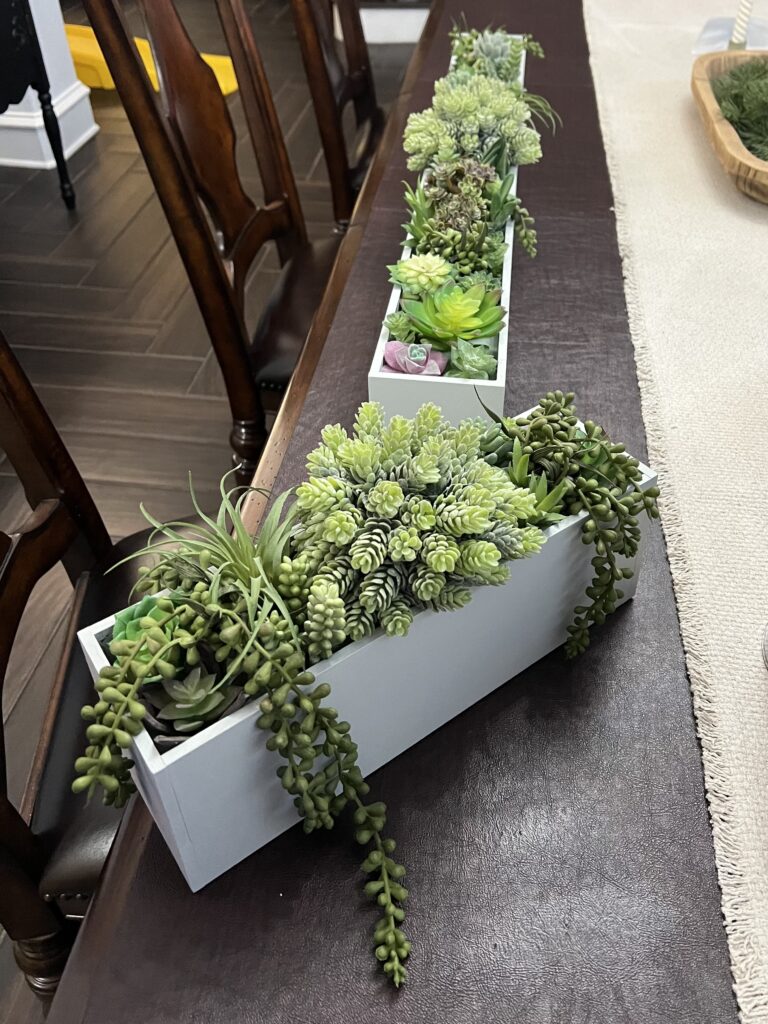
I am all about simple projects that make a big impact. My friend was in need of some decor and sent me a picture of a faux succulent planter with a $371 price tag (yes, almost $400) and asked if I knew where she could find one for cheaper. I said, “Yes! With me! I can make you one for a fraction of that price!” Side note: I originally planned on making it 48″, realized it was too long and cut it down to 36″ plus a smaller 12.5″ one. Here is how I made this fancy faux succulent planter on a budget.
*This post contains affiliate links. Please see full affiliate disclosure here.
Supplies:
- 2- 48″ poplar hobby boards (You can purchase them in shorter lengths, if needed)
- 1 – 24″ poplar hobby board (For ends if needed)
- 1×4 pine for the base (You can use scrap wood for this too)
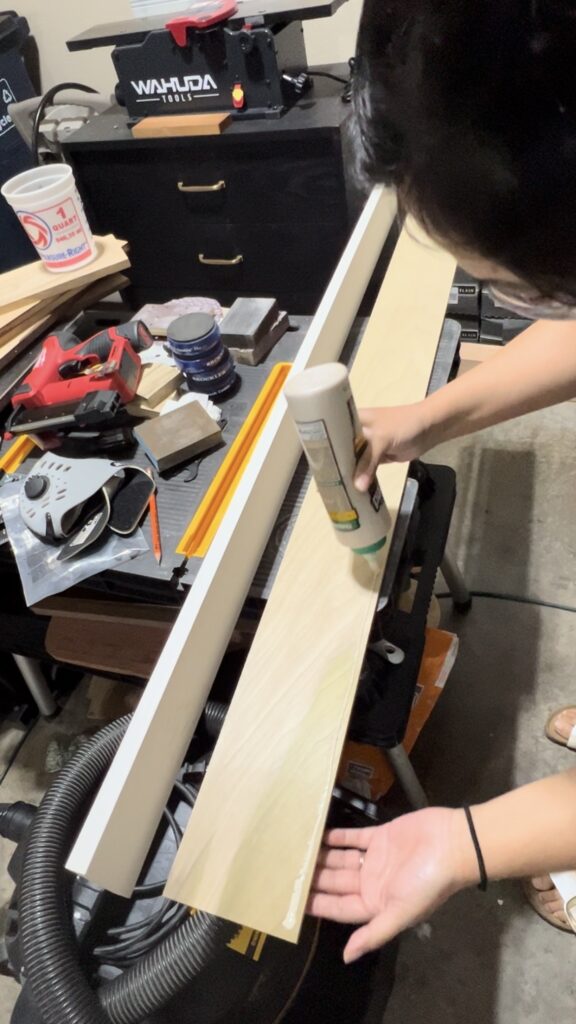
- Wood Glue
- Sanding block or Sander
- Paint of choice
- Small Foam roller kit
- Dry Foam Blocks
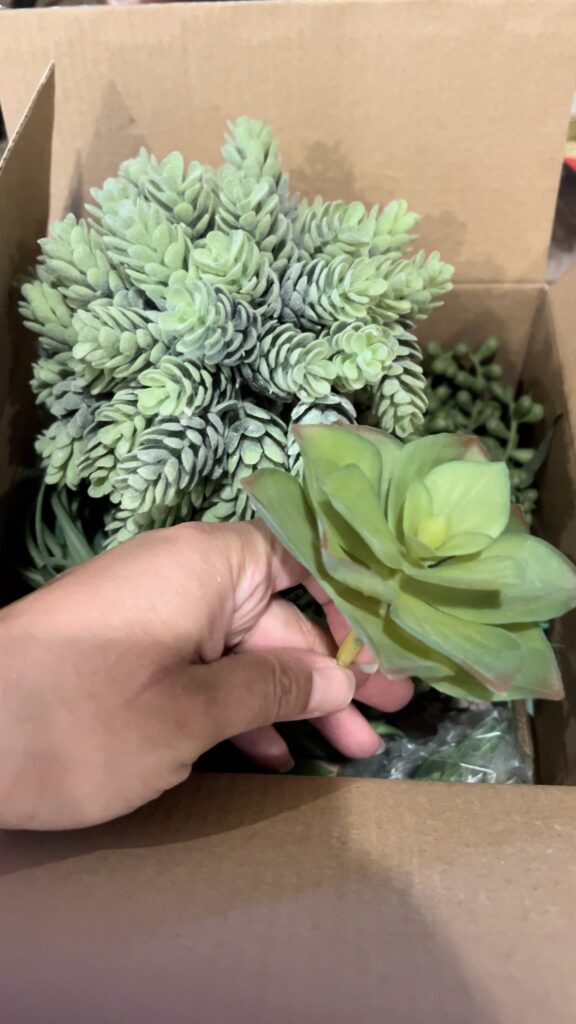
- Pack of Succulents
Tools Used:
- Miter Saw
- Pin Nailer (Optional)
- Sander
- Clamps
Cutting your Pieces
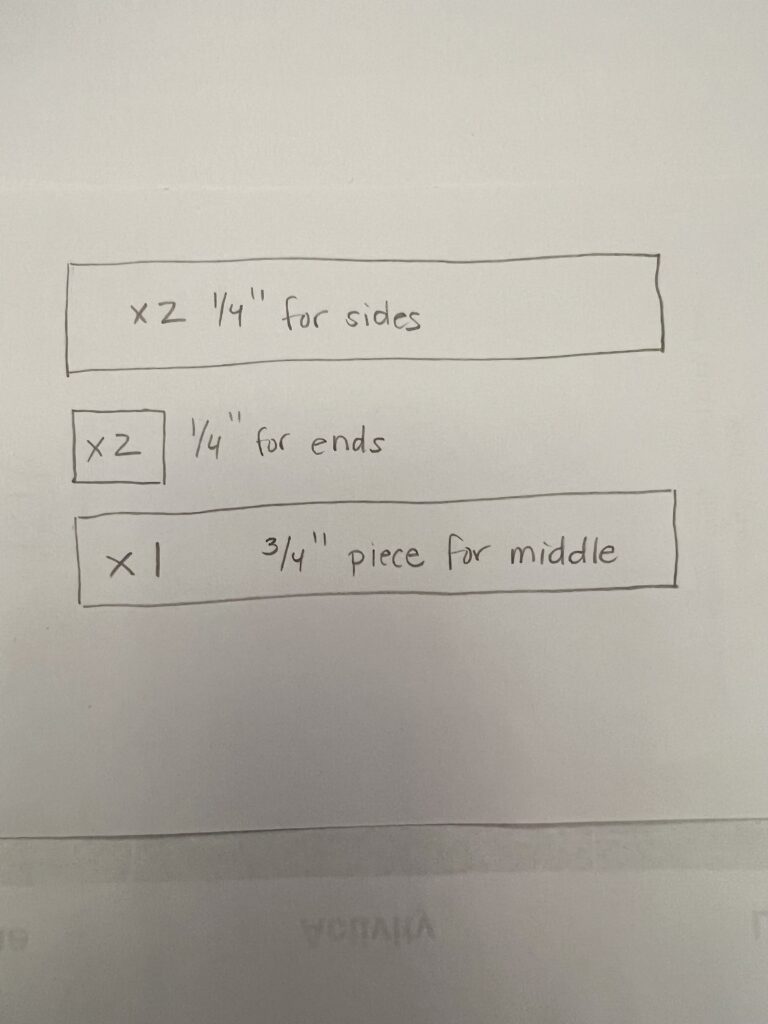
Again, this planter was originally built at 48″ long but was then cut down to 36.” I used the 48″ Poplar hobby boards for the sides, the 24″ hobby board for the ends, and since I had a scrap piece of 3/4″ MDF board, I actually used that for the center. You will save a few bucks if you have scrap wood you can use for the center and if you plan on making your planter less than 48″ you don’t need to buy the extra 24″ hobby board piece because you can just use the cutoff from the 48″ piece. Does that make sense? Here is an illustration of the cut list.
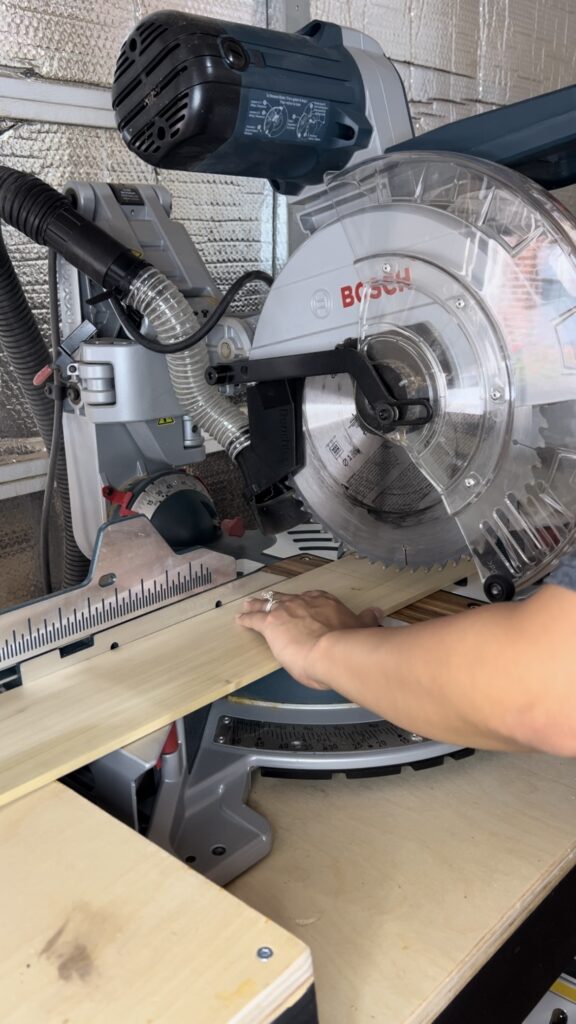
I used my miter saw to cut down all my pieces and get them ready for assembly.
Assembling the Box
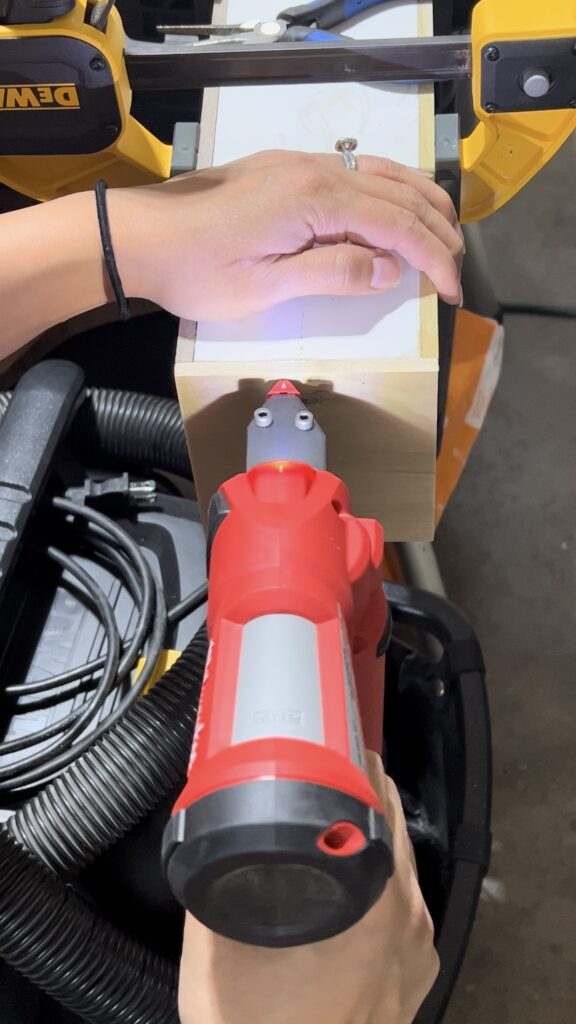
Start by putting together the main “shell.” This will be made up of your side pieces and your base. If you are using all wood versus MDF, wood glue alone is enough to hold your pieces together. Keep in mind, the longer your planter box, the harder it will be to hold it all together evenly, especially since wood is usually not perfectly straight. That is where I used my pin nailer to give it a little extra support.
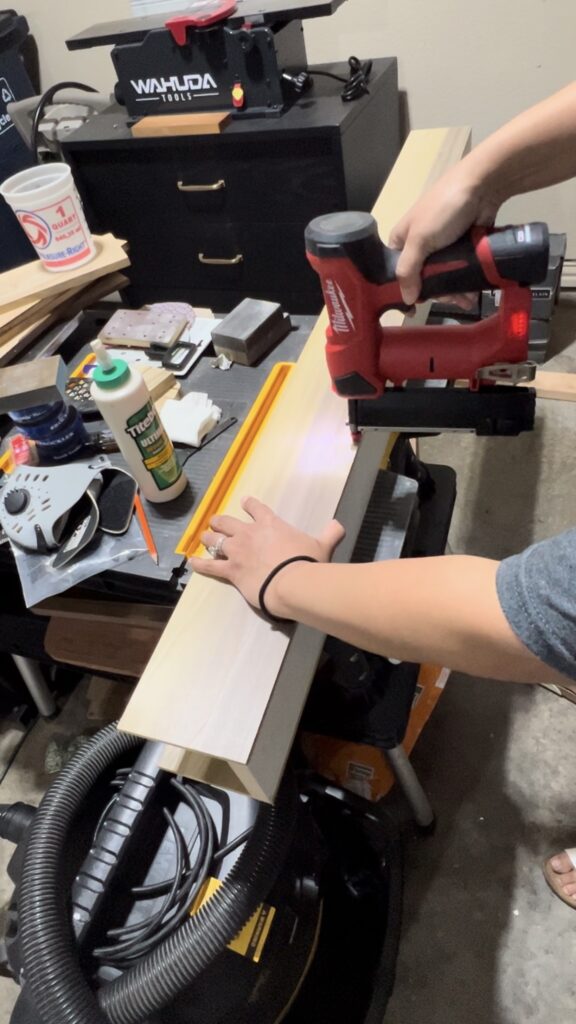
Once your shell is assembled, add the ends to close up your box.
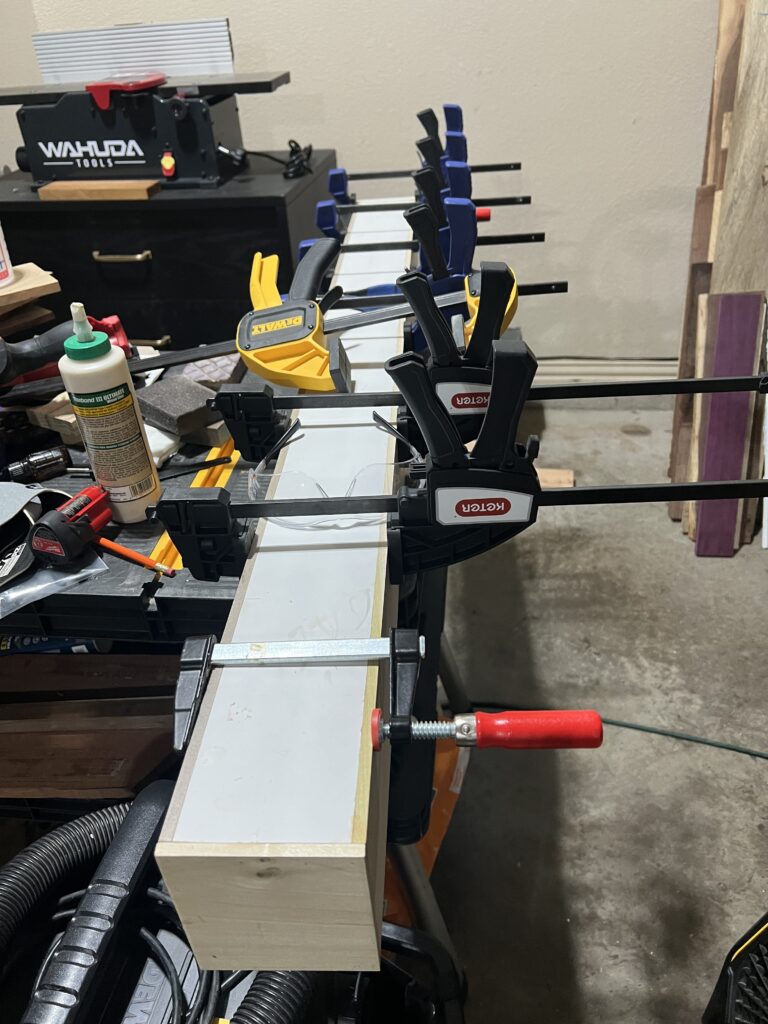
Clamps will be your best friend. I used clamps throughout the entire shell to hold everything together until the glue dried.
Finishing Touches on Planter Box
Once the glue is completely dry, you can give your piece a light sanding. Hobby boards are pretty smooth so you don’t have to do a complicated sanding job, you just want to make sure your edges don’t have tear out and such, where you could possibly get a small splinter. I took my sanding block in 220 grit and gave the whole thing a light sand along the way and then a light sand at the end.
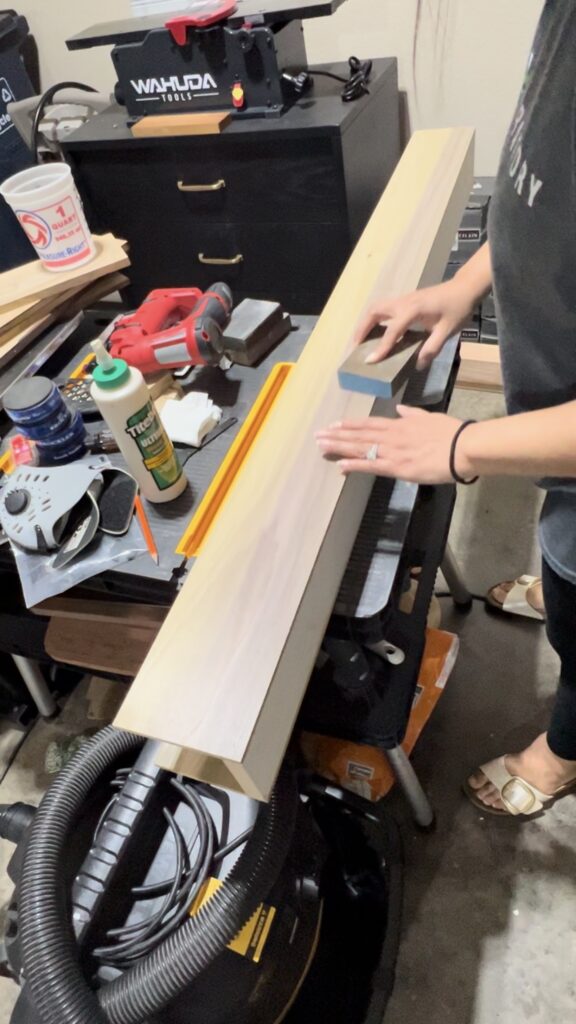
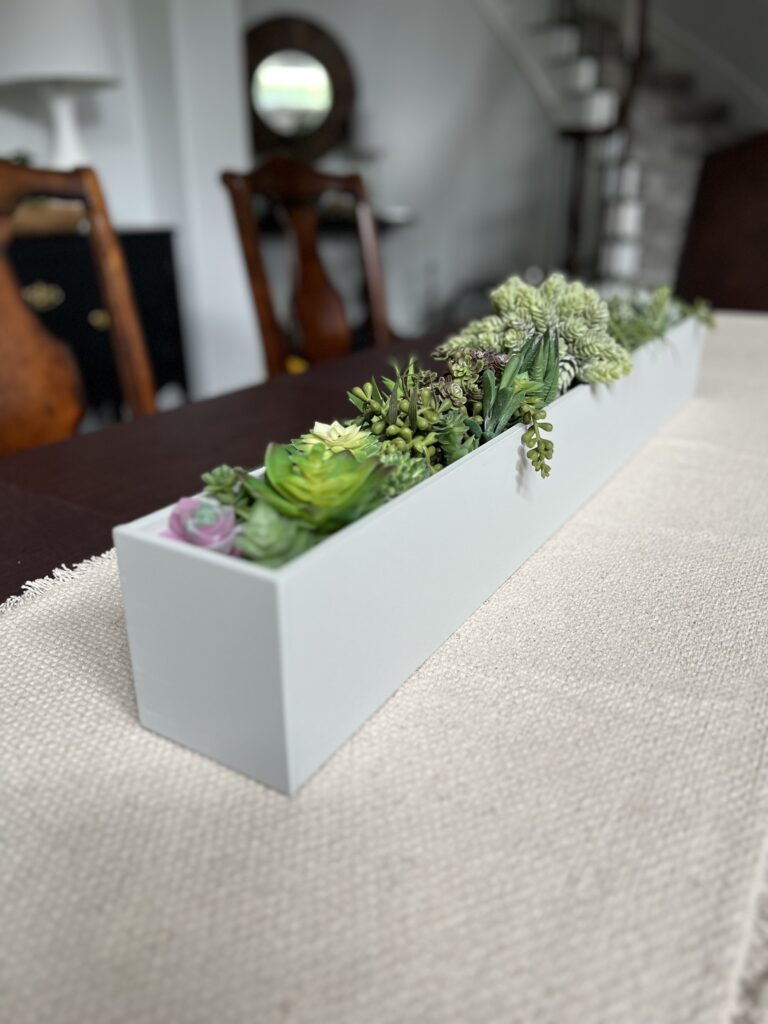
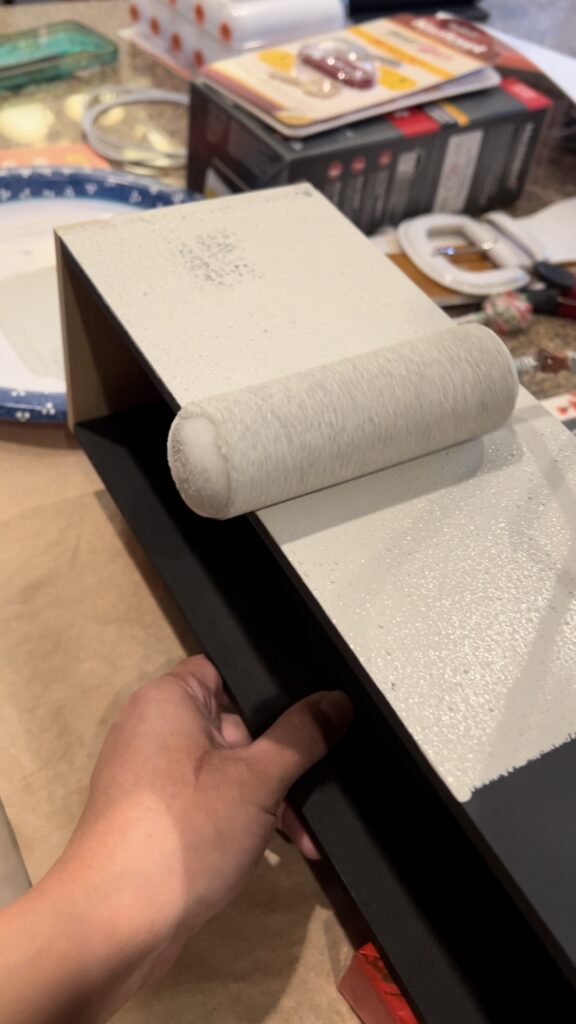
Immediately after sanding the box, I wiped it down and used my favorite paint – Fusion Mineral Paint – in the color Pebble which is a light gray. I love this paint because it is an all in one paint that doesn’t require priming or a top coat. I painted 2 coats on the box using a foam roller and let it dry overnight.
Adding succulents
I took a quick trip to my local Michael’s to pick up some dry foam blocks to fill my planter box.
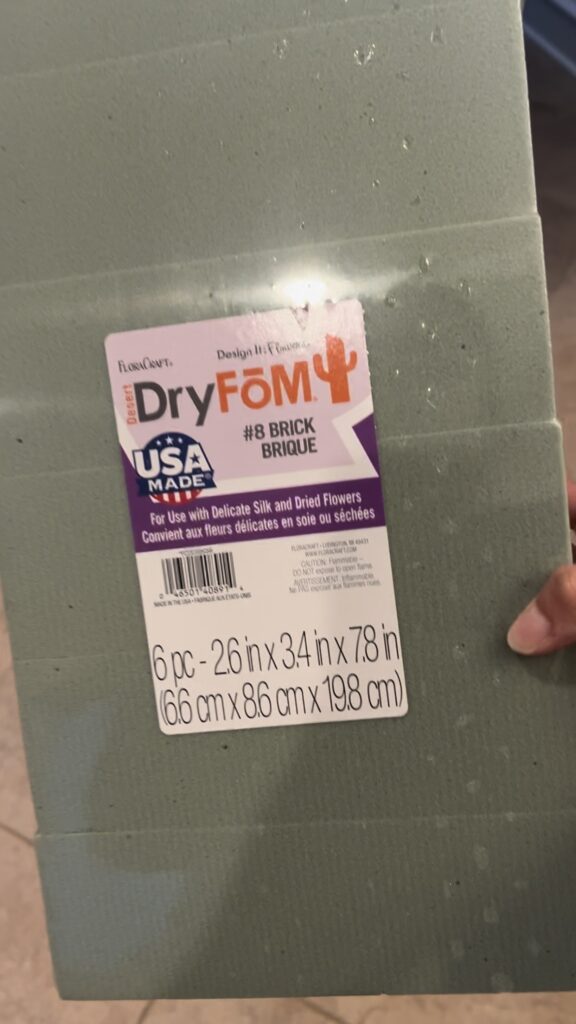
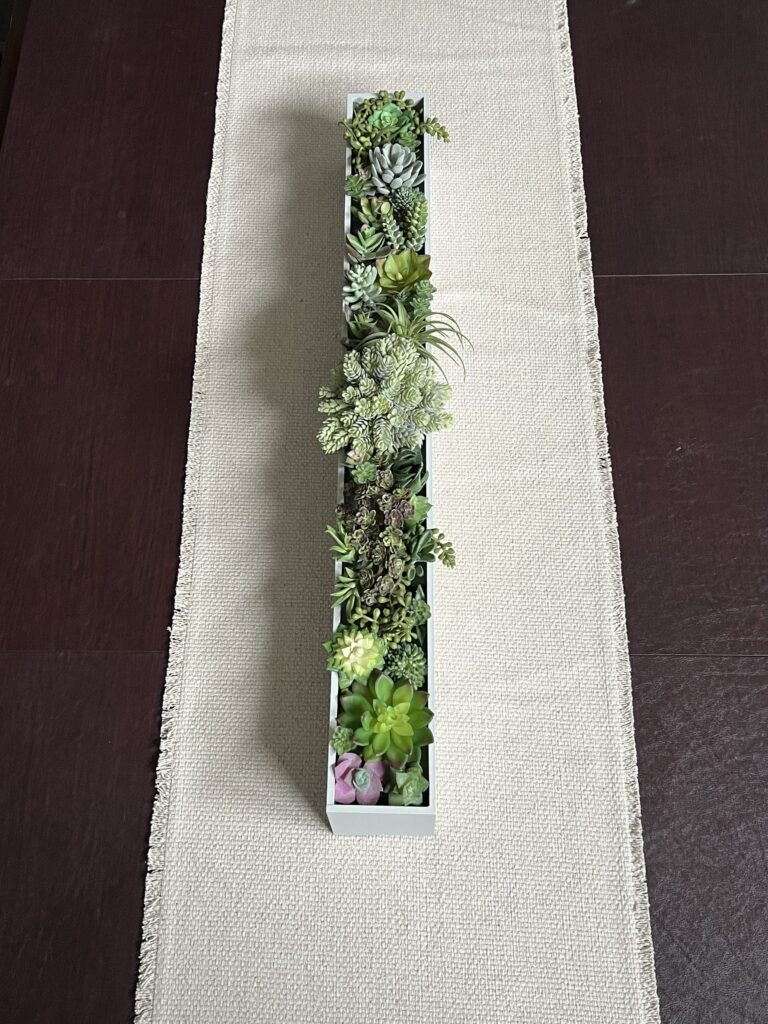
This pack of 6 foam blocks was only $7! I arranged them in the planter box and then took the pack of faux succulent plants I ordered from amazon for $20 and made my succulent arrangement.
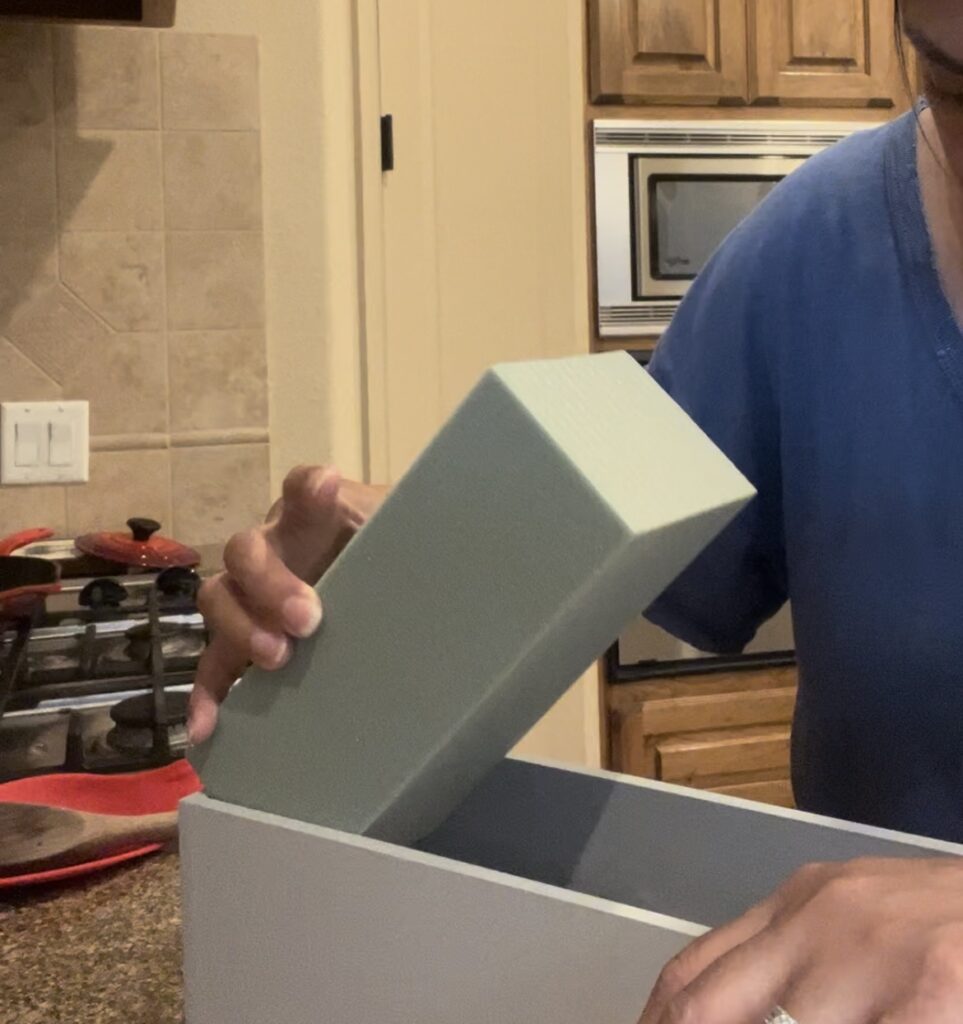
I started in the center with the biggest piece and filled the planter box with the different varieties until it looked full.
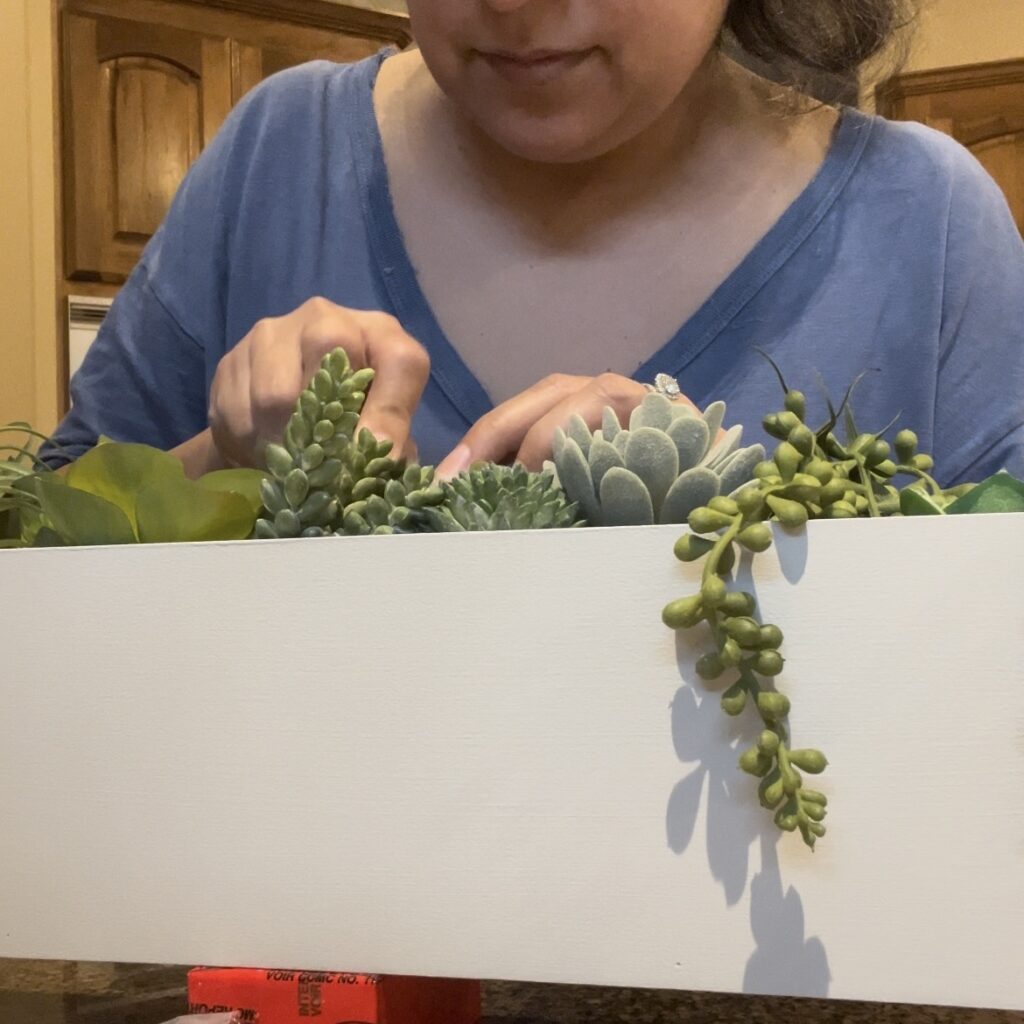
There was no need to glue anything down. The foam blocks were basically wedged in the planter box – they won’t be easy to get out. And the faux succulents are the type that stick into the foam block. This was such a fun little DIY to do and at the end of the day I only spent $65 and got 2 planters out of this project!
Final Thoughts
One of the things I love about DIYing is knowing that I have the skills to make things for loved ones and help them save money too! I am really happy I was able to do this project for my friend and literally save her over $200! This project is a great beginner DIY project especially if you are wanting to practice your skills on the miter saw. The cuts are straightforward and if you’re using wood all you really need is wood glue and clamps!
Here is the reel I shared on Instagram. If you are looking for ideas to build an outdoor modern planter, you can check out the tutorial on this modern planter build. As always if you have any questions, feel free to reach out. I’m always happy to help in any way I can!
Happy DIYing!