

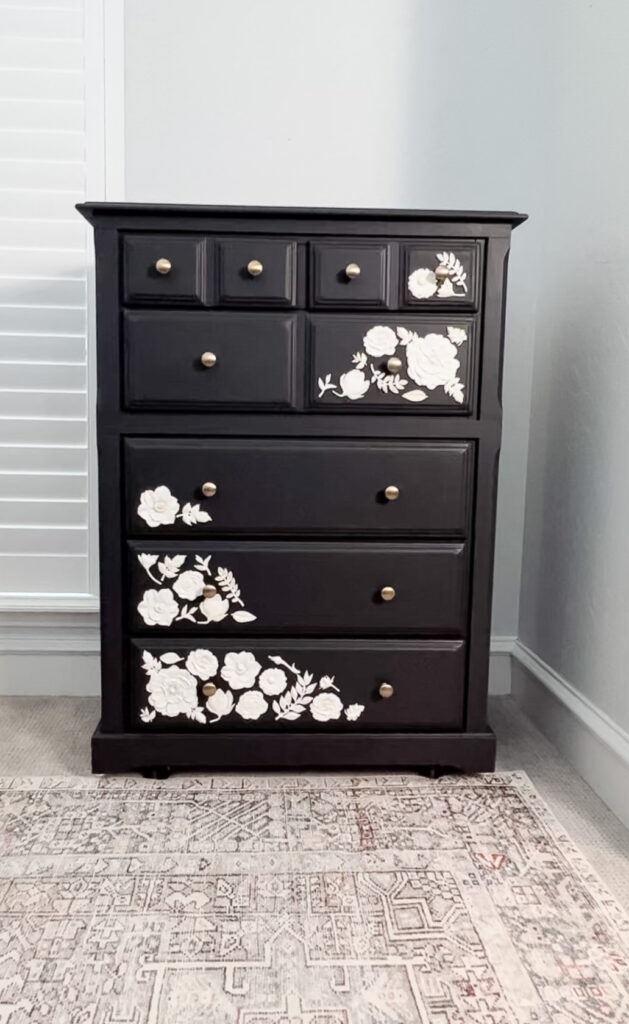

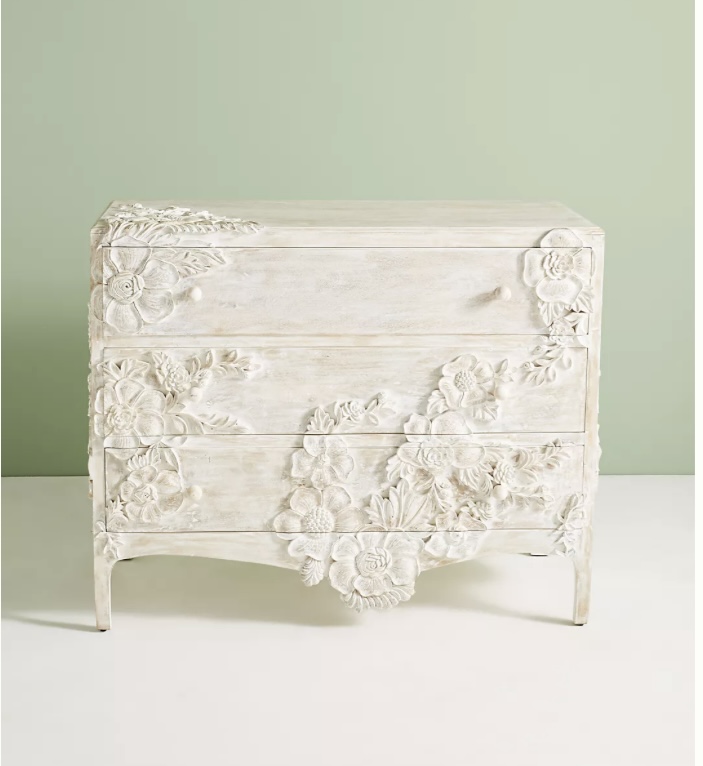
Anthropologie has such beautiful pieces of furniture, however, they are also quite expensive. I had a dresser in my garage I wanted to flip and figured this was the dresser I was going to transform into an Anthropologie inspired piece. By adding resin flowers to this dresser I transformed it into something completely new!
Disclaimer
Not all my furniture flips are this complicated. I had a vision and the tools to execute it. Don’t be discouraged if you don’t have all the tools I had to do this. This dresser needed some TLC so I used my tools to make it more sturdy before adding the resin flowers. If you have a piece of furniture that just needs paint and you want to add resin flowers to it, you can totally do that without going through the process I describe in this blog post!
*This post contains affiliate links. Please see full affiliate disclosure here.
Supplies I used:
Tools I used:
The Plan before Adding the Resin Flowers
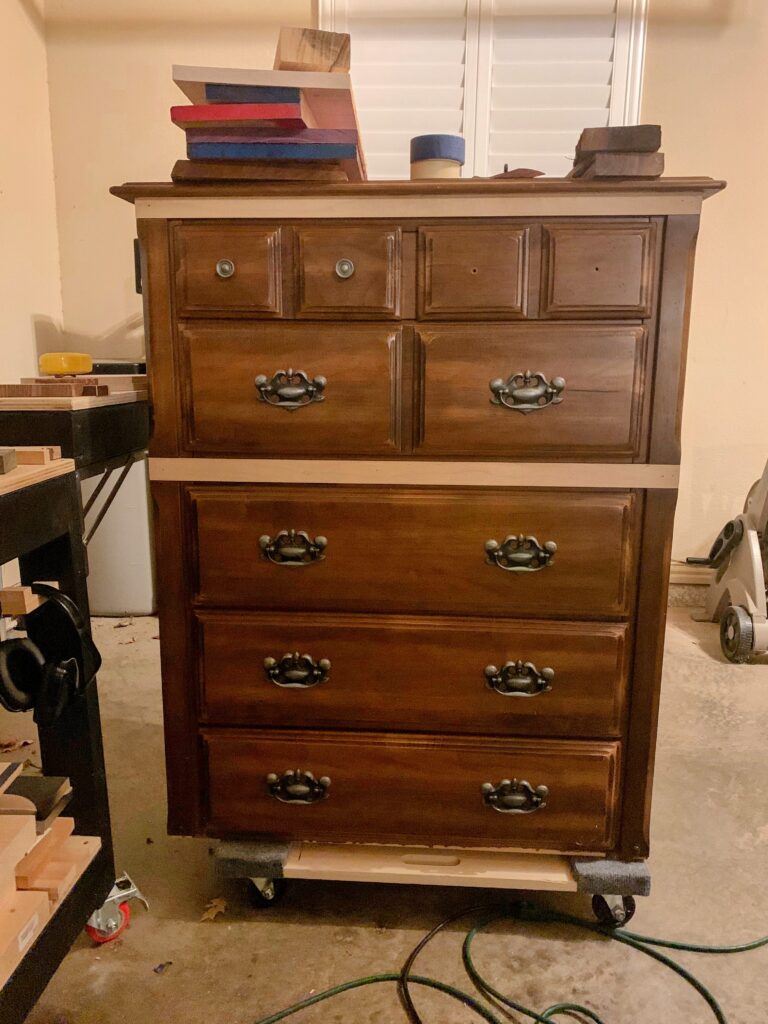
For this dresser, my plan was to remove the base and rebuild it (the base was kind of beat up), plus I wasn’t really loving the detail. I removed the button accents it had and removed some of the detail from the pieces that go across. I also changed out the hardware to simpler knobs and decided to paint it.
This is the project where I learned that people will come for you if you paint a piece of wood furniture. Haha. . . I’m pretty sure this piece is mostly solid wood. It looks like maple. I also am not an expert when it comes to matching stain and if there is a hardwood that is hard to stain in general, it’s maple. I didn’t want to experiment with this piece and also didn’t want to strip it all down and start over, so I decided to paint it.
Fixing the base
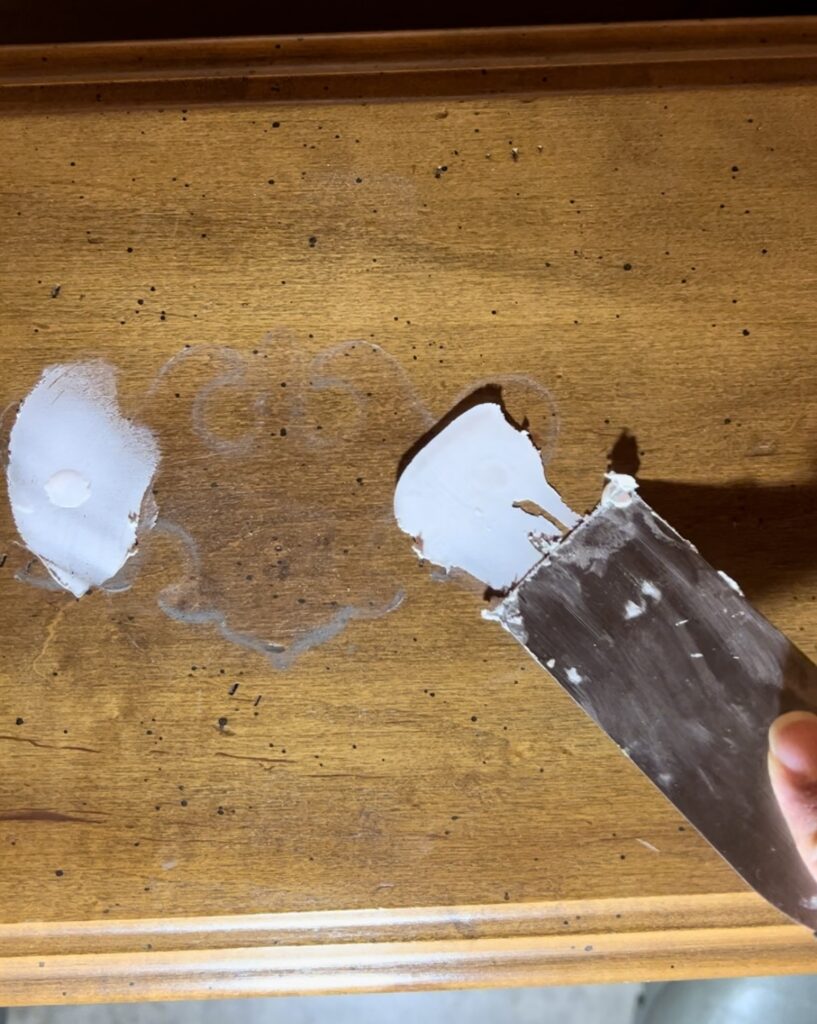
First I removed the “buttons” on the base with a small putty knife (one was missing and a couple were loose) and used a cordless circular saw to trim the base.
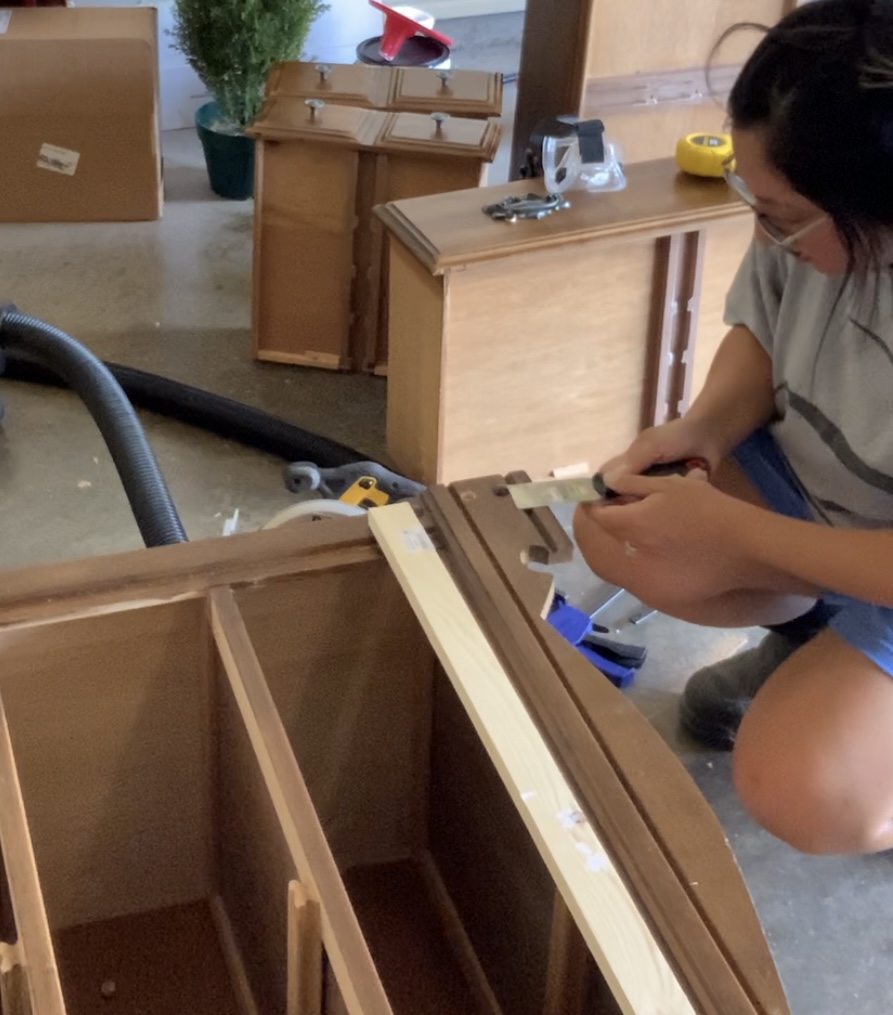
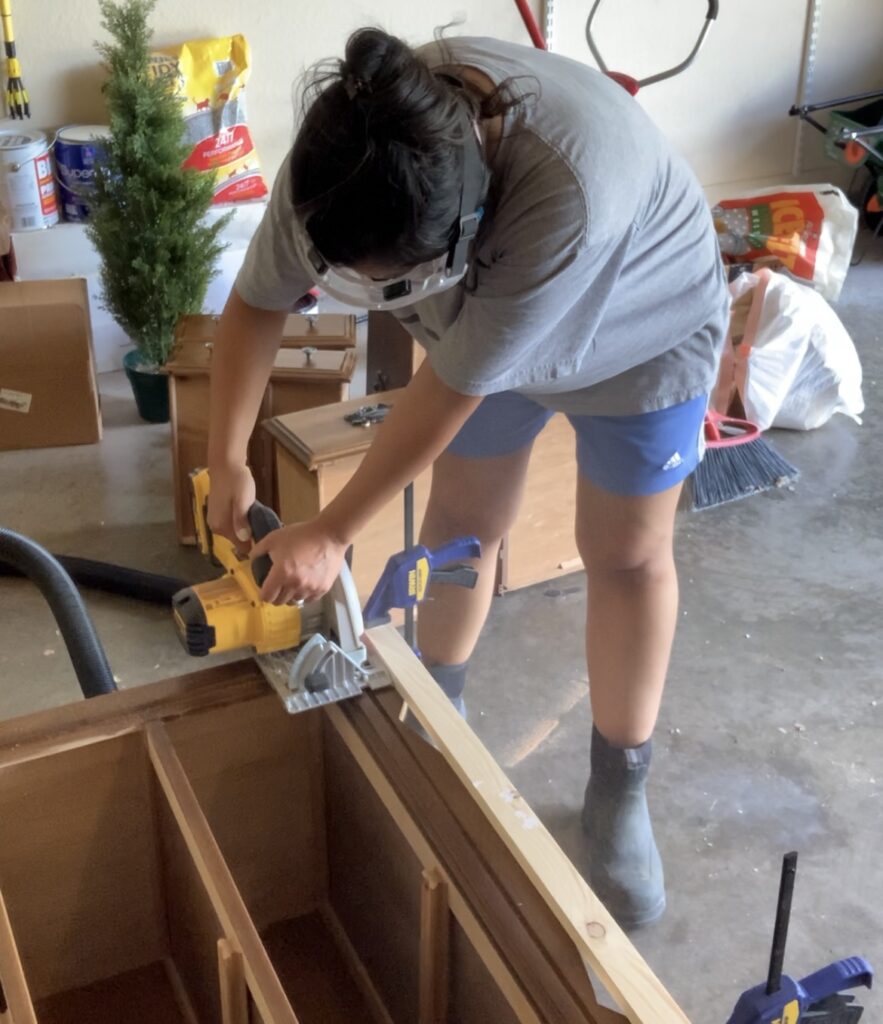
At first it seemed like it was a good idea to trim the base but after cutting the front, the whole base just fell off. That is when I realized it was better to just rebuild it. I removed a couple of pieces from the dresser and ran them through my planer because I wanted them to be flush with the face frame. Once they were as flush as I wanted them to be I nailed them back into place with a nail gun.

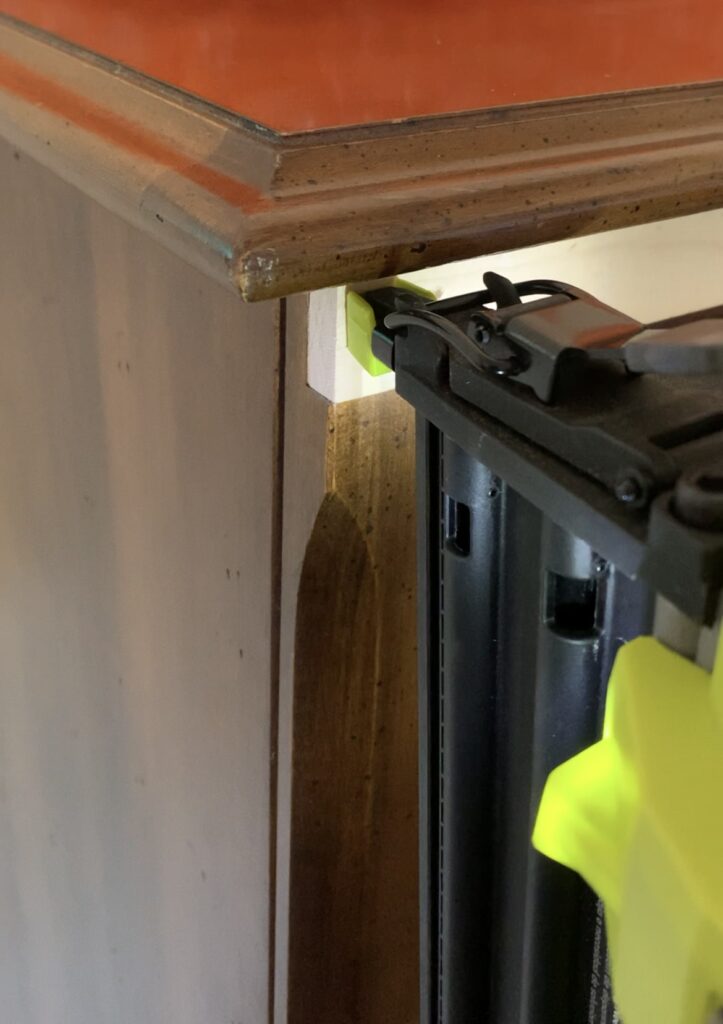
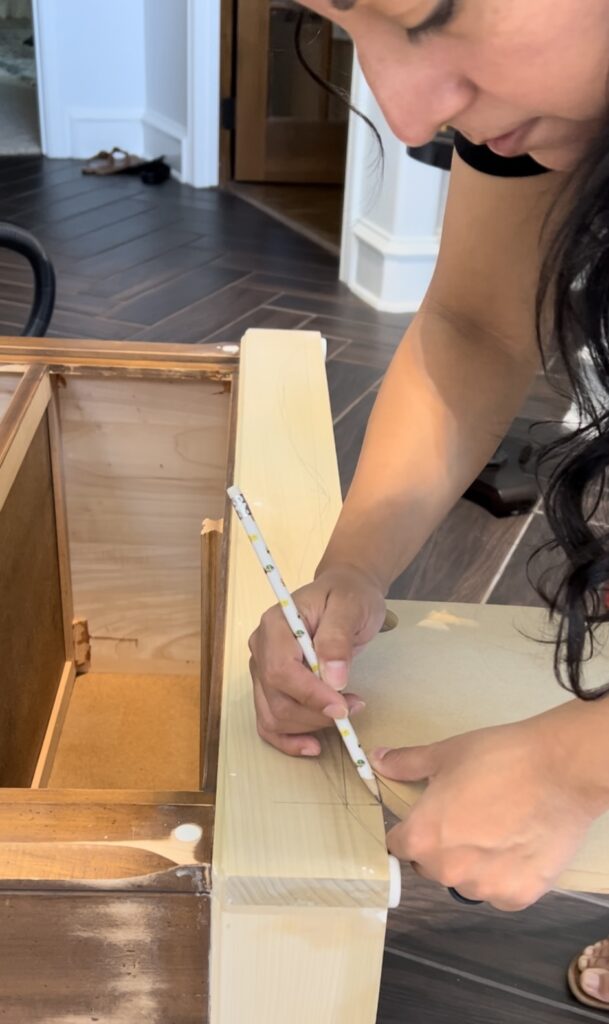
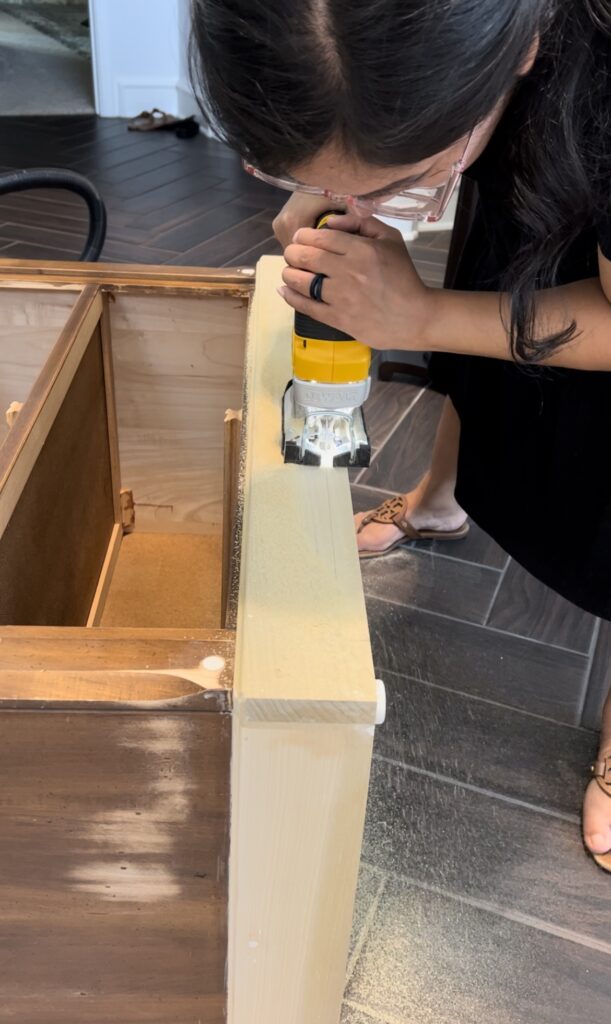
I reinforced the bottom corners of the dresser so I could nail my base into these corners. I added 4 1x2s on each corner of the base. For the actual base I chose to go with poplar over pine because pine is a softer wood and I didn’t want something that was soft and would dent easily. After all this is a base. It is going to naturally get bumped around. I bought a 1×8 piece of poplar, which was 6 feet long, and cut it to length. 1 long piece for the front and 2 shorter pieces for the side. I used a router with an ogee bit from my router bit set to add a little detail to one side of the base.
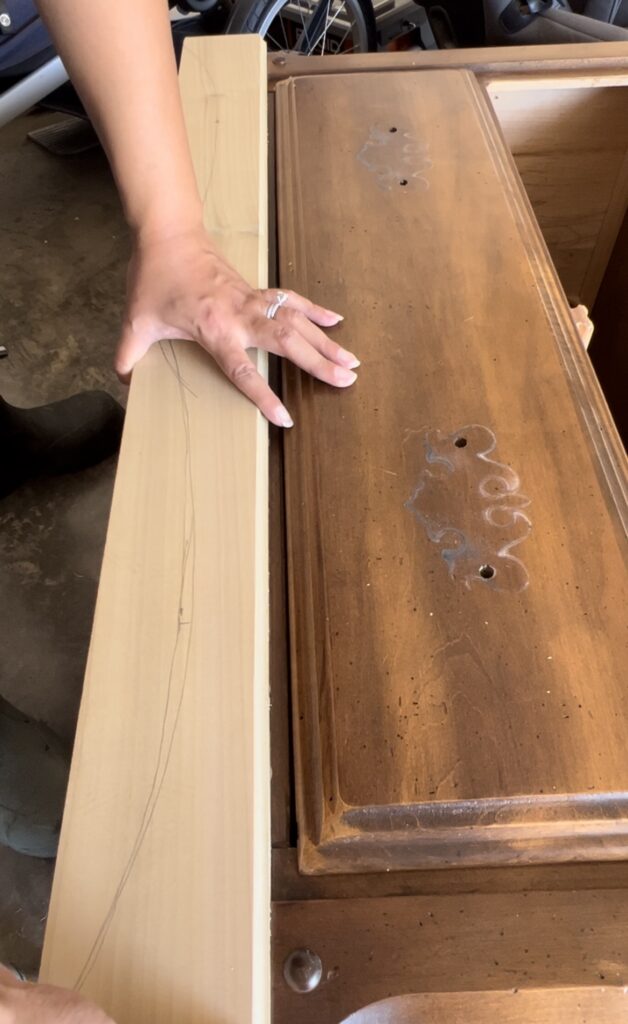
I wanted something simple but with a curve. I got my inspiration for the base from my son’s dresser from Pottery Barn. The base on his dresser is super simple and I really love it. So I used a teardrop template I have for cutting boards to draw curves at the base and then cut out the shape with a jigsaw. You can also use a large bowl to get a curve shape.
Prepping and Sanding
I did a final clean and removed all the hardware. Since I will be changing out the hardware from pulls to knobs, the holes needed to be filled. I filled all the nail holes with wood filler first and then moved on to remove the hardware.
By the way, this little gyroscope screwdriver is one of my favorite tools for simple removal and installation of screws where you don’t need the extra power of a drill. It’s super fun to use and the battery lasts forever on a single charge! Highly recommend it!
Now it’s time to sand. I used my Mirka sander for general sanding and used my Festool RTS 400 for the details on the drawers because it sands details pretty nicely. I have both of my sanders attached to a Festool Dust Extractor to minimize the dust. They work together beautifully!

Ready for Paint
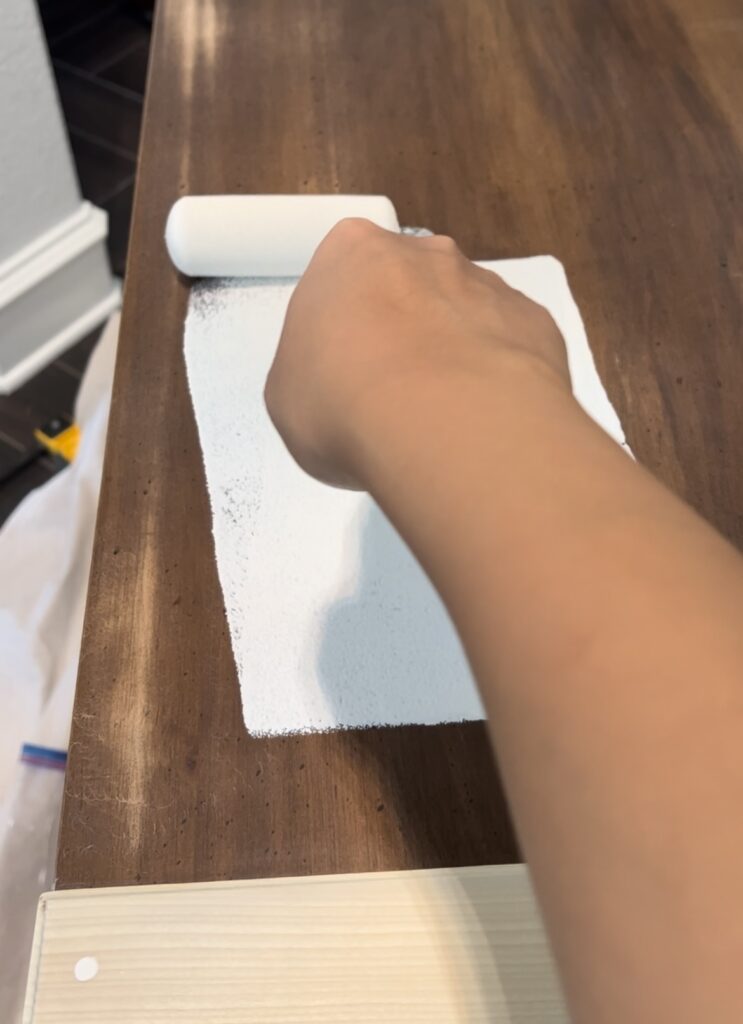
I decided to prime this dresser because I planned on selling this piece. Fusion Mineral Paint doesn’t require a primer, but it actually adheres so much better to a primer when you do use one. I like using BIN primer because it adheres well and dries fast. It also blocks out tanins which are stains that can bleed through your paint. It’s super easy to apply – just use a small foam roller for a nice even finish.
For the paint color, I went with Fusion Mineral paint in the color Ash because I had some leftover paint from my wet bar cabinet build and honestly, I just really love this color. It’s the perfect shade of slate. It’s dark but not quite black and is just so beautiful!
Making the resin flowers
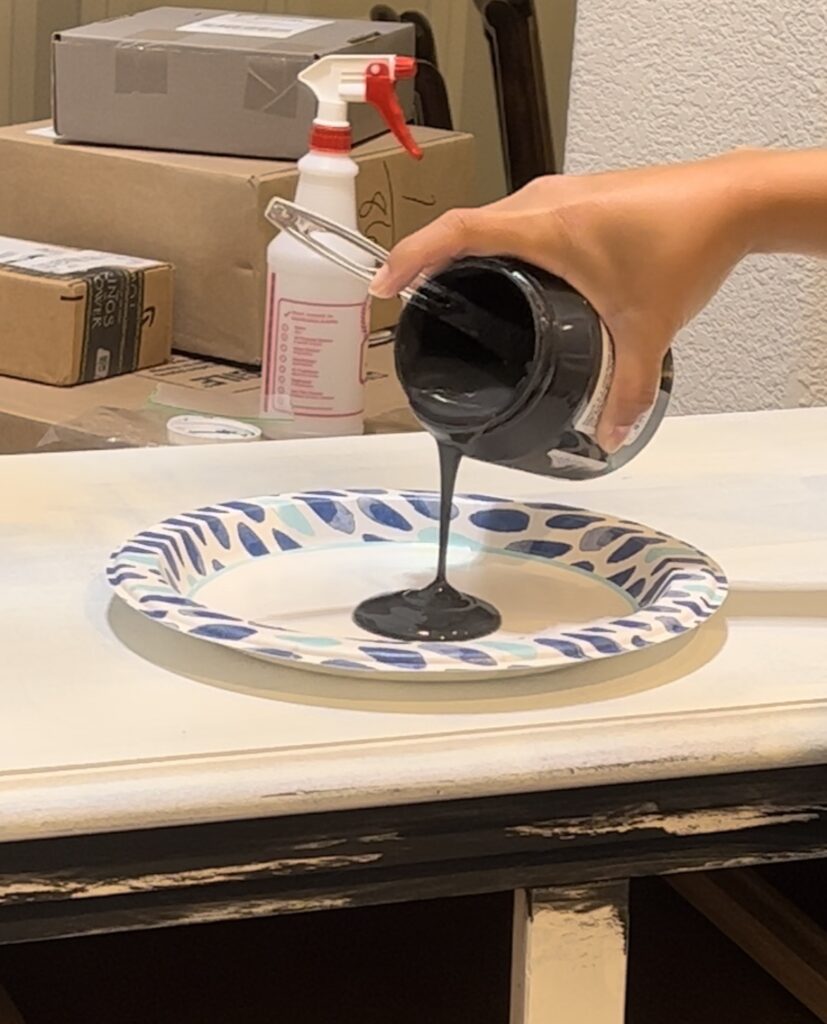
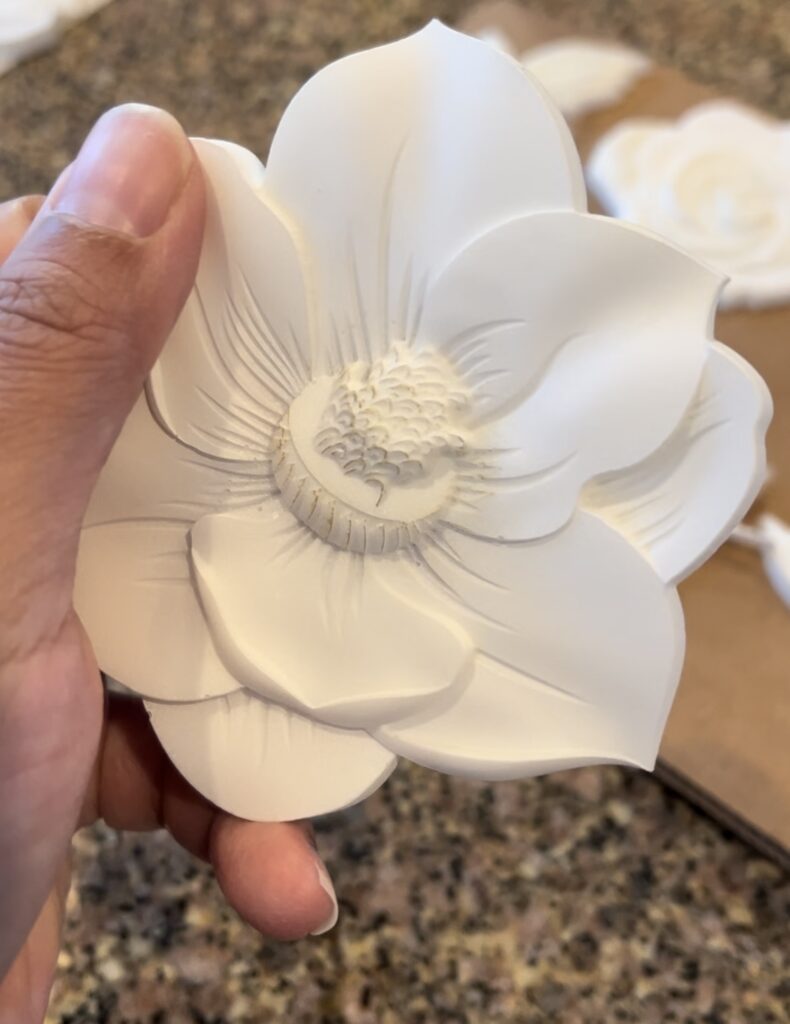
I bought molds to make the flower appliques that resembled the ones on the Anthro dresser. One of my friends used Casting Resin she bought on Amazon to make these flowers and I was dying to try that DIY. I have worked with epoxy in the past but wasn’t sure what to expect with resin. The instructions are pretty easy to follow. This resin actually starts to dry in a few minutes. When you pour it, it is clear but as it starts to cure it turns white.
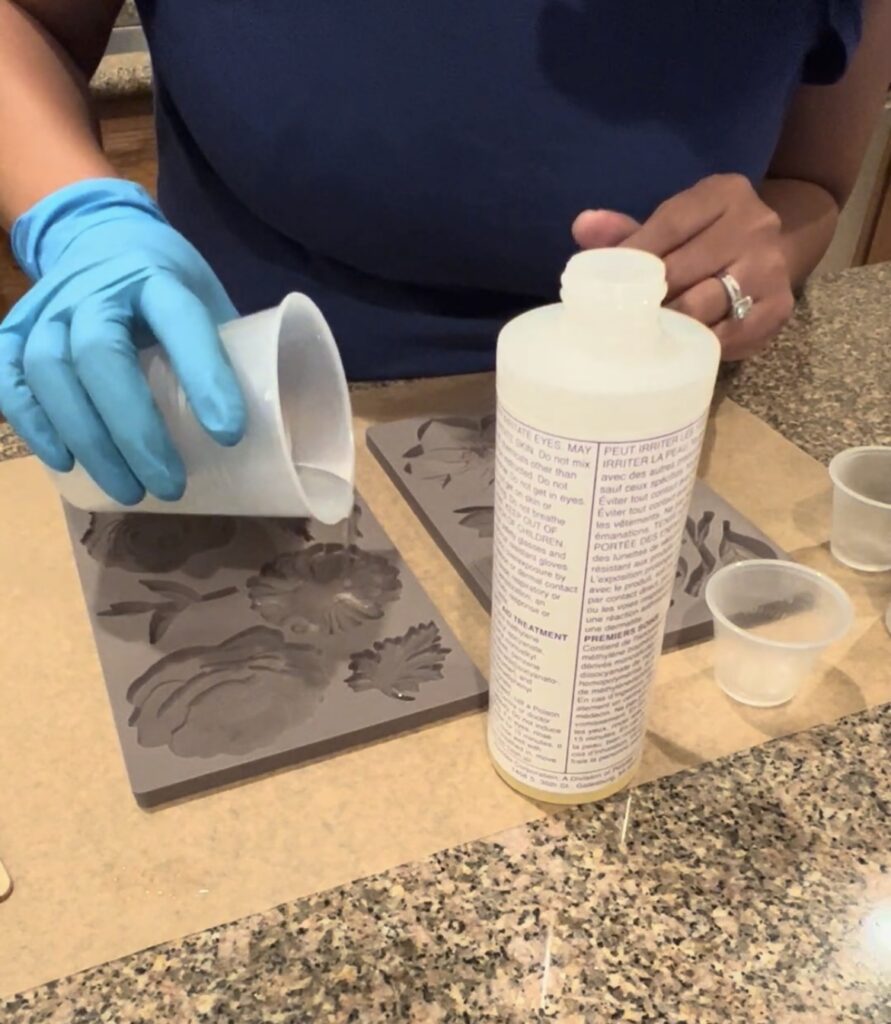
Here’s the biggest tips I have to share when using resin or epoxy in general. Make sure you MIX WELL. Also, DO NOT reuse the same mixing cup when making your resin flowers. The resin that’s leftover from the previous pour affects the new mix since they were poured at different times, and causes your pieces not to cure properly. I had to remake a batch because it did not cure properly since I didn’t mix it very well AND I used the previous cups with leftover resin from another batch. So ya. Don’t be like me! 🙂
Painting and Sealing the Flowers
I primed my resin flowers with Zinsser 1-2-3 Spray primer and dry brushed the flowers with Fusion Mineral Paint Metallic in Vintage Gold to give these flowers a hint of gold and bring out the accents.
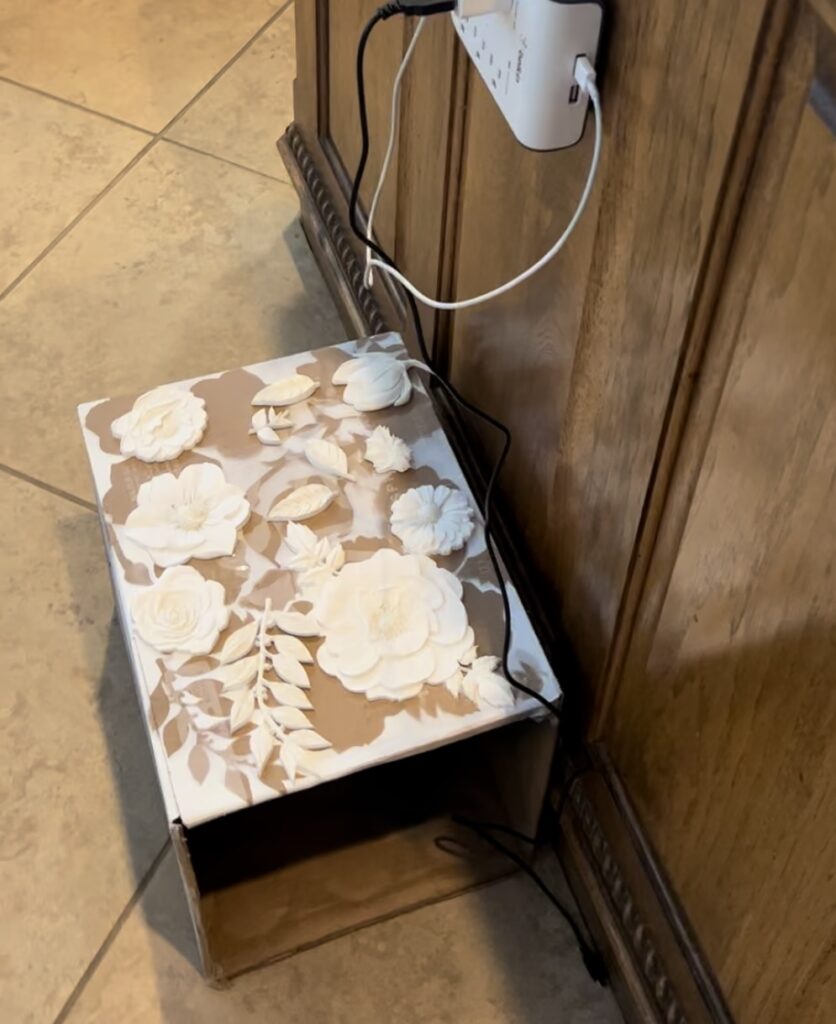
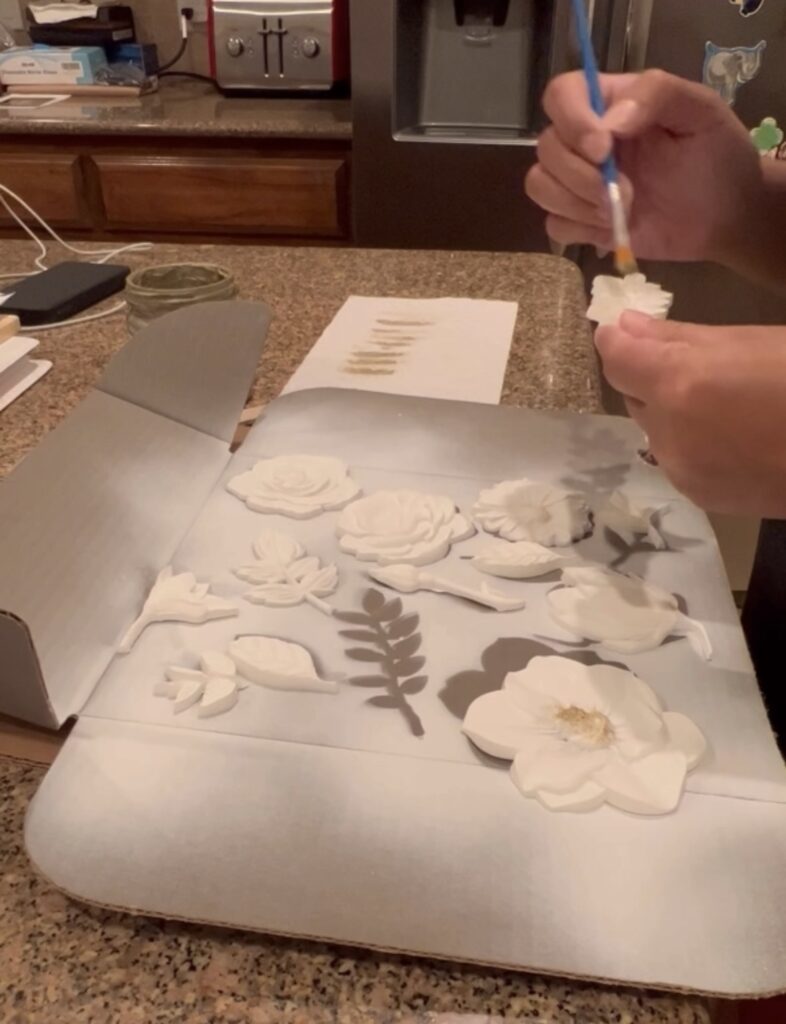
Lastly, I sealed the flowers with Krylon Colormaxx in a Clear Flat finish.
Attaching Flowers to Dresser
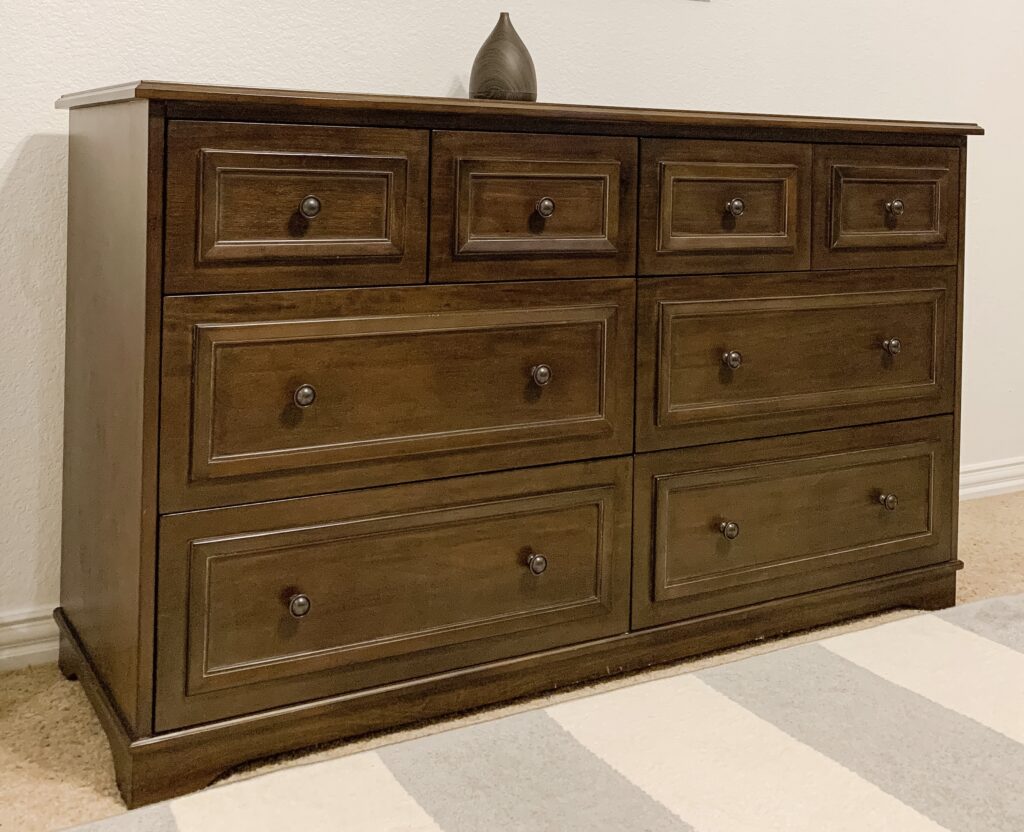
I polled my Instagram audience to ask about different placements and ultimately decided on this.
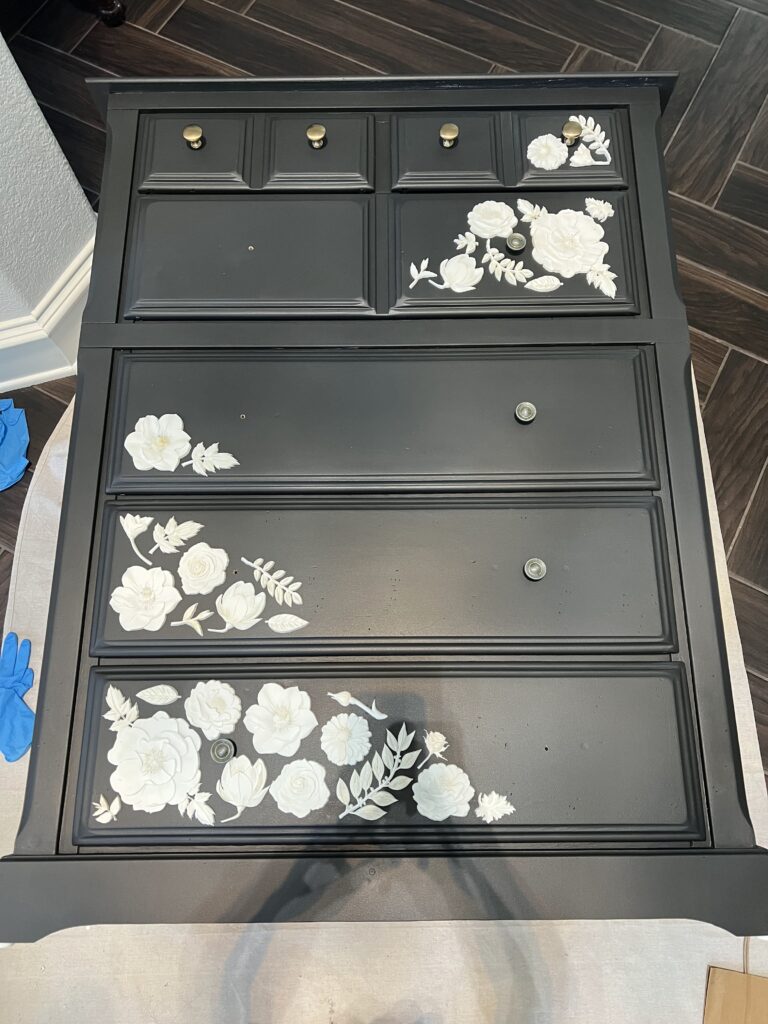
I used Titebond Quick and Thick glue to attach the flowers to the dresser. Honestly, I would have rather used E6000 glue for this project. I feel like E6000 has a stronger bond and dries a lot quicker. Still, I think the project turned out so cute, especially after adding the gold knobs. Right? What do you think?
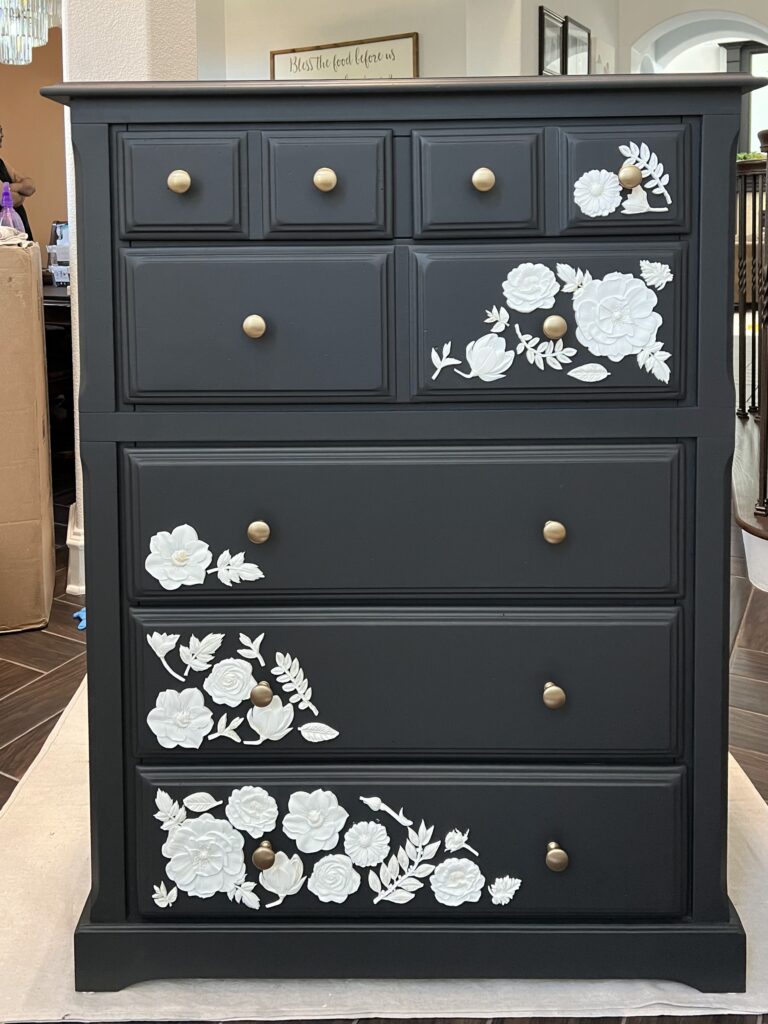
Final Thoughts
I chose to go with contrasting colors with this piece because I really love all things with contrast. If I were to do this again, I would definitely paint everything the same color. It was a good experiment and I can’t wait to try it on another piece!
Click here for a free guide to the Basics of Furniture Flipping.
If you would like to watch the Instagram reel of this transformation you can click here. Come hang out with me there!
As always, Happy DIYing and if you have any questions, feel free to reach out!


