

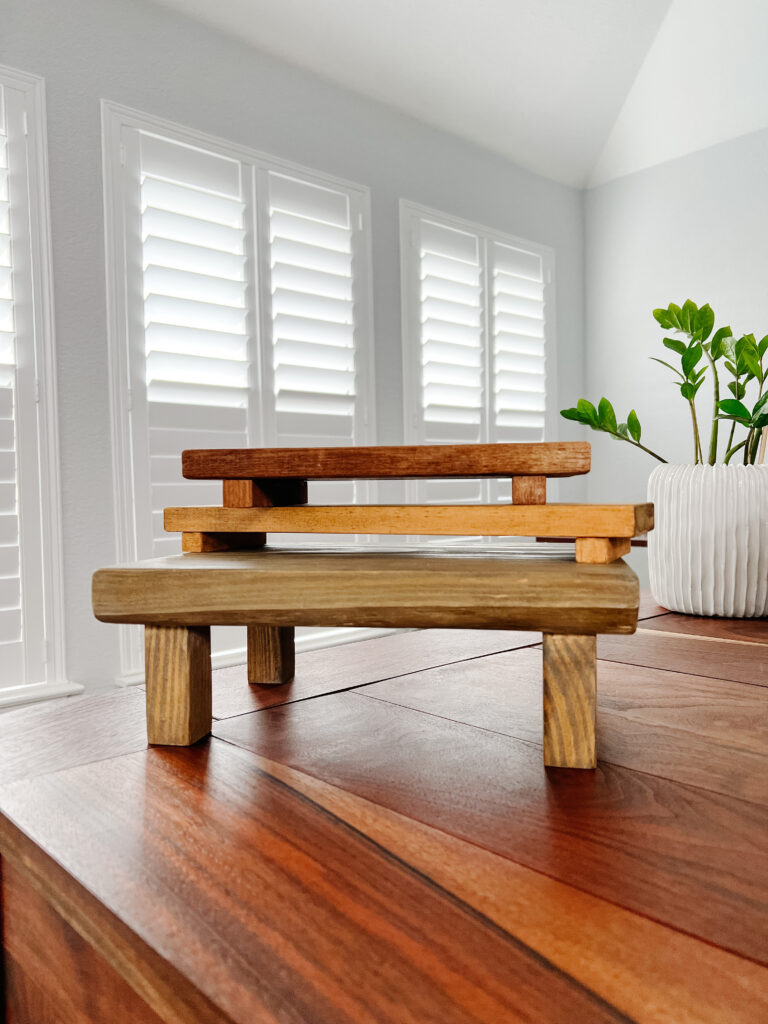
Hand made gifts make some of the best kind of gifts. These wood risers are so cute and you can make them out of scraps! If you are looking for an easy beginner-friendly DIY, a wood riser is a good project to try!
*This post contains affiliate links. Please see full affiliate disclosure here.
Supplies:
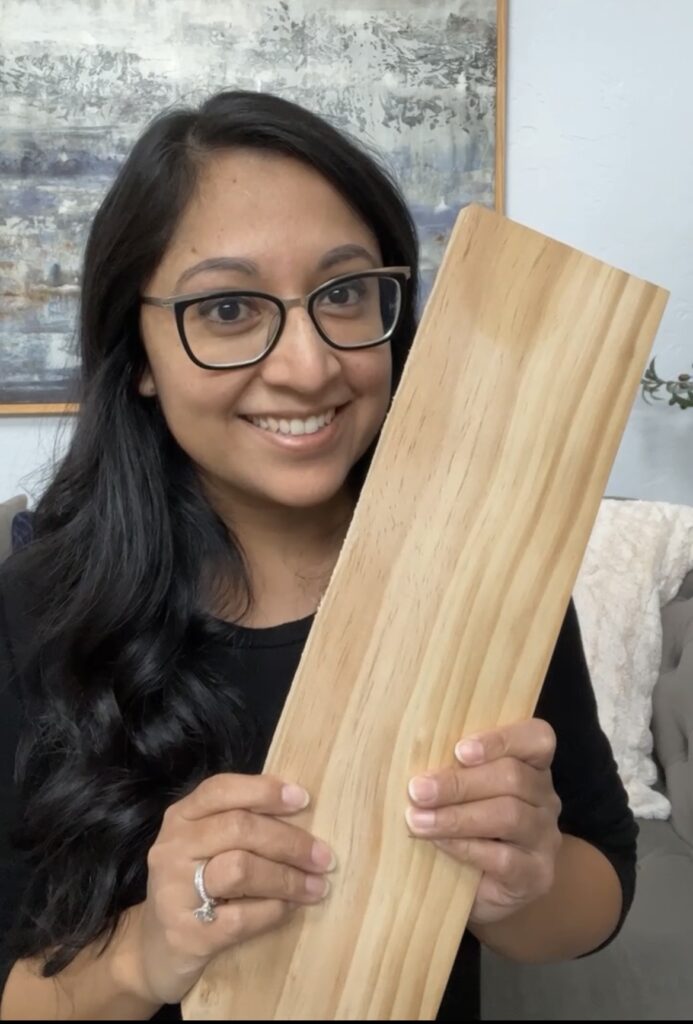
- A piece of lumber of choice (preferably 4 inches or longer)
- Wood Glue
- Saw (I used a Miter saw)
- Sander, sandpaper, and/or sanding blocks
- Wood stain/Paint
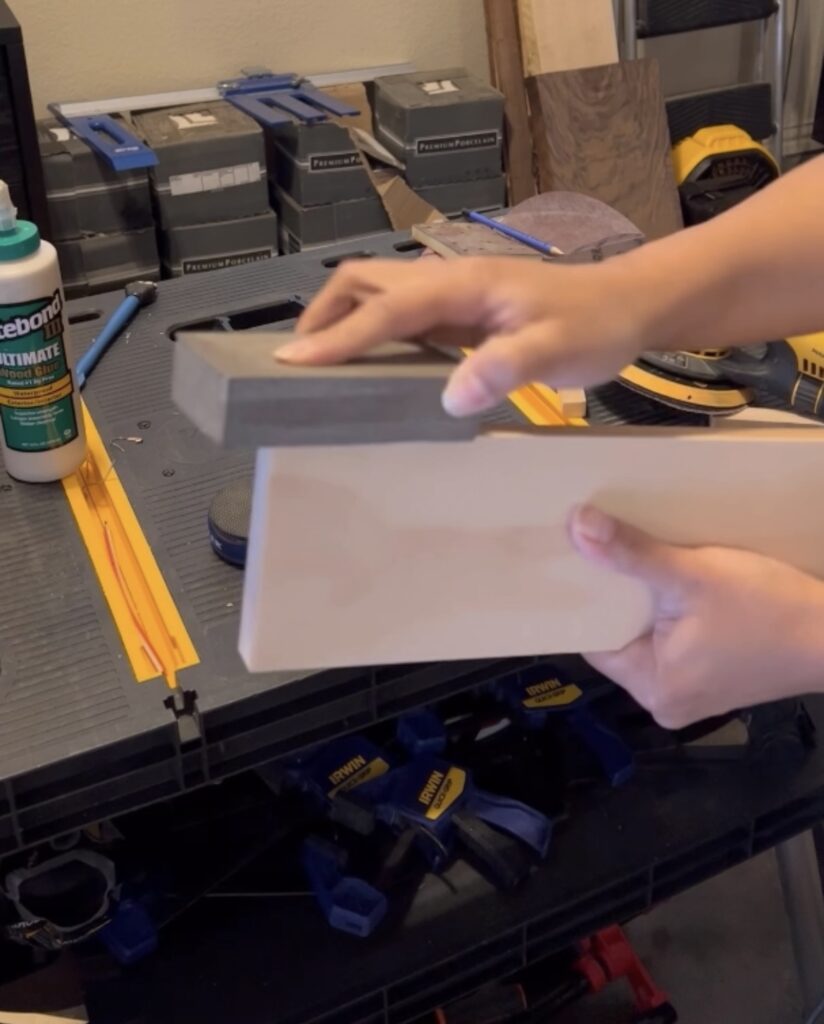
Make your cuts
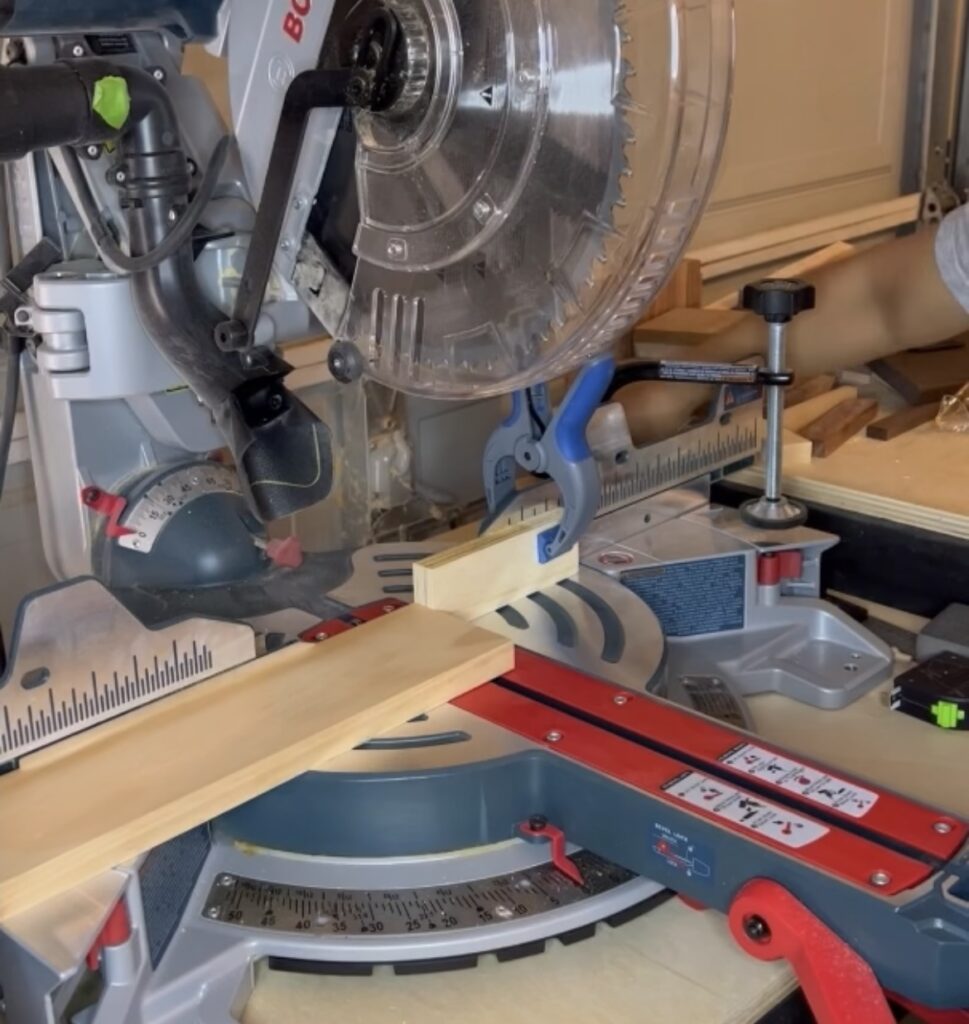
My recommendation is to use a miter saw for this project. It’s my favorite saw to use and will only require a few cuts. These risers are made up of 3 pieces. 1 piece is the top, and 2 smaller pieces will make up the legs/feet. Measure how long you want your top to be and then use the “extra” material to cut the feet.
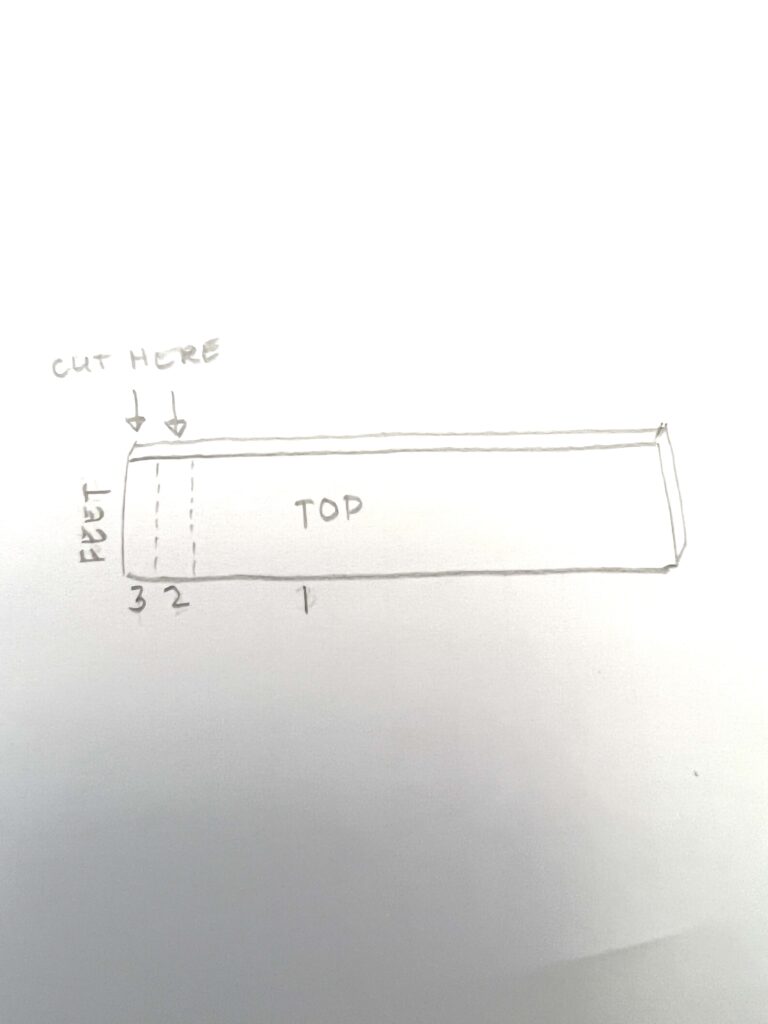
Cut the “feet” FIRST. You can use a stop block on your saw to make sure your cuts are the same length. I like the feet of my risers to be a little smaller than the width of my main piece of wood.
Sand your pieces
Sand all of your pieces of wood to get rid of the splinters. Start with 120 grit to 220 and end with 320. Depending on the type of lumber you use, you may even be able to stop at 220. If you want your riser to be a little more modern you can also add a little “chamfer” to the edges of the top piece.
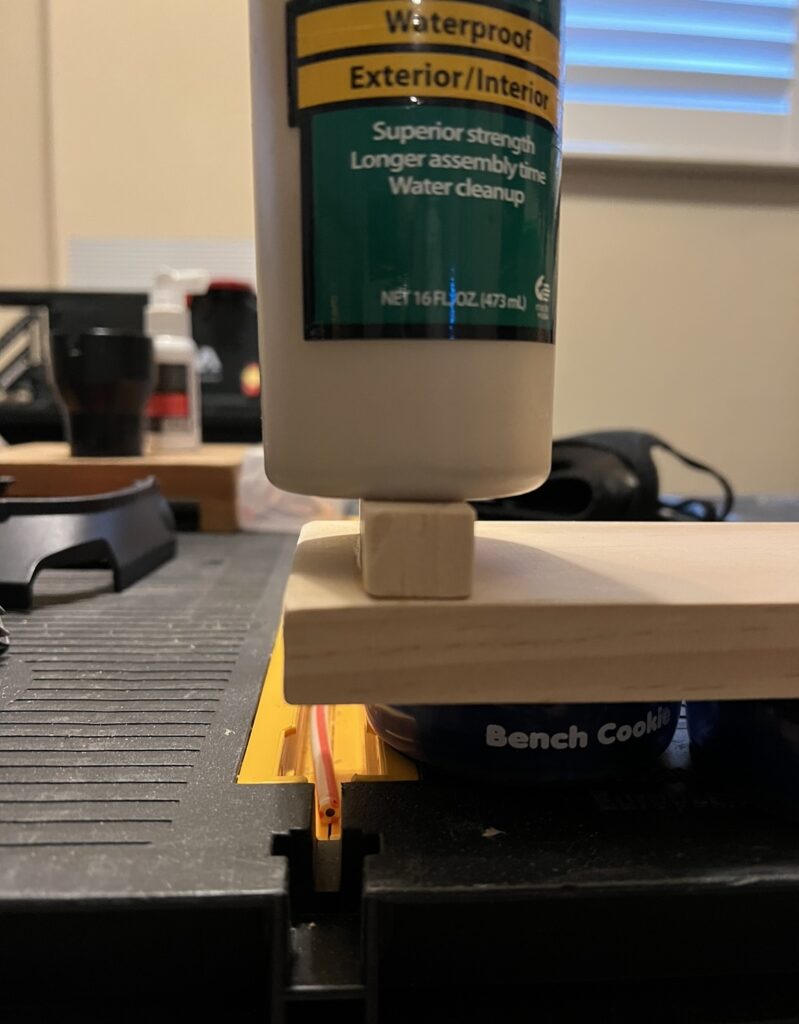
Glue your pieces
Use wood glue to attach both legs horizontally to each end of the main base of the wood riser. I used random objects I had in my shop to place on top of the legs as the glue dried (like my titebond glue bottle). If you want to reinforce the feet or legs, you can add a nail to secure them. I usually don’t because it’s a piece of scrap wood. 🙂 I can easily fix it or make another one.
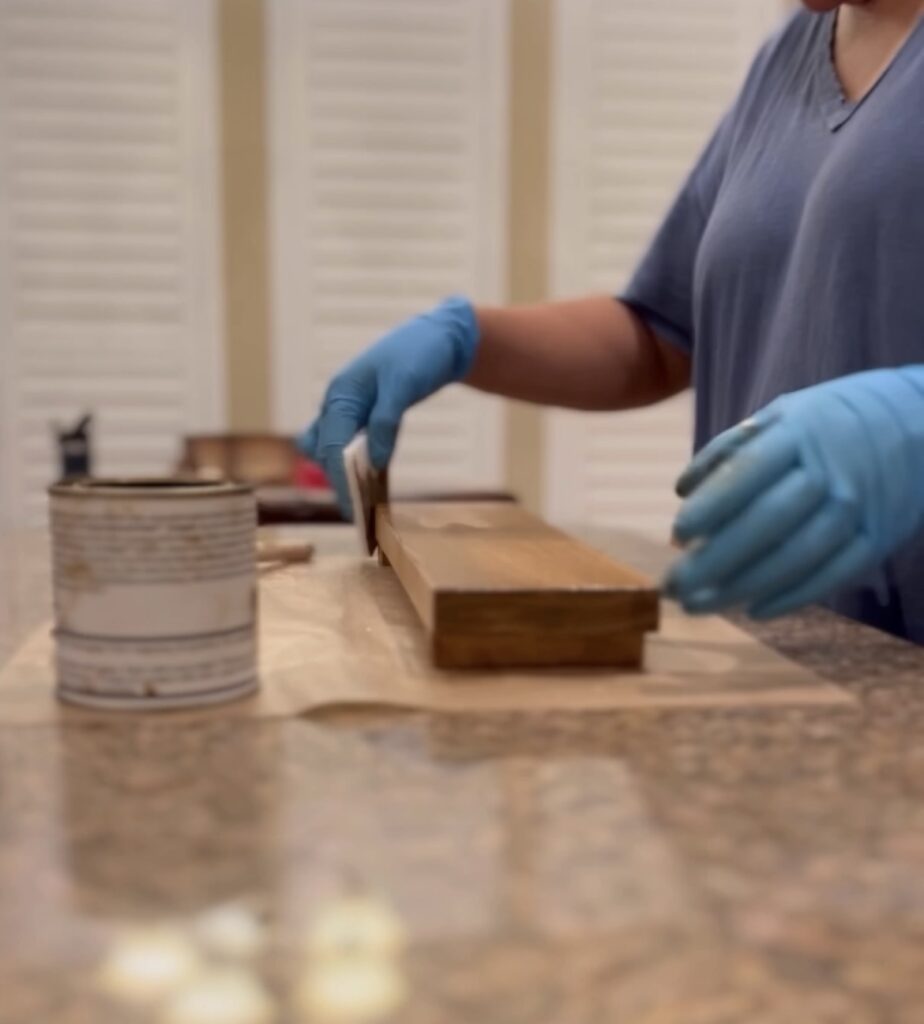
Staining/Painting the Riser
I used one of my favorite all in one stains by Fusion Mineral Paint in Golden Pine to stain my little riser. You can use your preferred paint or staining method for this part. I use a combination of a white paint wash, followed by stain. I wrote a blog post about it here.
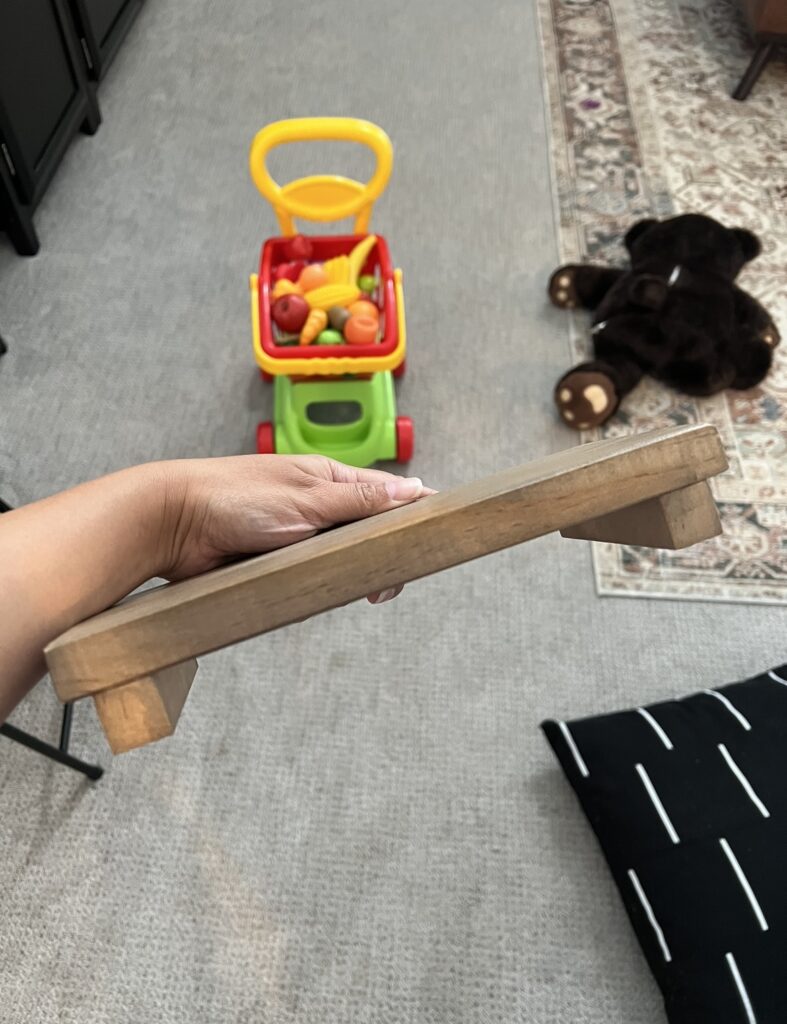
See? This is an easy DIY that doesn’t require many tools and is a great beginner friendly project that you can give as a gift! 🙂 If you don’t own a saw, there are other wood accessories you can buy that you can use as the feet. Just make sure you use wood glue to attach them. I promise you, if you use wood glue, your pieces will never fall apart!
Here is the link to the Instagram reel where I share a summary of the process. Tag me if you make a riser! And check out my other blog posts and posts on Instagram for more DIY content!


