

Have you ever heard of an Aquor Hydrant or installed one? Because let me tell you how it’s going to change your life!
*This post is sponsored by Aquor Water Systems and contains affiliate links. Please see full affiliate disclosure here.

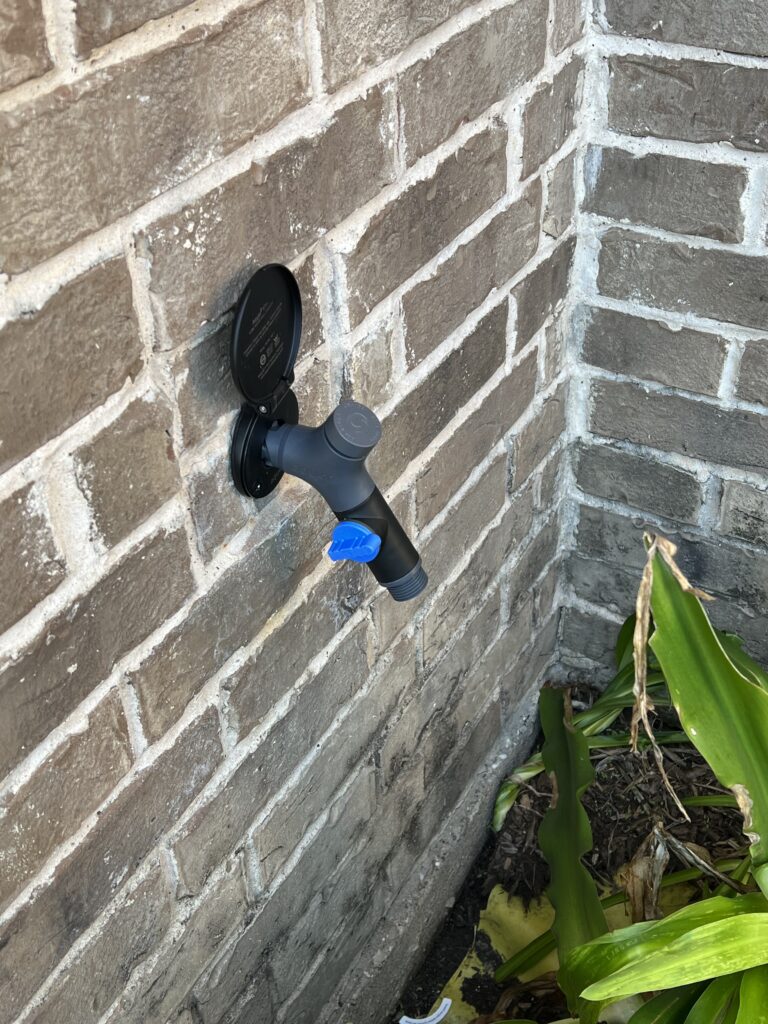
An Aquor water hydrant replaces your spigot. It is freeze resistant, leak-proof and has a sleek and modern look. If you live in the south like I do, especially in states where you have to worry about winter weather (Texas I’m talking to you), installing an Aquor water hydrant that is freeze resistant is a must. Especially with the ever changing and unpredictable weather, an Aquor will just make your life so much easier!
Gather the Materials you Will Need
One of the most important things to take note of is, how the existing hydrant is installed in your home. Some installations will require that you cut into the drywall on the other side of where your water spigot is, to access the plumbing, while other installations are as easy as twisting off the old spigot and installing the new Aquor. For this tutorial, I had to cut into the drywall and access the plumbing and I am going to show you how I did that. But first. . .
Materials Used for this Project:
- 6″ Drywall Knife
- Access Panel
- Caulking
- Shark Bite ½” brass adapter
- ½” Copper Pipe (I bought a 12″ piece)
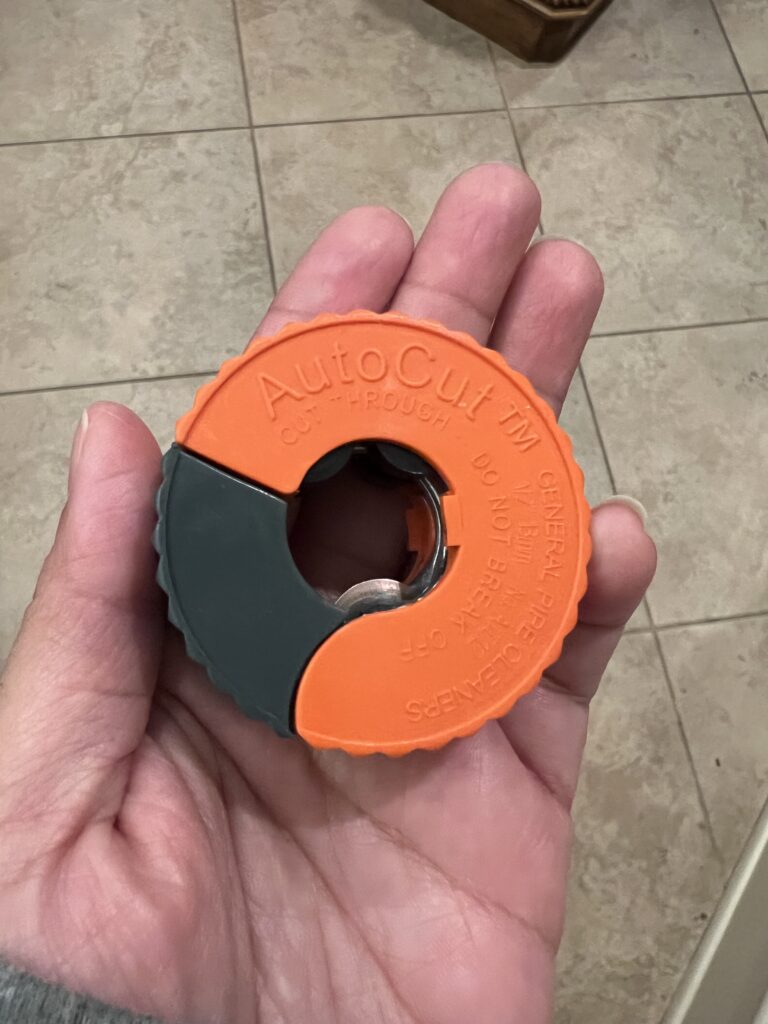
- Pipe Cutter
- Shark Bite ½” coupling
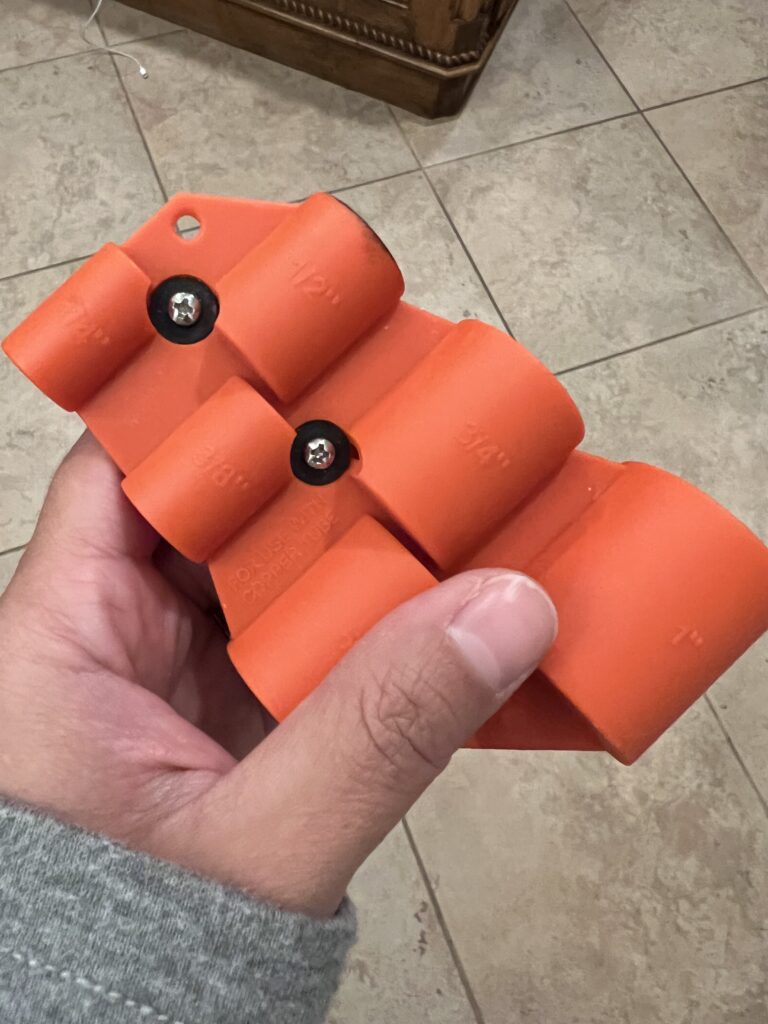
- Shart Bite Deburring Tool
- ½” NPT 90 degree elbow
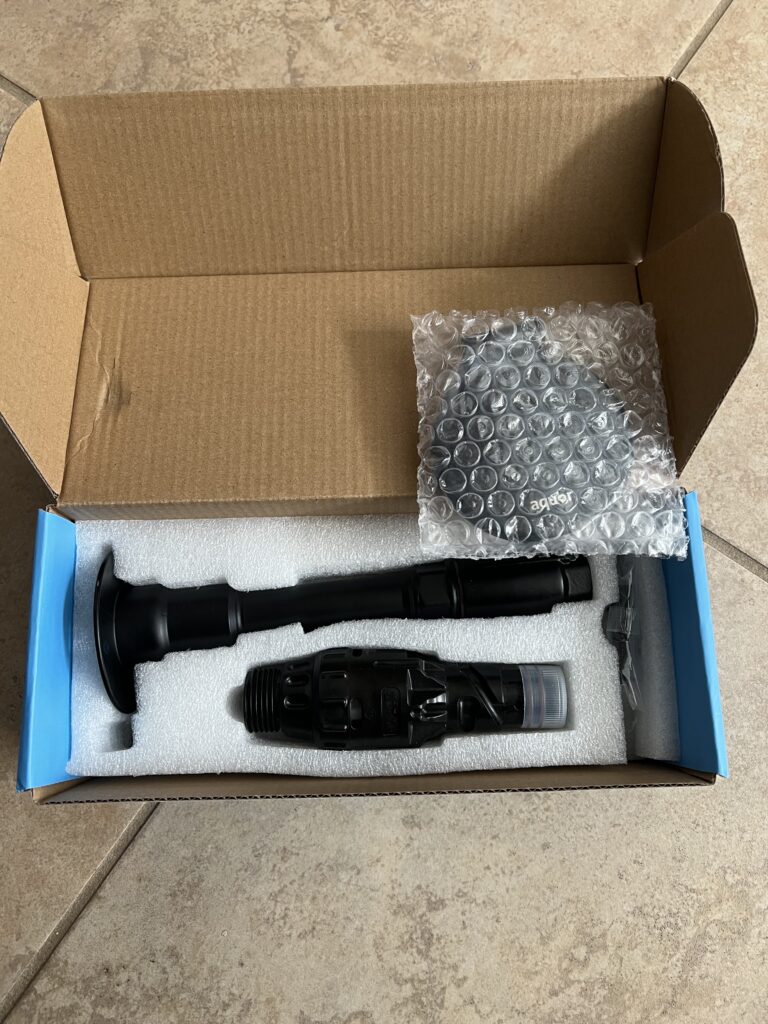
- Aquor Water Hydrant
- Pipe Thread Sealant
- Plumber’s Tape
Reminder that I am not a plumber. You can purchase all of these materials (minus the Aquor) at your local box store. Aquor also offers other accessories including PEX inlets. You can find all the accessories Aquor offers here. There are also other ways to do this installation, but as a DIYer it was much easier for me to use the Shark Bite fittings because they are affordable and DIY friendly. Just keep in mind that Shark Bites are only good for about 20 years. This is why I chose to install an access panel so I can have access to the plumbing later on if I need to have access.
Prepping for the Installation
Before installing an Aquor water hydrant, determine what size of hole you need to access your plumbing, make sure you find the back of the spigot, find the studs, and carefully cut the drywall out. Ideally you want to make sure you are cutting between studs so you can easily install the access panel. Your cut doesn’t have to be perfect, but it does help if you cut straight lines.
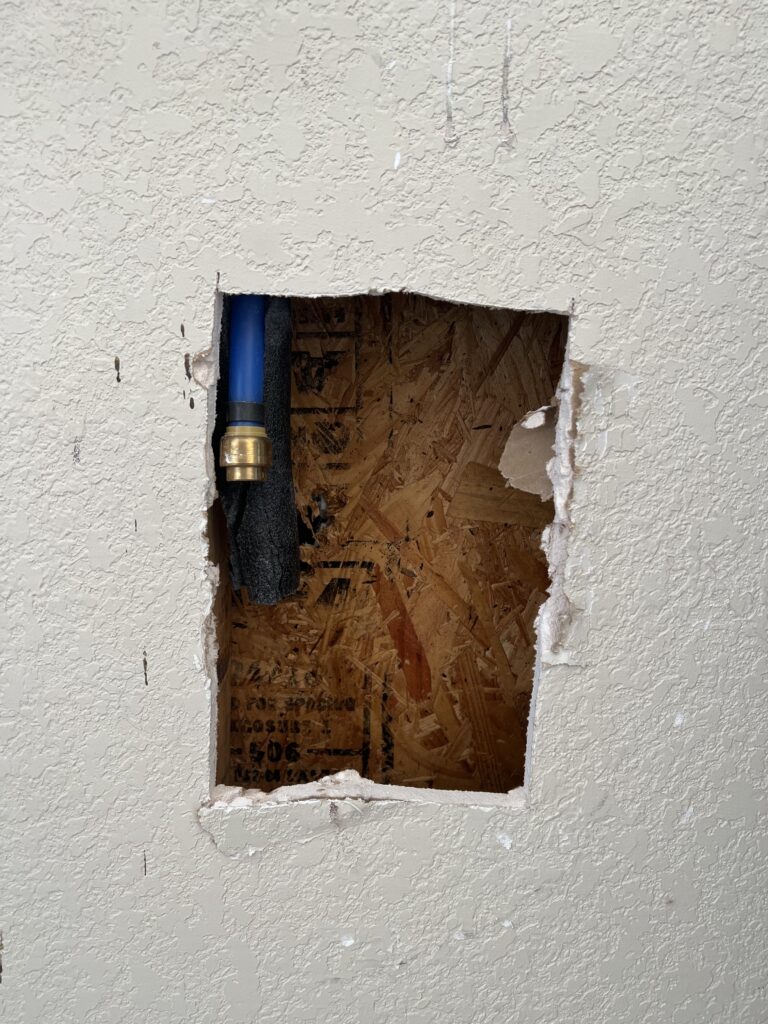
Now that you can see the back of your spigot, you will need turn off your water first!!! Next you want to make sure the hole where your Aquor will be installed, is large enough. The Aquor hydrant has a template you can use to determine where you will need screws to go and how large the hole will be. In my case, the hole was big enough for the hydrant so I didn’t have to do extra drilling or enlarging of any holes.
Cut the water pipe (I happened to have PEX) with a pipe cutter and make sure you have a rag and a cup to catch the water that is going to drain out as you cut.
Assembling the Pipe Fittings
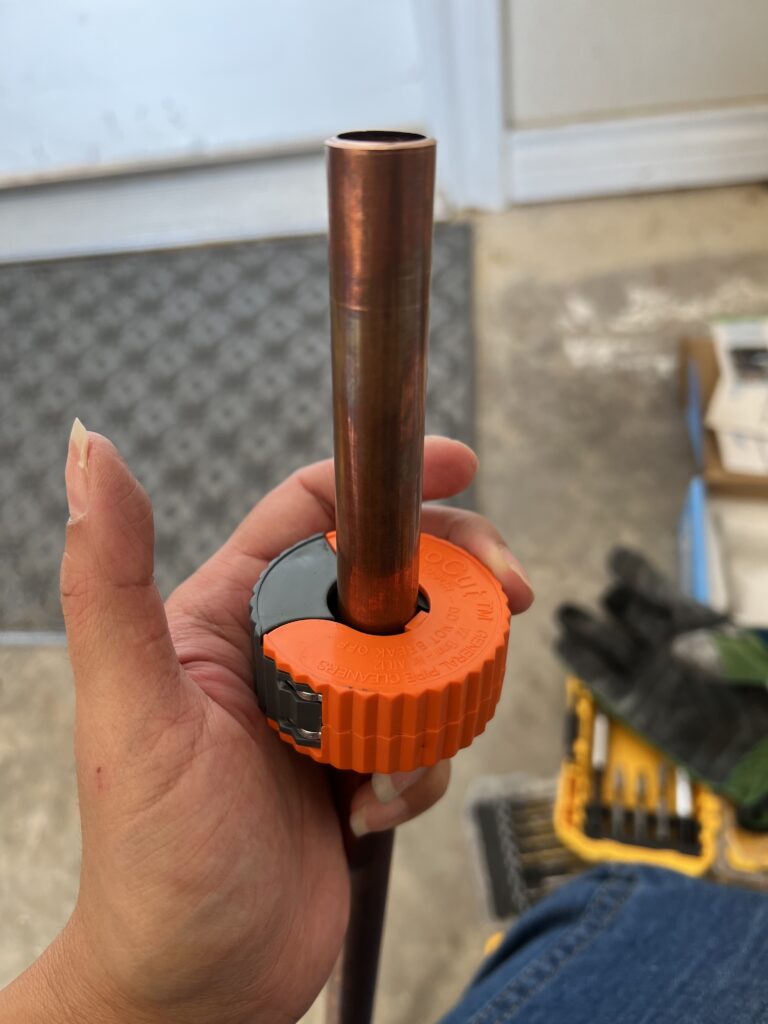
I cut a small piece of copper pipe and used the sharkbite deburring tool to smooth out the edges of the copper pipe before assembling all my plumbing that the Aquor hydrant will be attached to.
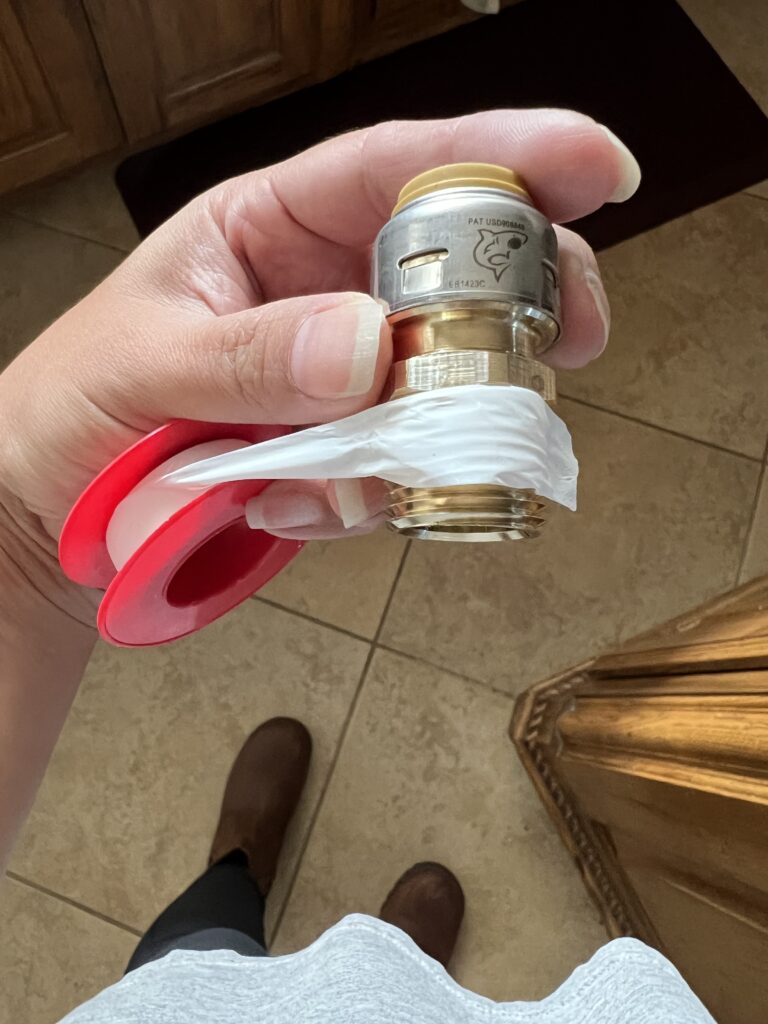
When connecting the NPT elbow to the Sharkbite brass adapter, make sure to use pipe thread (plumber’s tape) and pipe sealant to prevent any leaks from happening.
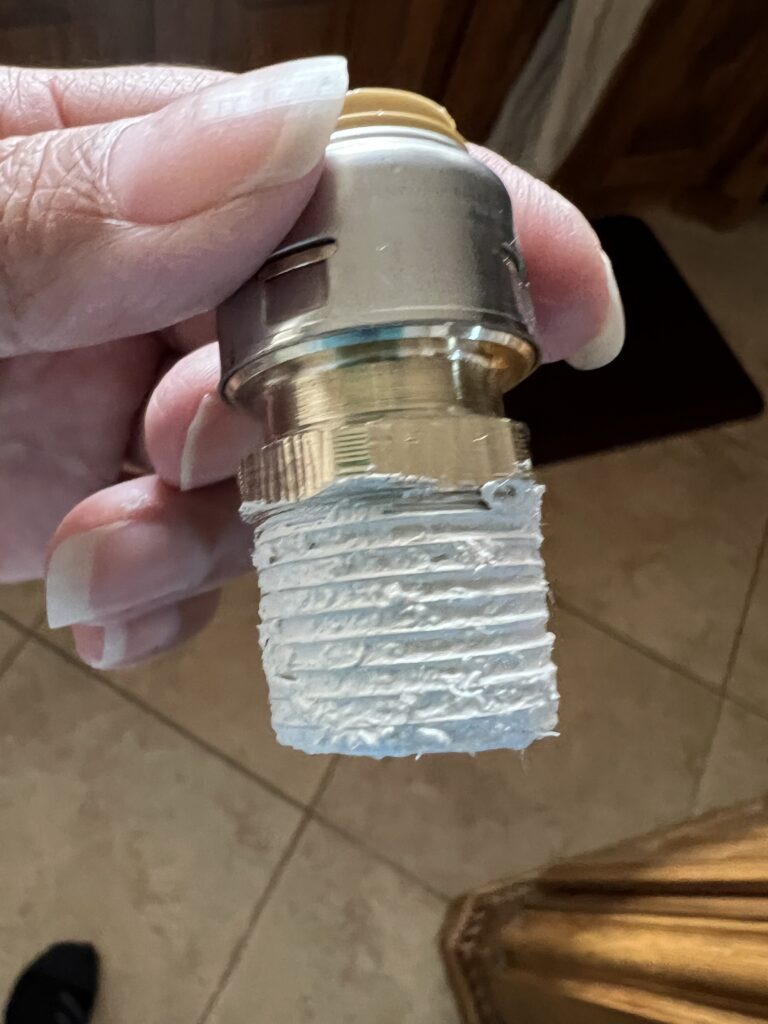
And now you can assemble all your pieces. From the bottom up this is the order of parts:
NPT Elbow -> ½” Shark Bite Brass Adapter -> Copper Pipe -> ½” Shark Bite Coupling
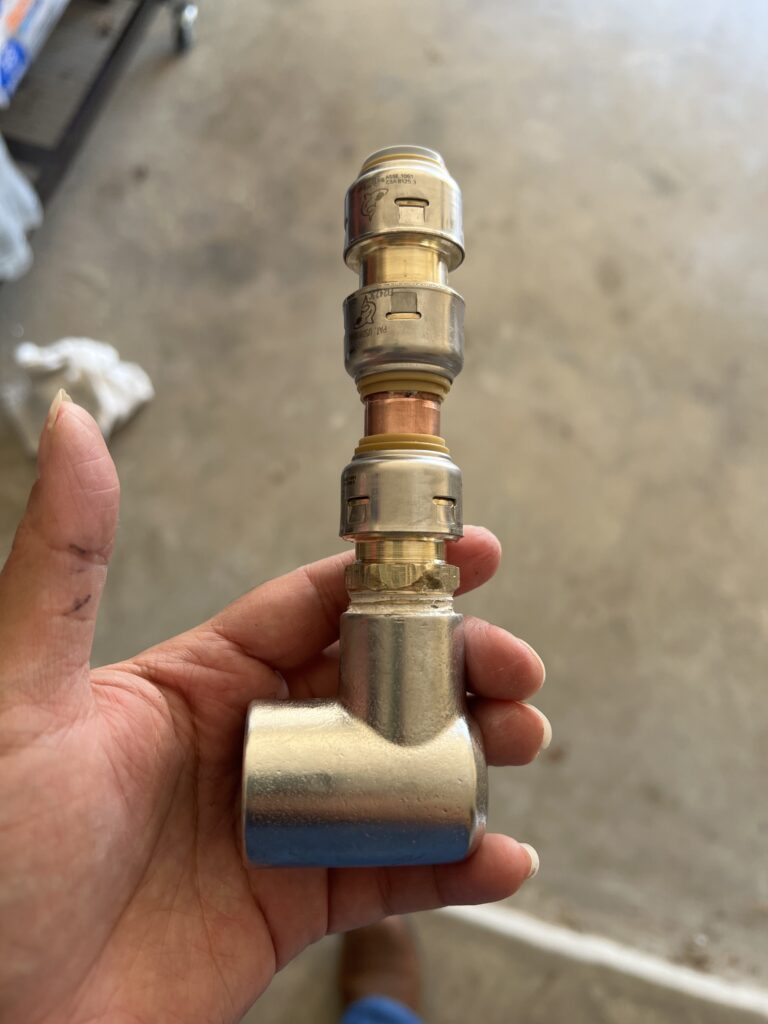
The NPT Elbow (at bottom) will connect to the Aquor Hydrant and the coupling at the top will connect to the existing water line which is a PEX. Now we are ready to connect everything!
Connecting it All
Attach the fitting to the pex first. You will need good hand strength to do this! You want to make sure it’s as tight as possible to avoid any leaks in the future.
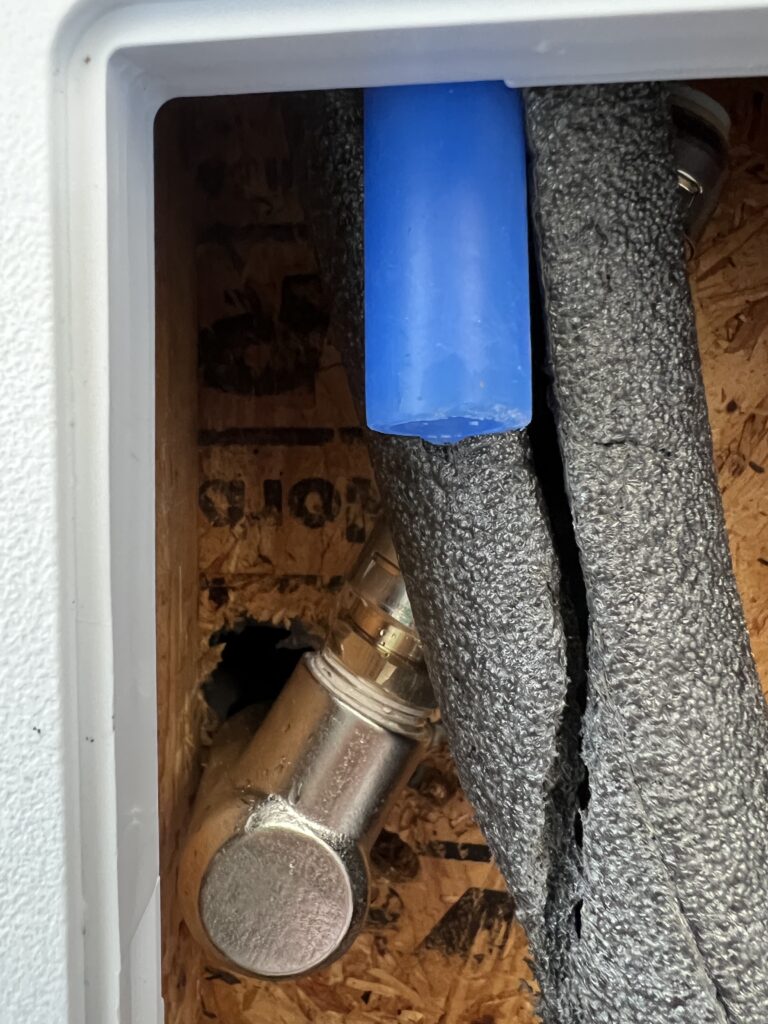
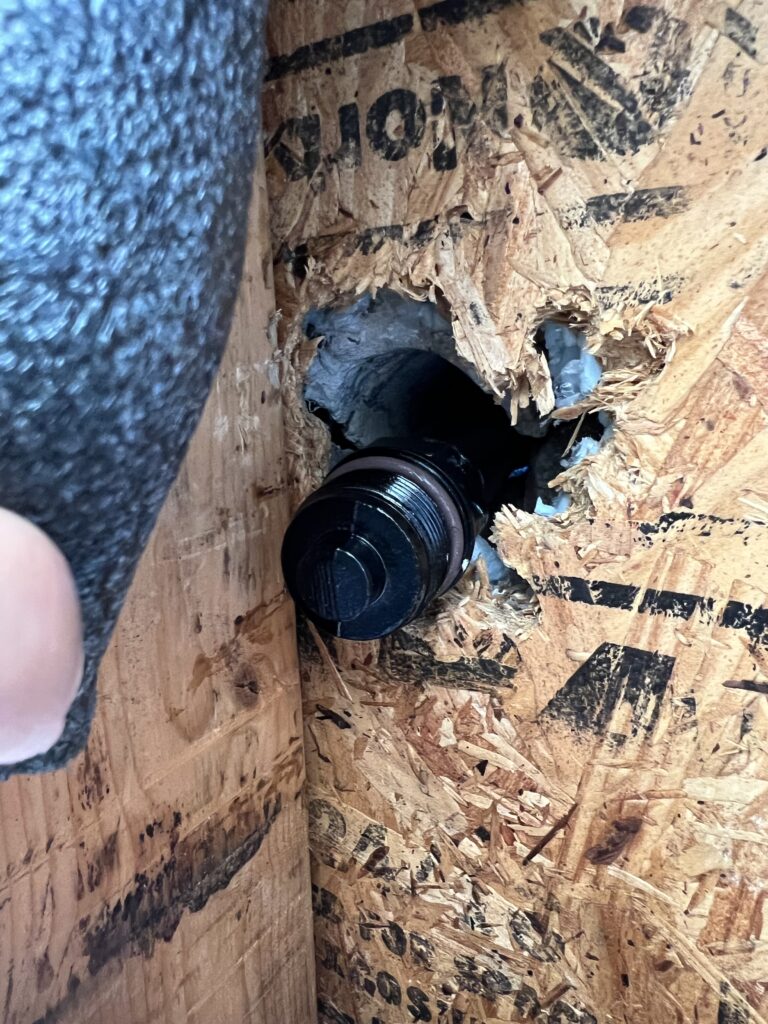
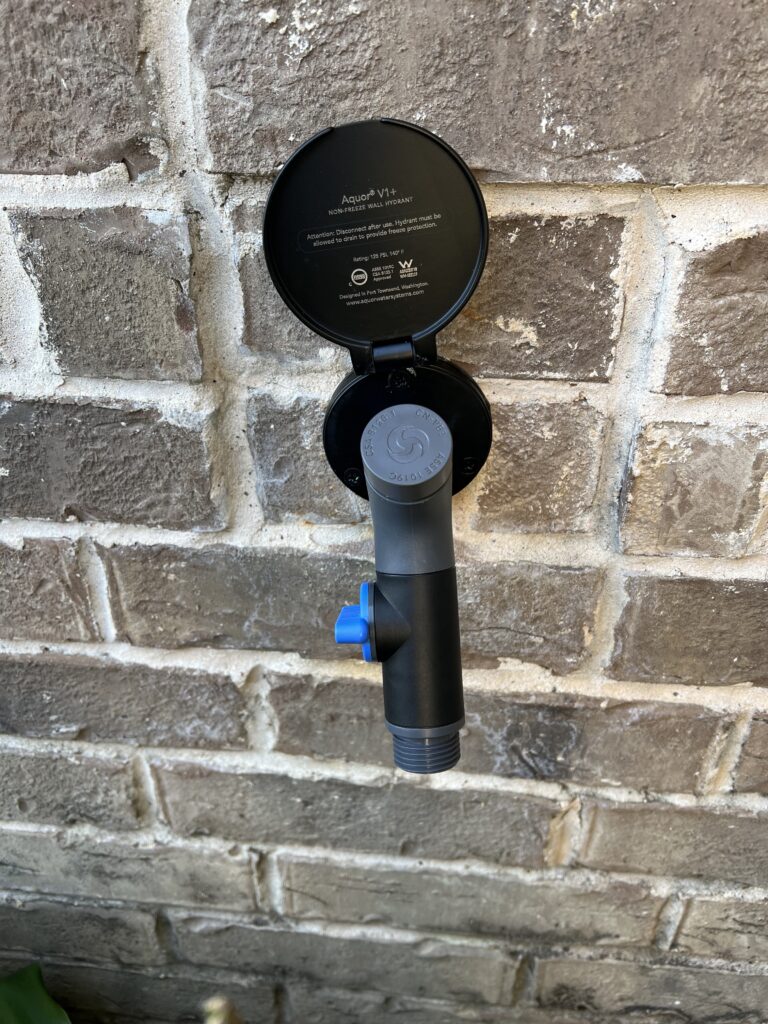
Next, you will install the Aquor water hydrant from the other side and thread it into the elbow.
Add the hydrant cover and screw the fitting to the wall. Once the fitting is secure, you can turn the water back on and test out the hydrant!
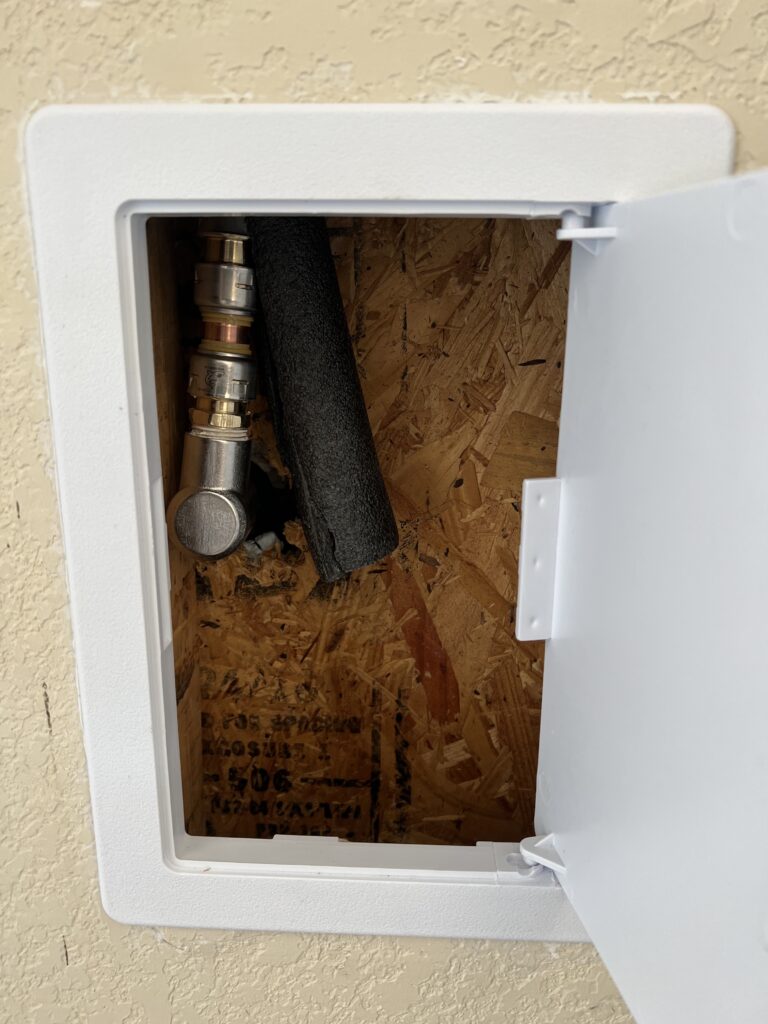
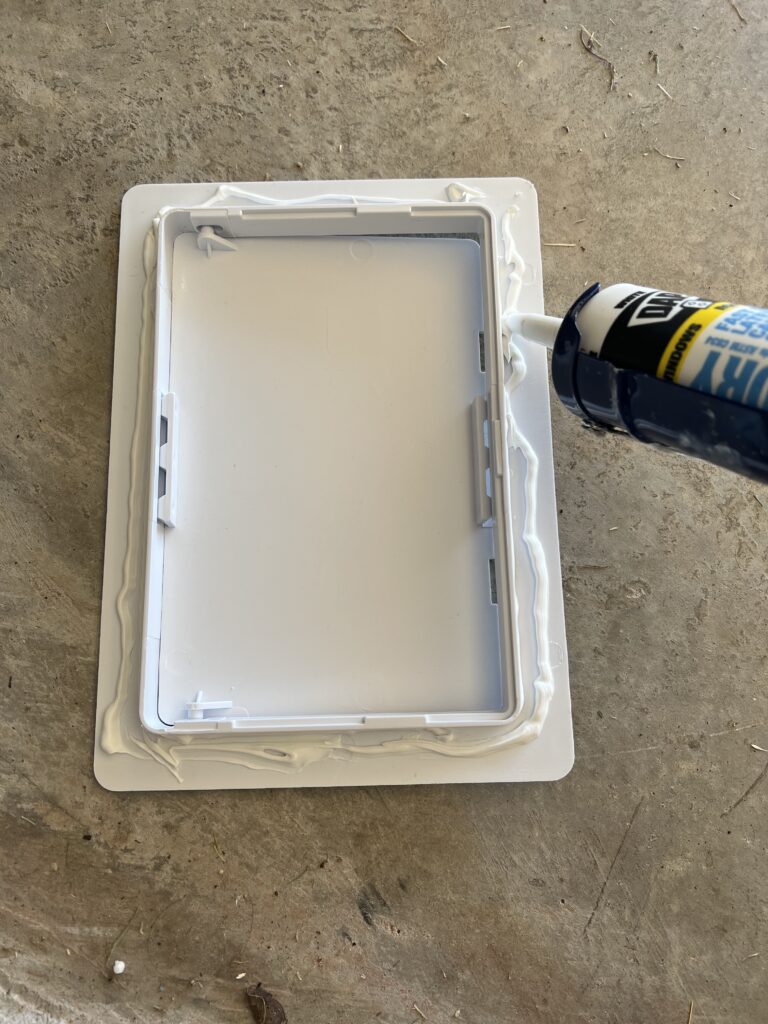
Installing the Access Panel
I installed the access panel before the Aquor installation but in hindsight I would recommend you install the Aquor first and install the access panel at the end. 🙂 Make sure there are no leaks in your newly installed hydrant and use caulking to secure the panel to the wall.

We now have a hydrant that we will never have to add a cover to because it is freeze resistant! This is the 3rd time installing an Aquor water hydrant and I highly recommend it! We have loved having our Aquor hydrants and have loved the convenience of never having to worry about our pipes freezing due to an uncovered spigot. If you are interested in learning more about this product, you can visit www.aquorwatersystems.com for more information and if you’re ready to purchase one you can use code “texasdiymama10” for 10% off your order.
Here is the Instagram reel of a previous install. The install in this video was much easier than the current install, but nevertheless, it was worth it! As always, let me know if you have any questions. I’m always happy to help! Happy DIYing!


