

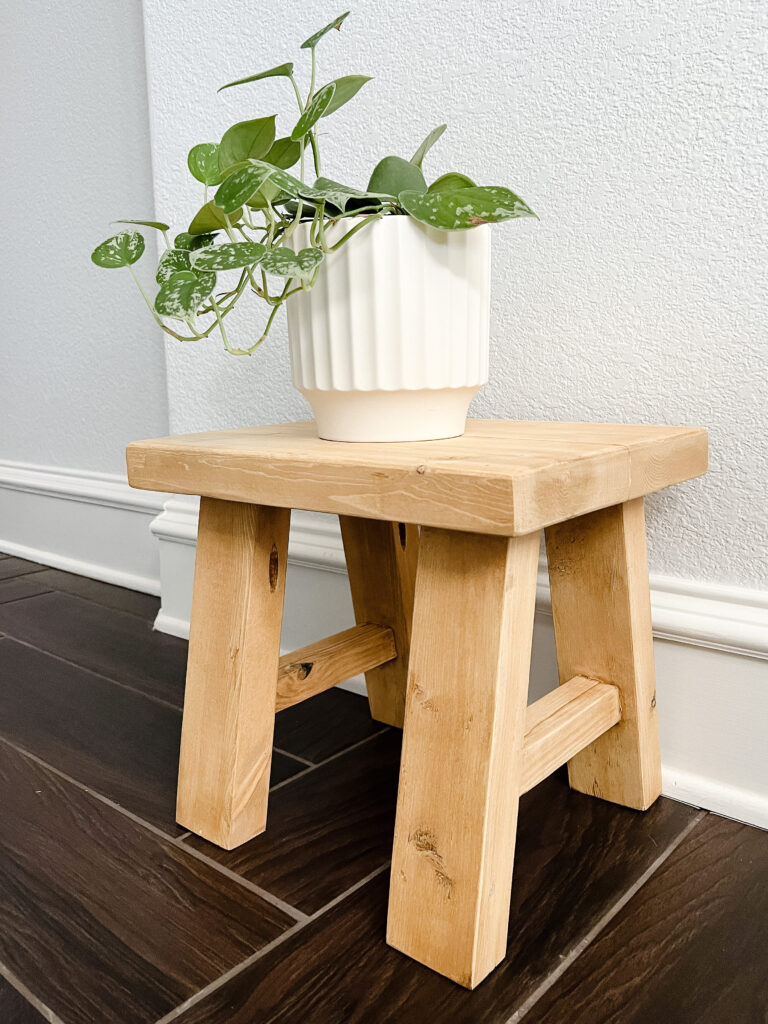
One Saturday, I was at church and noticed that my kids’ Sabbath School class needed a stool. I could not get the idea out of my head so I decided to build a simple stool out of some scrap pieces of wood
I had. Even though this stool is simple it was made with lots of love!
*This post contains affiliate links. Please see full affiliate disclosure here.
These are the materials I used:
- 2x6s for the top
- 2x3s for the legs
- 2x2s for the foot rests
- Titebond III Wood Glue
- Kreg Pocket Hole Jig 320
Tools I used:
This stool is mainly for decorative purposes and has not been weight tested. It’s more like a stool to put books, a phone, and other small items.
Steps for Building this Stool
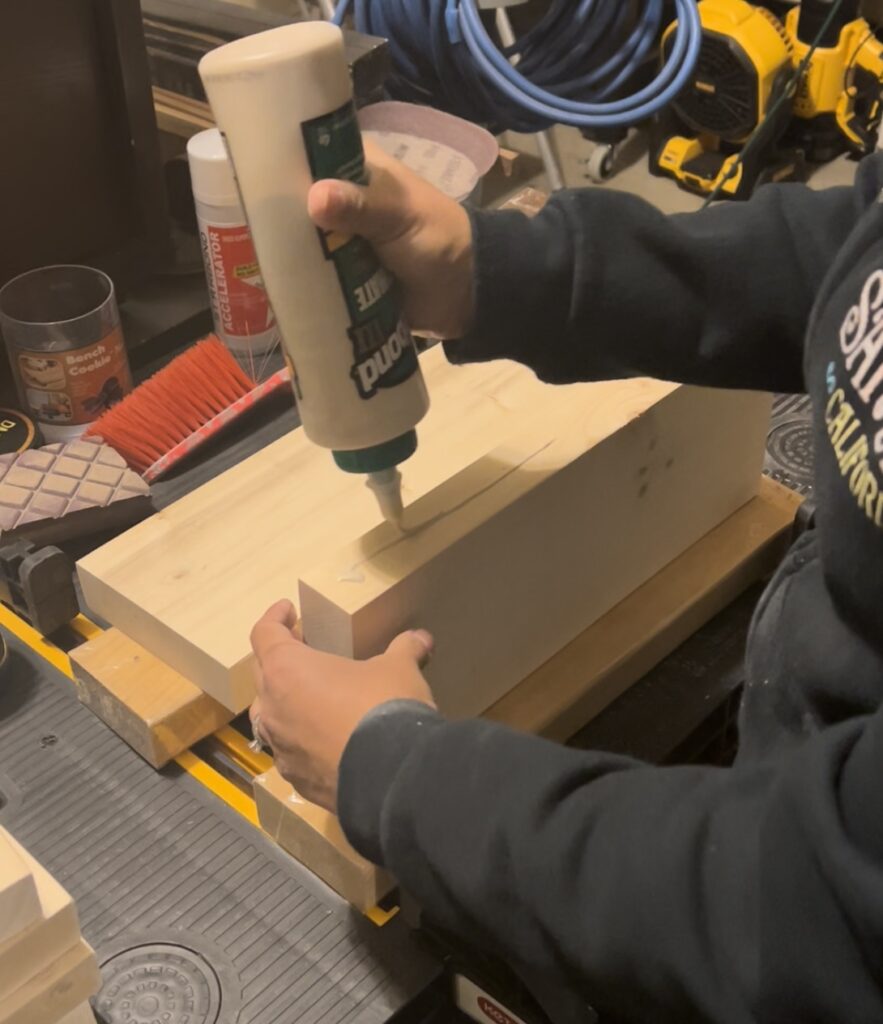
1. To build the top I took two pieces of 2×6 framing lumber and glued them together with Titebond III. I use Titebond III for all my projects even though any wood glue will do. After gluing the top together I put it in clamps and let it dry overnight.
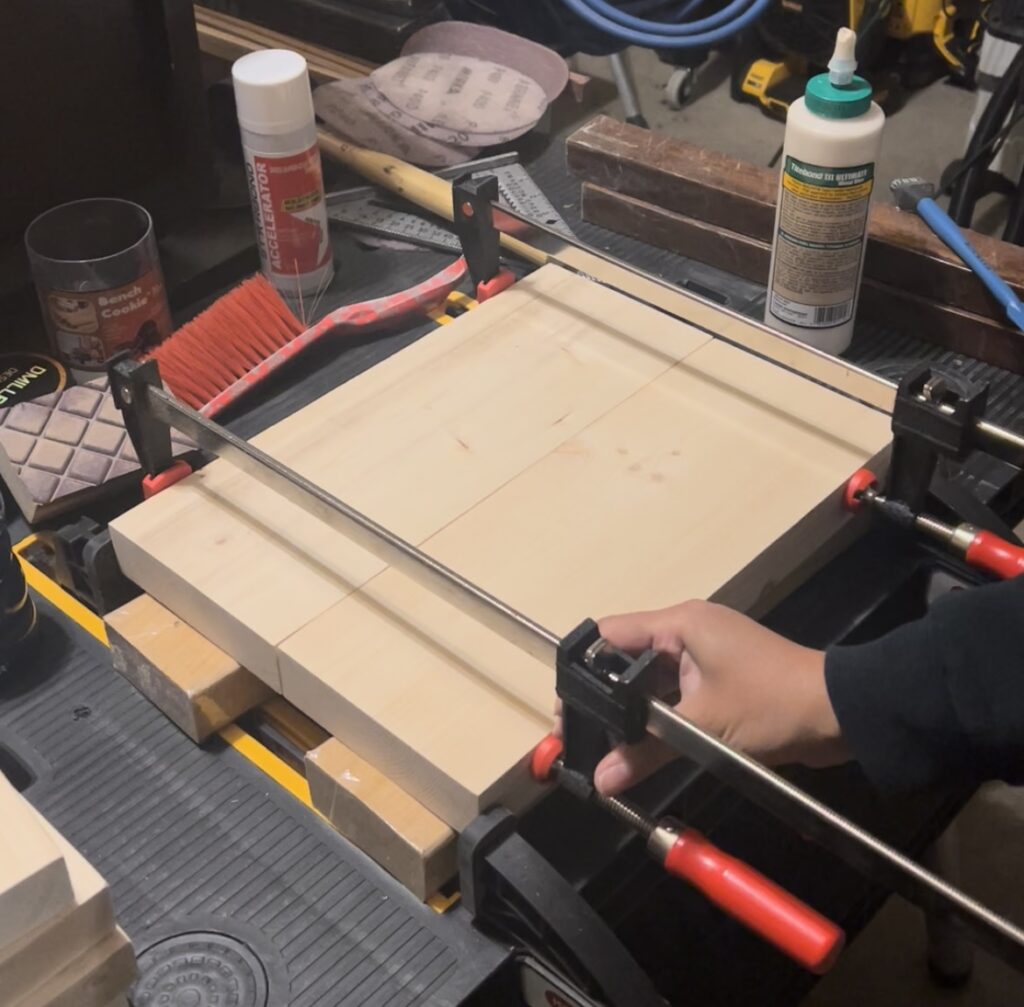
For glue ups like this I like to use either the Bessey Bar Clamps or the Pony Jorgensen Bar Clamps. Honestly, whatever is on sale is what I buy. 🙂 Both brands make a great product.
While the top sits in clamps, let’s work on the legs.
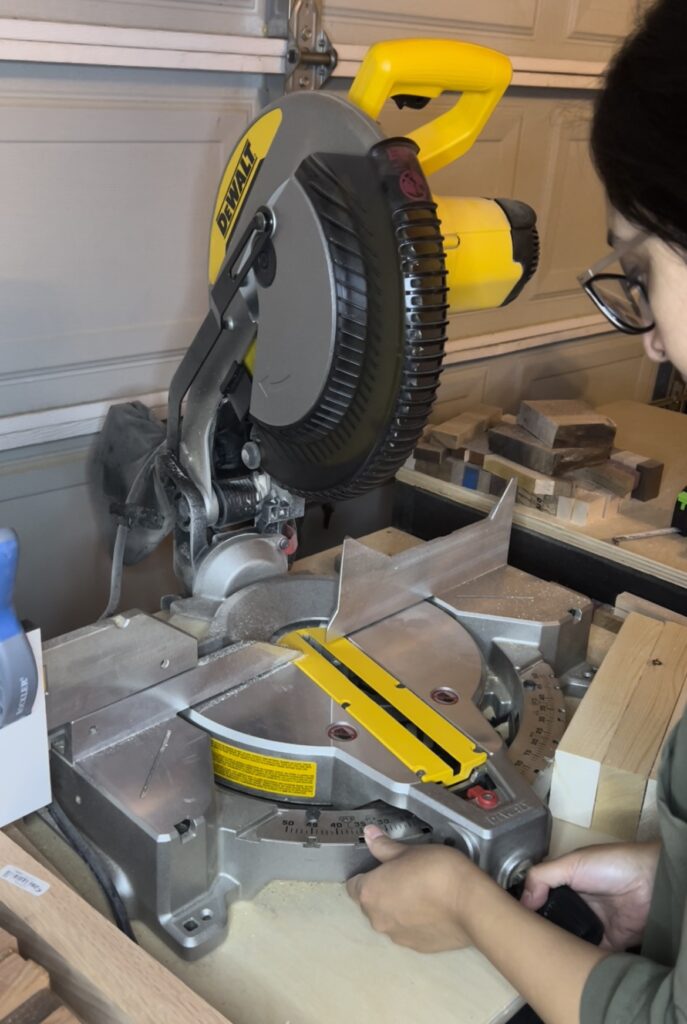
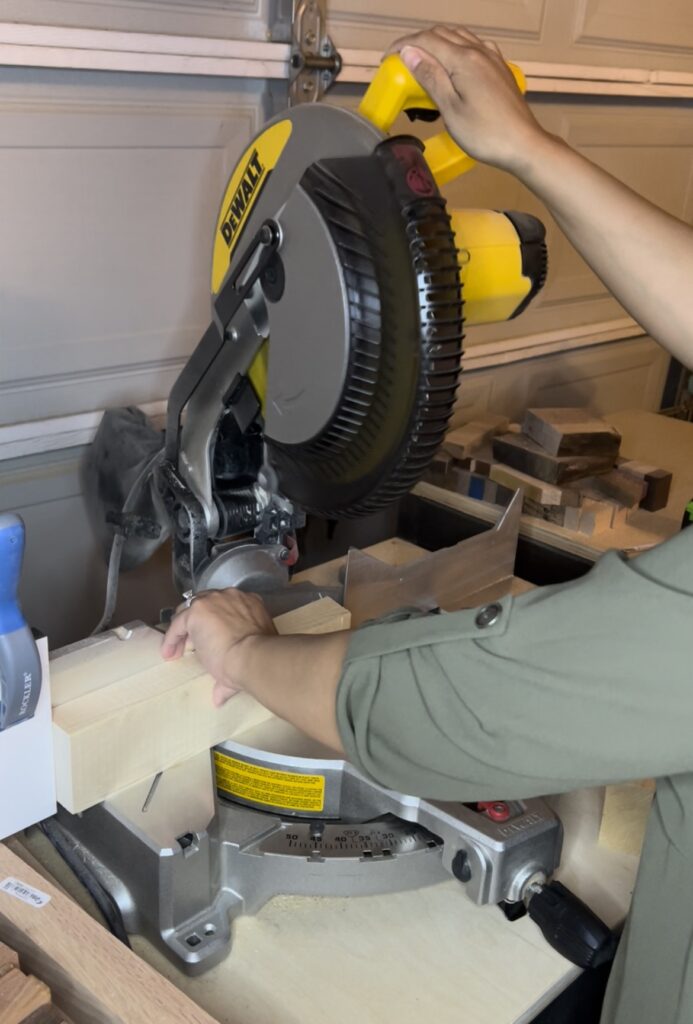
2. Start by cutting what will be the legs of the stool at 10 degrees top and bottom. All the legs will be the same length. You can use a stop block for more accurate cuts. I make 90% of my project cuts with a miter saw. The cuts are easier and more accurate. I used scrap pieces of 2×3 pine for the legs and scrap pieces of 2×2 pine for the footrests. Depending on how tall your stool is going to be will depend on how long your footrests will be as well. I cut the legs first, then did a dry fit to measure how long I was going to need the footrests to be. Remember when making cuts, cutting too long is better than cutting too short.
Sand your pieces as you go – this will save you lots of time at the end!
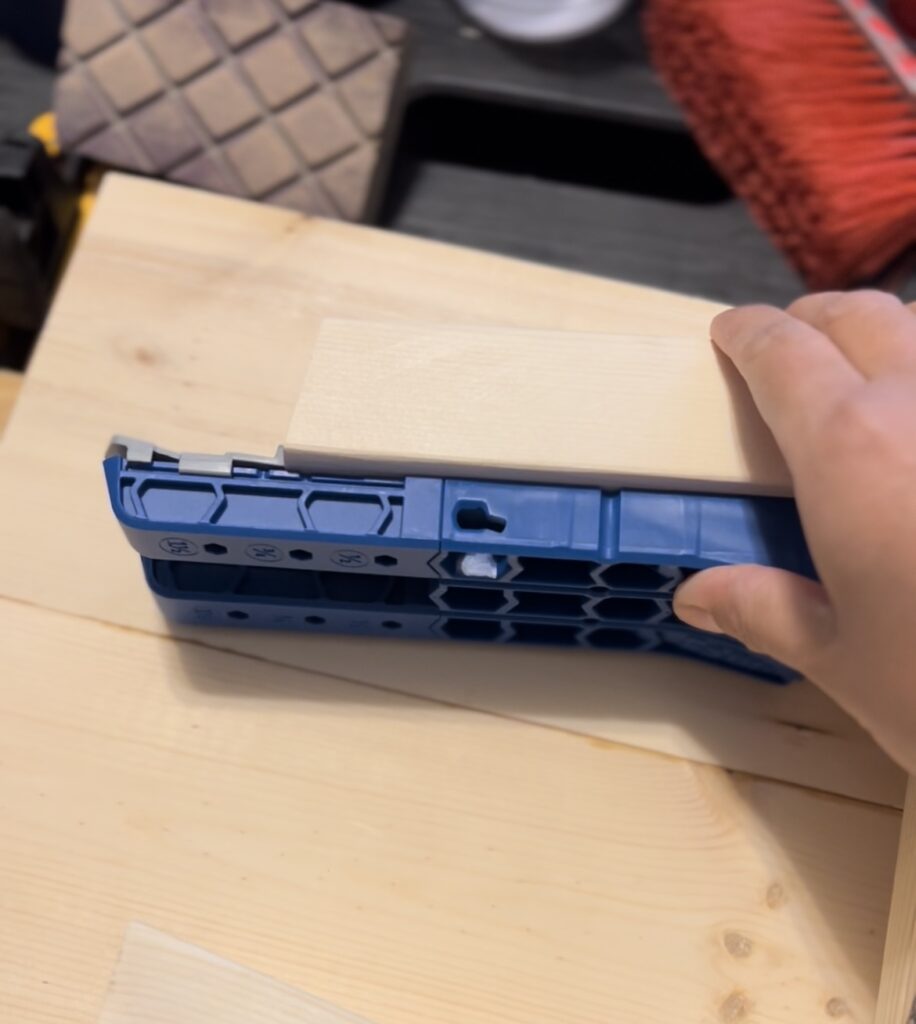
Adding Pocket Holes
3. Add pocket holes to the inside of the legs. This $40 Kreg Pocket Hole Jig 320 is the only pocket hole jig I have ever used. If you are a beginner DIYer, it’s a great jig to have. You can choose to invest in a larger or fancier one, but this jig has served me well. Would an upgrade be nice? Yes. But I would rather save my money for other tools I don’t already own. 🙂
Full disclosure here – I actually messed up and glued the footrests on first before I realized they would be in the way of where I wanted my pocket holes to be. I had to pivot and add pocket holes to the sides of the legs. It still worked out but if I were to make a stool like this again, I would definitely make the pocket holes first, attach the legs to the top with glue and pocket hole screws, and then glue the footrests after. 🙂
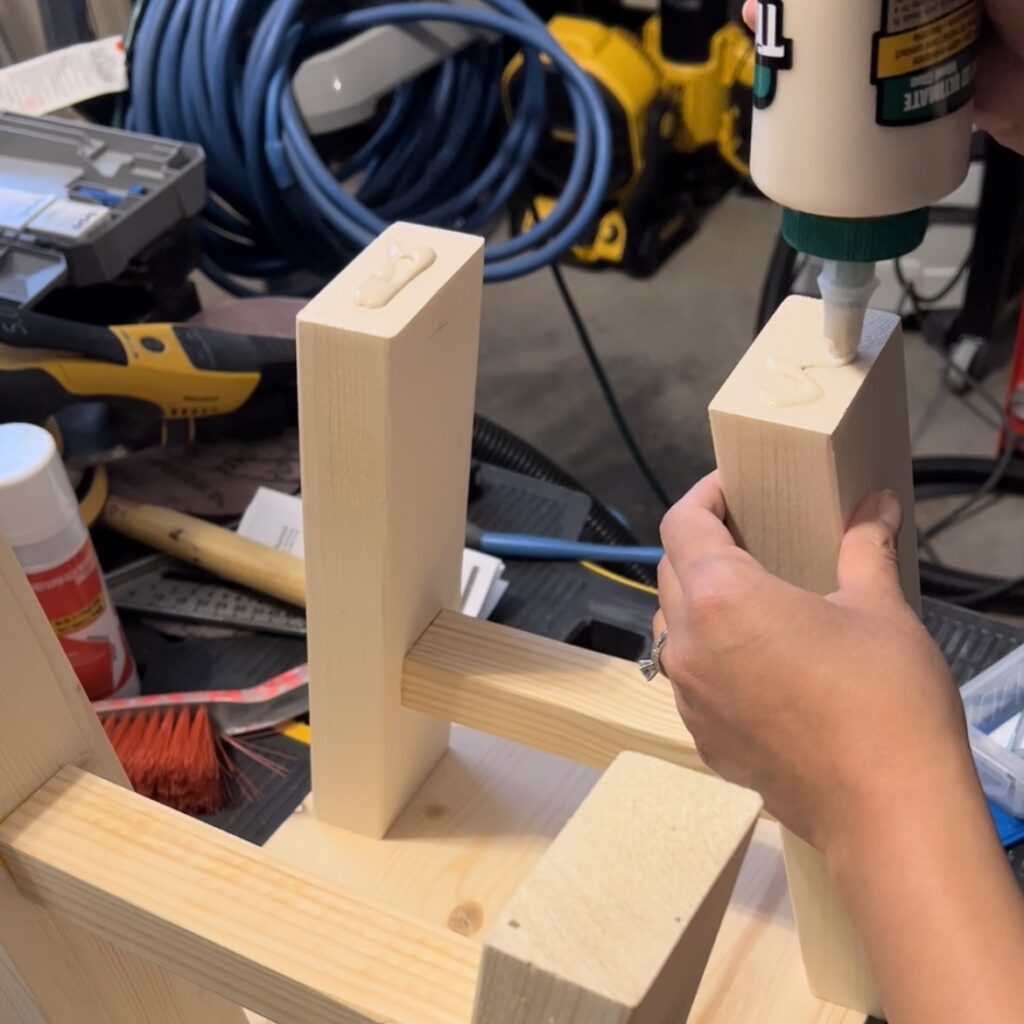
4. The next day, take your top out of the clamps. Now you can attach the legs to the top. Don’t forget to add glue to the legs before you attach them with the pocket holes.
Final Steps
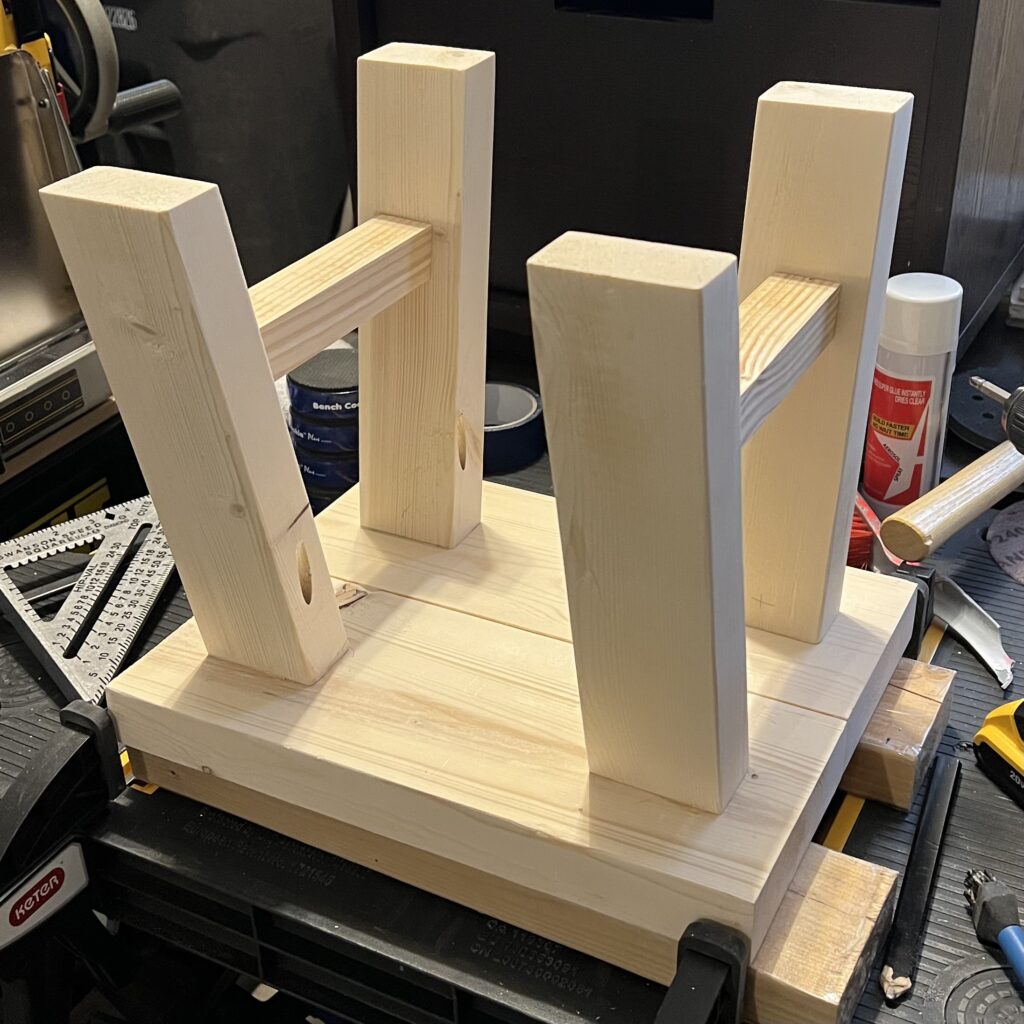
5. Once the legs are attached, glue the footrests in. Remember – I did this the other way around – hehe! My stool still turned out but this is just a reminder that anything in DIY can be fixed! 🙂 Basically, this is what the legs will look like after they are attached to the top, with the footrest in between.
Adding the Details
6. I wanted to eliminate the square edges on the top of the stool so I used my Dewalt router to soften the edges along with my Dewalt powerstack battery. This project was the first time I used the Dewalt powerstack battery and I loved it! I have small hands and this battery makes my router less bulky. If you don’t own a router, you can add a chamfered edge with a sander to soften up those edges a bit or even soften the edges with a sanding block.

7. Now stand back and admire your work! You just built a stool! Give the top a final sanding and that’s it!
Adding the Finish
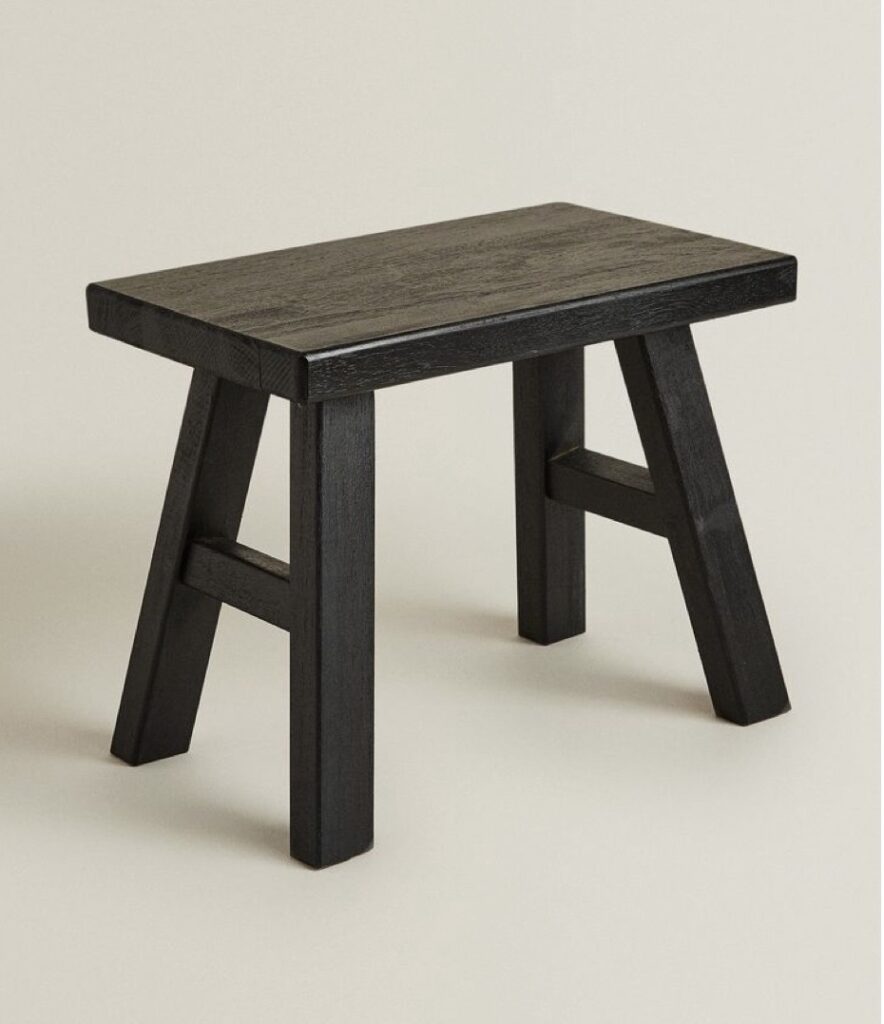
8. The final step is the finish. You can either paint or stain this. I chose to use a mix of a whitewash and a stain. On this blog post, I go into more detail about my go-to staining method.

I love how this stool turned out! You can take a look at my Instagram to see how I built this stool. This build is saved to a highlight as well as a reel if you’d like to see more detail about the process. If you give this build a try and share it to Instagram, tag me! I love when you share your projects with me!
If you have any questions about this build, please feel free to reach out. I am always happy to help. 🙂 Happy building!


