I’m going to be honest with you right out of the gate, I did not plan on flipping a bathroom vanity.
This bathroom remodel has been a slow burn. A “do-it-when-I-can” kind of project. I’ve been working on it mostly on my own, piece by piece, over the last year. And like most real-life renovations, the budget didn’t magically stretch just because my ideas got bigger.
As I got closer to the finish line, I had one big problem left staring me in the face: the vanity.
I didn’t have the money to buy a new one. And after everything else I’d already poured into this space, there just wasn’t room in the budget to justify it. But I did have tools. I did have skills. And I did have leftover materials from past projects collecting dust in my shop.
So I challenged myself.
Instead of buying new, I asked one simple question: What if I flip the vanity I already have?
What you’re about to see is how I took a basic, builder-grade vanity that’s been in this house for over 20 years and turned it into a custom, Spanish-inspired piece, using mostly materials I already owned, a lot of patience, and a willingness to experiment.
And yes… I pulled it off for $25. (To be clear, the $25 was what I spent flipping the vanity itself. The quartz countertop was part of the larger bathroom remodel and wasn’t “required” to flip it.)
Let’s get into it.
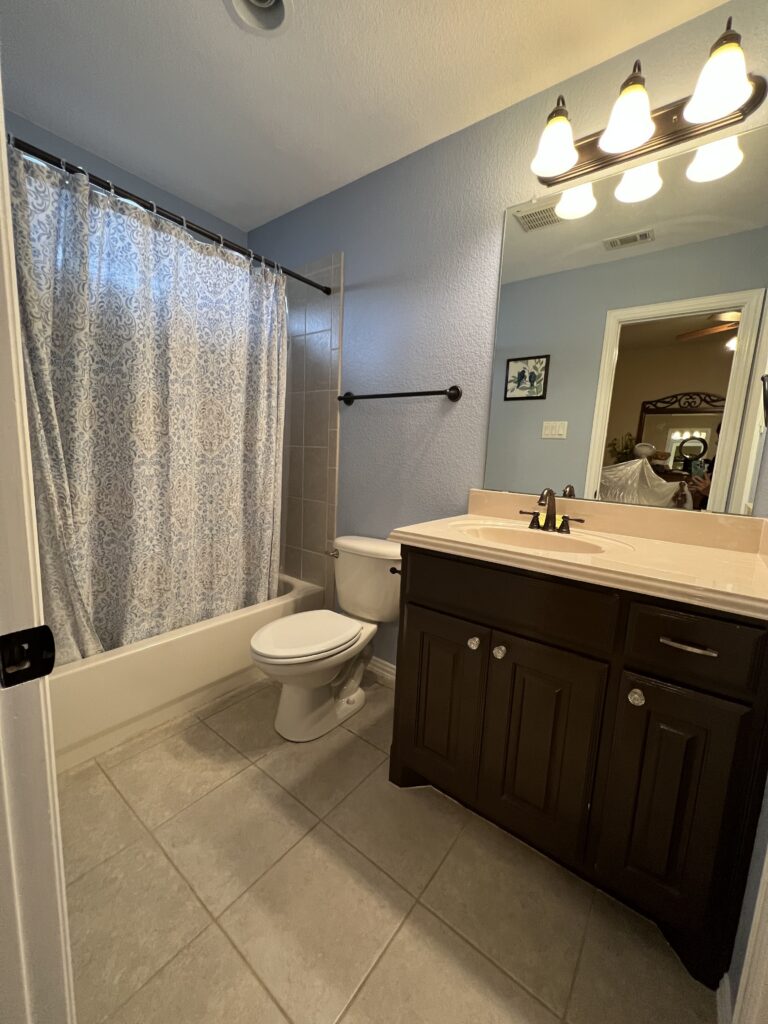
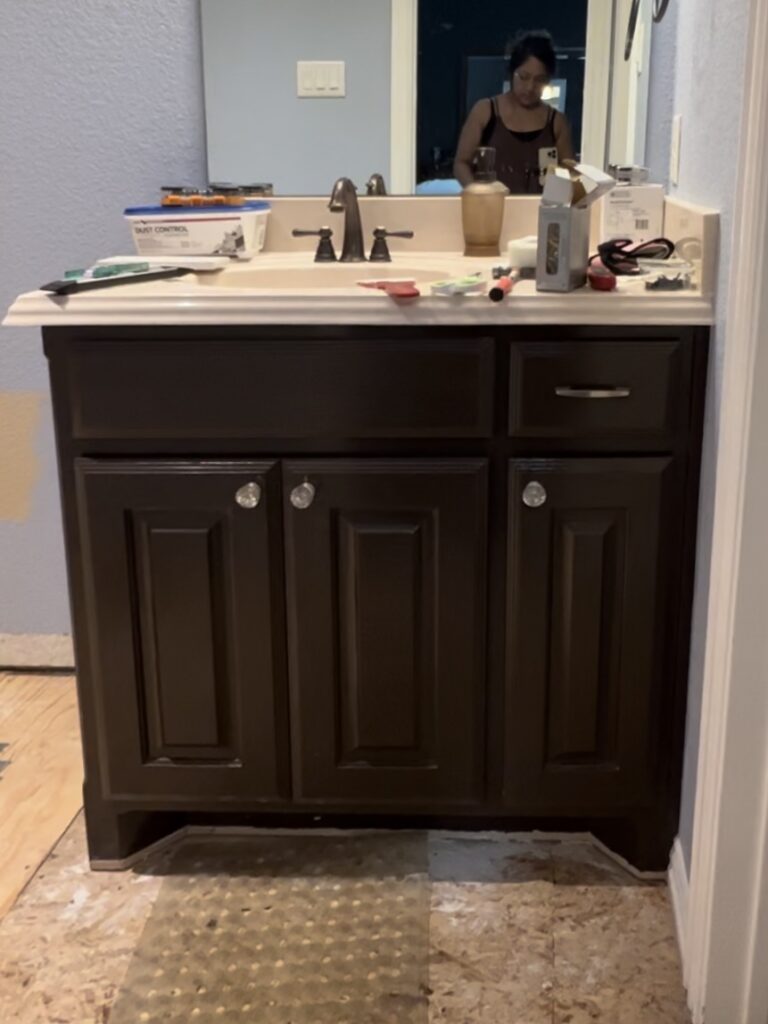
The Starting Point
This vanity was nothing special. Solidly built, but boring. Painted multiple times over the years. Outdated hardware. Overlay doors. Fake drawer fronts. The kind of vanity most people would rip out without a second thought.
But here’s the thing, the bones were good.
And when the bones are good, there’s potential.
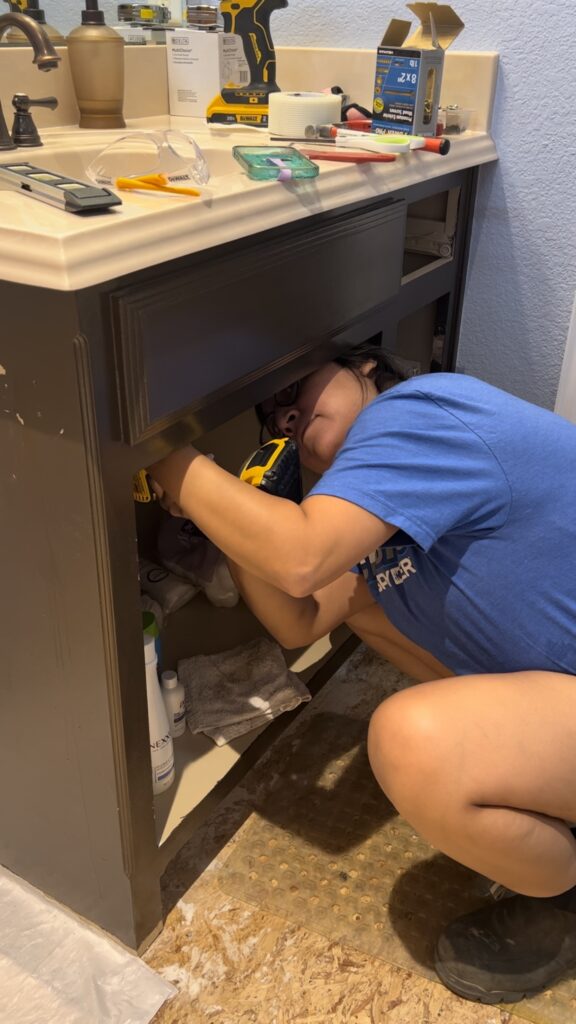
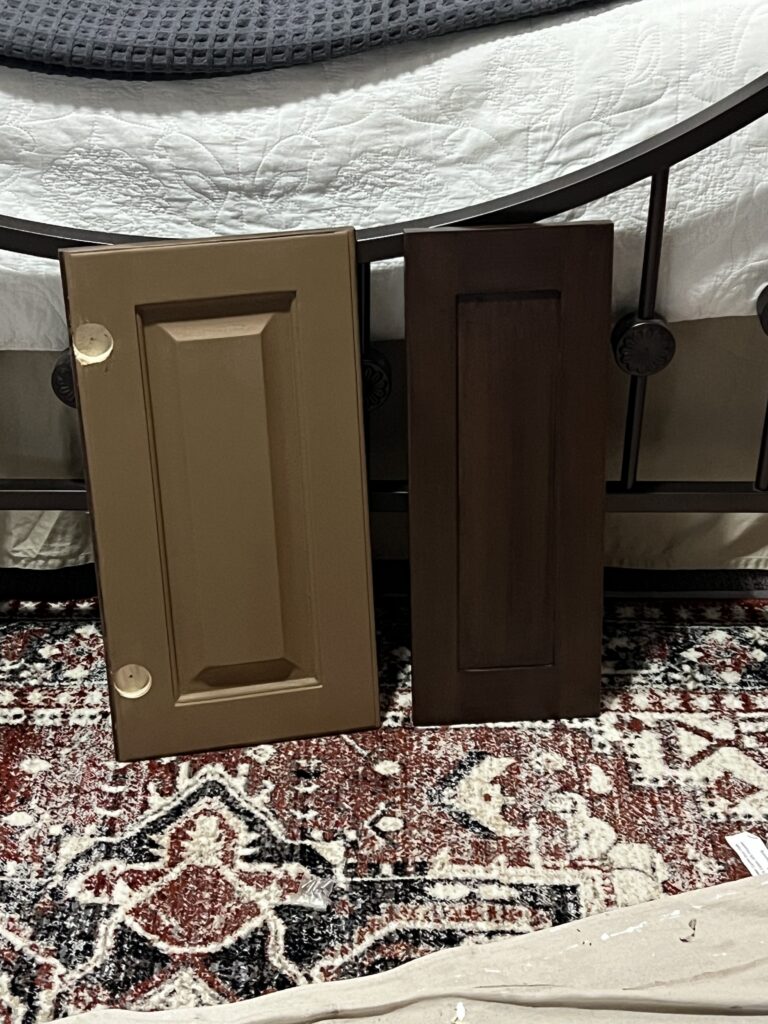
Before touching anything, I removed all the cabinet doors, and that’s when I noticed something interesting. The inside of the doors were actually Shaker style. Clean lines. Simple frame. Way better than the outside.
That moment changed everything.
If I could flip the doors, cut off the outer lip, and make them inset cabinet doors, I might be able to avoid building brand-new doors altogether.
Was it risky? Absolutely.
Was it worth trying? 100%.
Removing the Drawer Fronts
The next step was tackling the drawer fronts.
One of them wasn’t even a real drawer, it was a fake front attached with screws from the inside. Once those were removed, I scored the caulked edges with a utility knife to avoid splintering and used a self-prying bar and small hammer to gently loosen it.
Slow. Careful. Controlled.
This is one of those steps where patience matters more than strength. Rushing here is how things crack.
Tools used to remove the drawer fronts:
- Utility knife – for scoring caulked edges before prying
- Self-prying bar – to loosen the drawer fronts without cracking them
- Painter’s tool – helpful for separating tight seams and edges
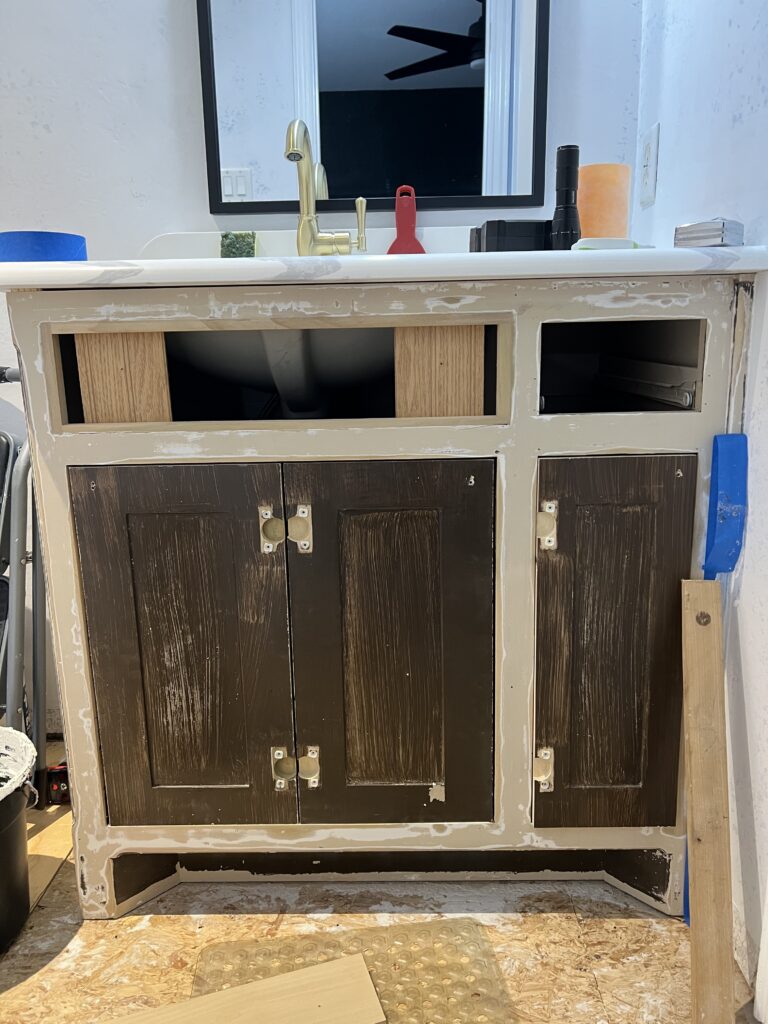
Stripping Years of Paint
This vanity was one of the first DIYs I ever painted in this house, about 11 years ago. Which meant it had at least four layers of paint and poly built up over time.
I tried a “magic” furniture stripper that promised to do all the work for me.
It did not.
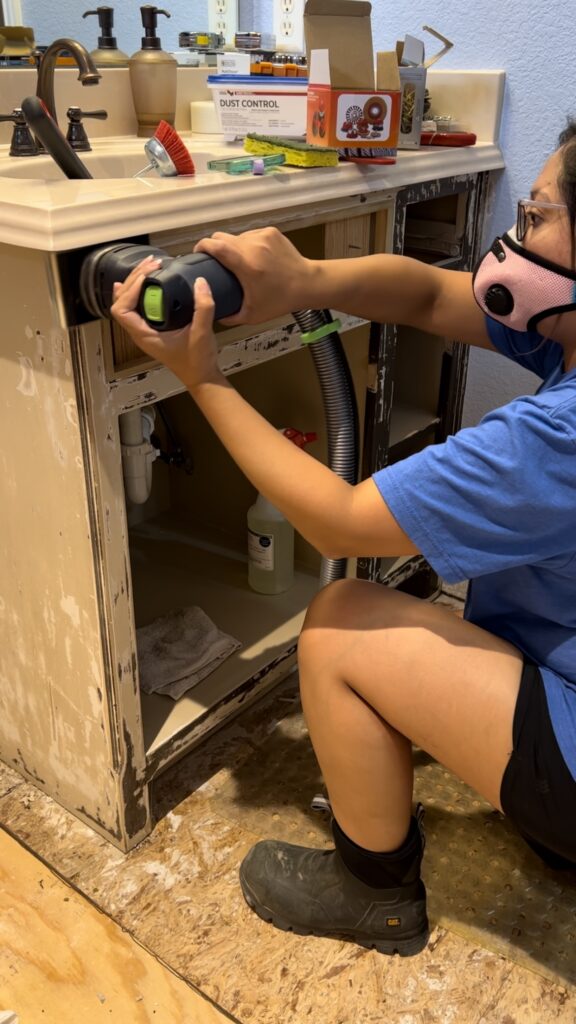
So I grabbed a carbide scraper and scraped for a solid 20 minutes. Was it glamorous? No. Was it necessary? Absolutely.
Once the bulk of the paint was off, sanding was next, and thankfully much easier.
Here’s my honest take: You don’t need fancy tools to DIY. But if you plan to do a lot of furniture flips, a good sander paired with dust extraction is worth every penny. Less mess. Less frustration. Better results.
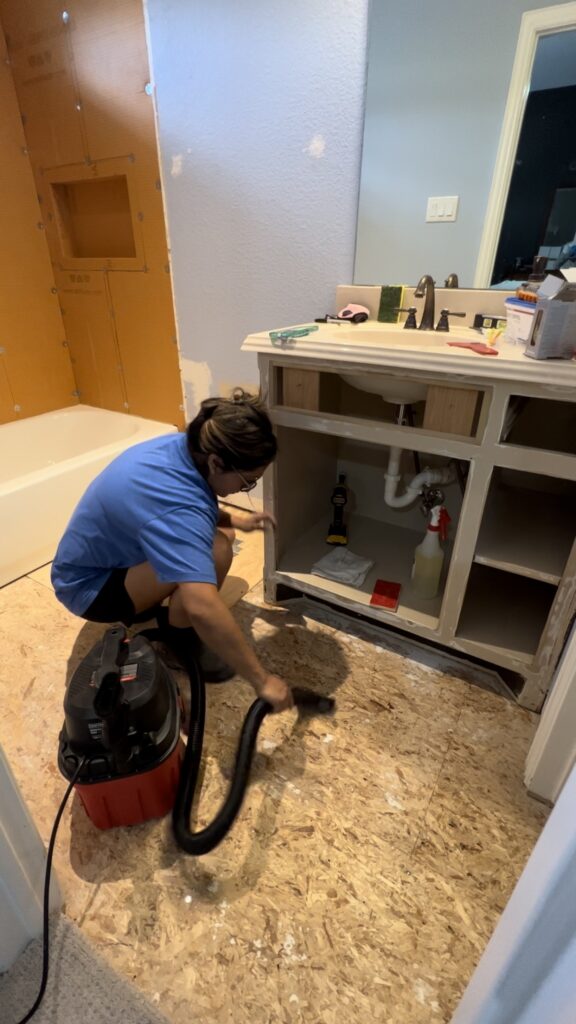
After sanding, I vacuumed everything thoroughly and prepped the vanity for the next phase.
Tools used in this step:
- Carbide scraper – to remove multiple layers of old paint
- Festool RTS 400 sander – for fast, even sanding
- Festool CT15 dust extractor – to control dust while sanding
- Mirka sander – for detail sanding
- Sanding block – to finish edges and tight spots
A Budget Win: The Quartz Countertop
Before finishing the vanity, I pivoted.
I found a remnant quartz slab I loved at a local stone yard (plus a sink and install) for $380 total. That stayed within budget, but to be clear, this was part of the overall bathroom remodel, not the $25 vanity flip itself. The vanity absolutely could have been finished with the original countertop and still looked great.
That said… I was feeling a little fancy.
If we’re talking girl math, this was a remnant, installed, with a sink, for less than the cost of a brand-new vanity. So in my head, it still felt like a win.
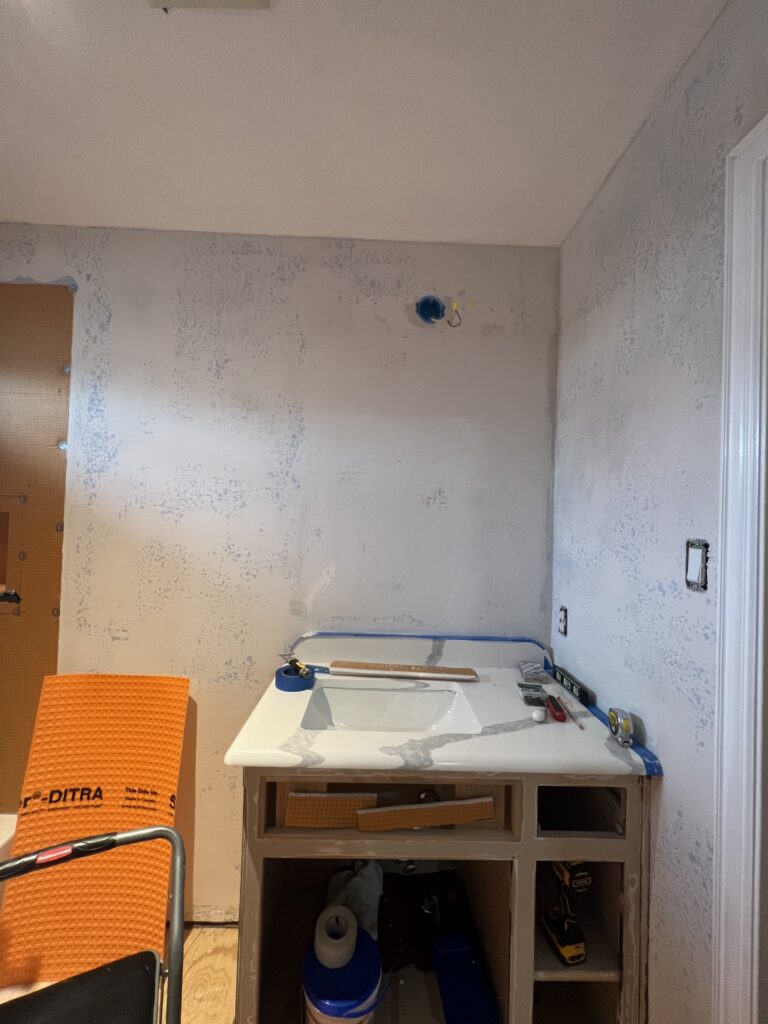
I also decided to pause the vanity work until the microcement walls and floor tile were done. The last thing I wanted was to put in all that effort and then ruin fresh paint with splatter, mortar, or microcement drips. So I waited. A few months passed. And then I came back to the vanity with fresh motivation.
Spanish + Mexican Influence
The vibe I was going for? Mexican Spanish. Warm. Textured. Timeless.
I found a bathroom vanity inspo photo on Pinterest that sealed the deal, specifically the reeded drawer detail. I’d done something similar on a wet bar project a couple of years ago and still had dowels left over.

Leftover materials for the win.
Converting Overlay Doors to Inset Doors
This was the part that made me nervous.
Inset doors sit flush with the face frame, which means everything has to be precise. I cut down the cabinet doors and did a dry fit.
From a distance? Promising.
Up close? One door hit a shelf inside the cabinet.
So I grabbed my router and carefully notched out the area where the shelf interfered.
If you’re new to routing, here’s the rule: Low and slow. Remove thin layers. Don’t rush. Practice first.
Is it easy to mess up? Yes.
Is it fixable? Usually.
Tools used in this step:
- Miter saw – for trimming cabinet doors
- Table saw – for straight, precise cuts
- Milwaukee router – to notch shelves and refine door fit
Creating the Reeded Drawer Fronts
This is where the transformation really came to life.
After removing the smaller drawer front (which took way longer than it should have), I trimmed both drawer fronts to size and dry-fitted them.
They were thicker than I wanted, but thankfully made of poplar, which meant I could run them through the planer to get them flush with the face frame.
Then came the details:
- Half-round trim attached with wood glue and pin nails
- Dowels cut to size using painter’s tape (my favorite method for consistent cuts)
- Light sanding on the ends for a clean finish
Before gluing anything down, I dry fit everything. This step matters more than you think. One miscalculation and you end up with awkward gaps you can’t fix.
Once glued, I taped the edges and added a thin bead of caulk where the dowels met the trim. This not only looks more professional, but it also saves you from having to dust between grooves later.
Future you will thank you.
Tools & materials used in this step:
- DeWalt planer – to thin drawer fronts and make them flush
- Wood dowels – for the reeded detail
- Half-round trim – to frame the drawer fronts
- Titebond wood glue – to secure all wood pieces
- Painter’s tape (Frog Tape) – for clean edges
- Sashco caulk – to smooth seams and reduce future dust buildup
Flipping the Cabinet Doors (Literally)
Since the doors were flipped, the old hinge holes were now visible on the front.
To fix that, I:
- Cut wood plugs from scrap using a hole saw set
- Glued them into place
- Removed old anchors with a multi-tool (because they weren’t going anywhere nicely)
- Used a flush trim router bit to clean up the edges
This is the kind of behind-the-scenes work that nobody notices, but it’s what separates “DIY” from custom.
Tools used in this step:
- Spyder hole saw set – to cut wood plugs for old hinge holes
- DeWalt multi-tool – to remove old anchors
- Milwaukee router with a flush trim bit – to clean up door edges
Faux Wood Finish: Would I Do It Again?
Short answer? Probably not.
Long answer? Here’s what I did.
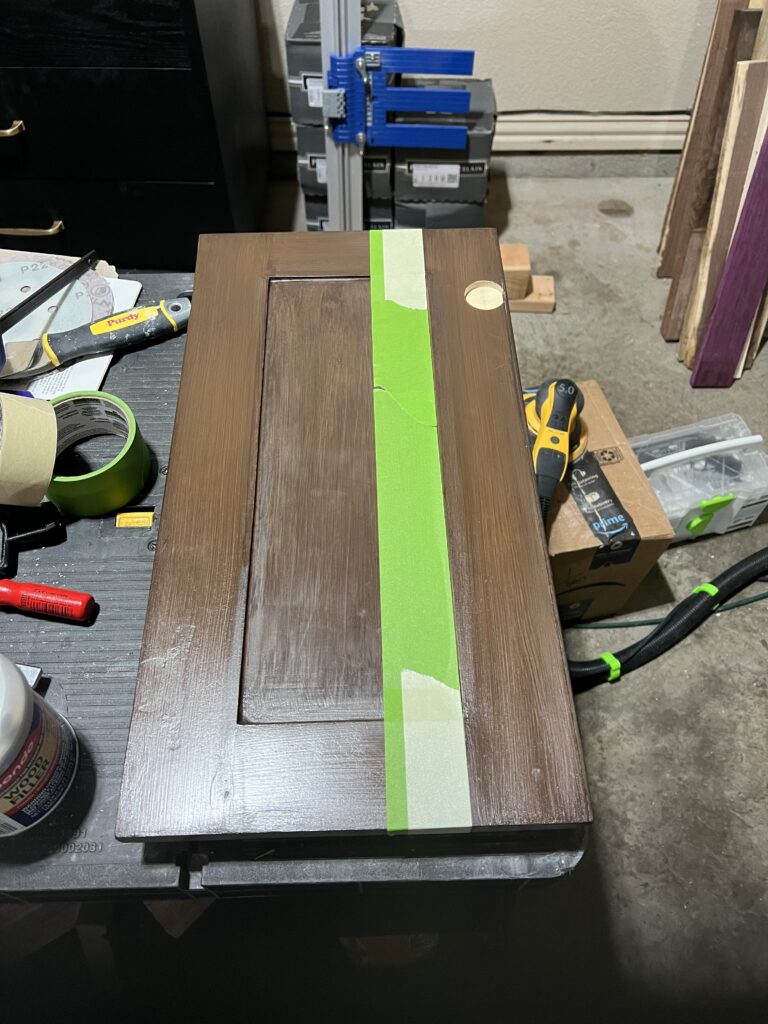
Because the vanity isn’t solid wood, staining wasn’t an option. But I didn’t want a flat painted finish either. So I tried a faux wood technique:
- Base coat in Dixie Belle chalk mineral paint (Pine Cone)
- Minwax gel stain layered over the top
In theory, gel stain has a long open time.
In reality? Mine dried fast and streaked easily. It took over 48 hours to fully cure before I could add a second coat. Between that and a couple of accidental mishaps (wrong drill hole, curious kid touching a door), there were touch-ups.
Still, once sealed with polycrylic, the finish grew on me. I won’t rush to do it again, but I don’t regret trying it.
DIY is about experimenting. Not everything has to be perfect.
Products & tools used for the faux wood finish:
- Soy gel paint stripper – for additional paint removal
- Bondo wood filler – to fix mistakes and fill holes
- Dixie Belle chalk mineral paint (Pine Cone) – base coat
- Minwax gel stain (Walnut) – for the faux wood finish
- Chip brush – for stain application
- 4-inch foam paint roller – for smooth paint coverage
- Wooster Shortcut brush – for detail work
Installing Drawer Fronts + Soft-Close Hinges
Drawer installation was straightforward:
- Carpet tape to hold the fronts in place
- Playing cards for even spacing
- Screws from the inside
The only thing I spent money on was soft-close hinges, $25 total. And thanks to a Home Depot mix-up, I didn’t even pay full price.
Because the doors were now inset, I added scrap wood behind the hinges to make everything flush, and notched the shelf so the doors opened smoothly.
Tools used in this step:
- DeWalt drill
- DeWalt driver
- DeWalt right-angle attachment – for tight spaces
- Kreg concealed hinge kit
- Soft-close hinges
- Affordable laser level – for alignment
The Final Touch: Hardware
This is always my favorite part.
I chose Halley knobs from Plank Hardware in brass; subtle, classic, and just enough warmth to complement the Spanish-inspired design.
Using a jig and laser level ensured perfect alignment, and a bit of tape at the top helped keep doors accessible during install.
Hardware & fixtures used:
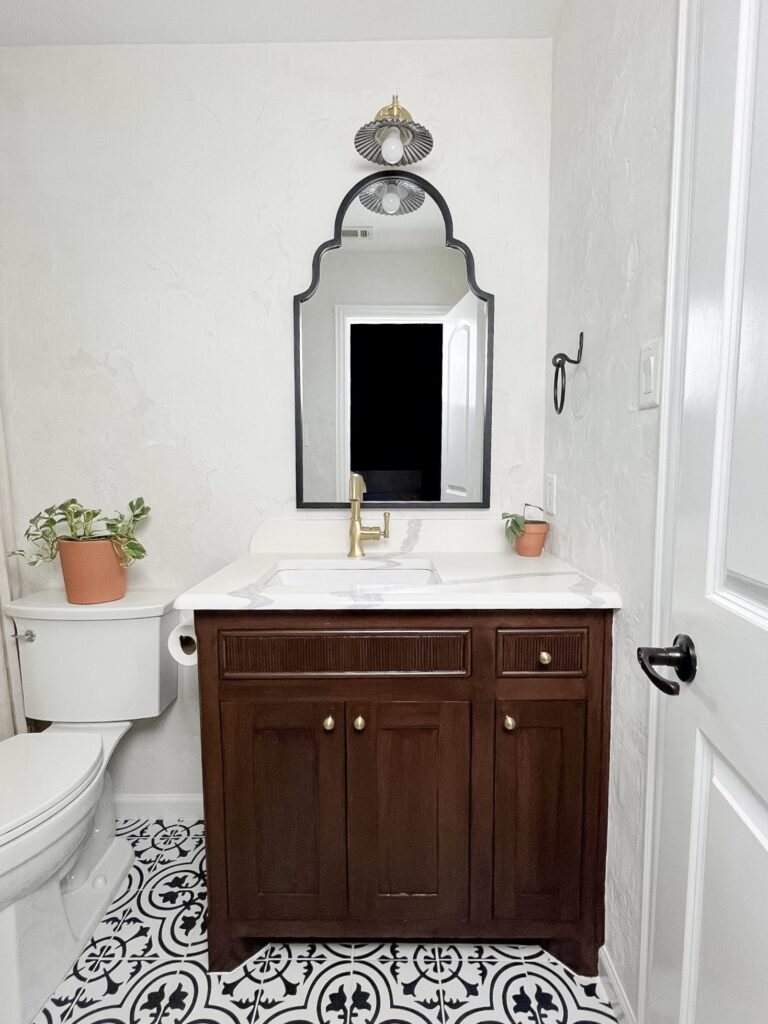
The Final Result
This 20-year-old vanity looks nothing like it used to. It’s warm. Textured. Custom. And full of character.
But more importantly, it didn’t end up in a landfill.
This project reminded me that creativity often shows up when budgets don’t. That sometimes the best solution isn’t buying new, it’s seeing what’s already there differently.
If this inspires you to pause before replacing something, to experiment, or to give an old piece a second chance, then it was worth every scraped knuckle and late-night dry fit.
If you have questions, reach out. And come hang out with me on Instagram.