

Okay, I have to share this with you because it is one of those projects that looks completely unimpressive until you see it on your energy bill. We are talking about a $30 fix that has saved our family hundreds of dollars a year on energy costs. No renovation. No contractor. Just a little attic hatch insulation, a stapler, and a can of spray foam.
I am not the kind of person who gets excited about things you cannot see. But I will make an exception here because this one is just too good not to talk about. If you have an attic hatch in your home, there is a really good chance it is costing you money every single month, and you do not even know it.
*This post contains affiliate links. Please see full affiliate disclosure here.
Why Your Attic Hatch Is Costing You Money
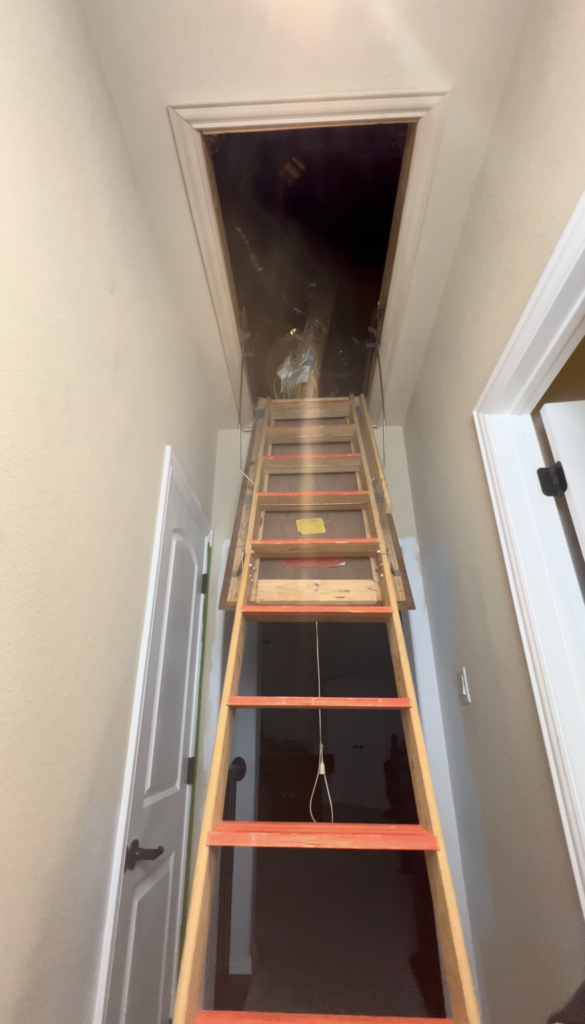
Here is the problem with most attic hatches: they are basically uninsulated. They are just a thin piece of drywall or wood sitting in a hole in your ceiling, and that is it. No real thermal barrier. No air seal. Nothing stopping the air you are paying to heat or cool from flowing straight up into your attic and disappearing.
In the summer, your cool air rises out through that hatch and gets replaced with hot attic air sneaking back in. In the winter, your warm air does the same thing in reverse. Your HVAC system has to work overtime to make up for what is leaking out, and you end up paying for it every month without ever knowing why your bill is so high.
The U.S. Department of Energy has noted that air leaks and poor insulation in attic areas are among the biggest contributors to energy loss in a home. That little hatch might seem small, but air leaks do not care about size. Drafts find gaps, and an uninsulated attic door is basically an open invitation.
Now, I will be honest with you. If you live somewhere like San Diego where the weather is mild year round and a lot of people do not even run AC, this fix is probably not going to move the needle much for you. But if you are in a place like Texas where we are dealing with 100 degree summers and then a hard freeze a few months later? This matters a lot. When your home is fighting extreme heat for five or six months straight and then turning around to hold in heat during a cold snap, every gap is costing you real money.
Most people never think about it. It does not look like a problem. But once you understand what is actually happening up there, it is hard to un-see it.
What You Need for This DIY Attic Door Insulation Cover
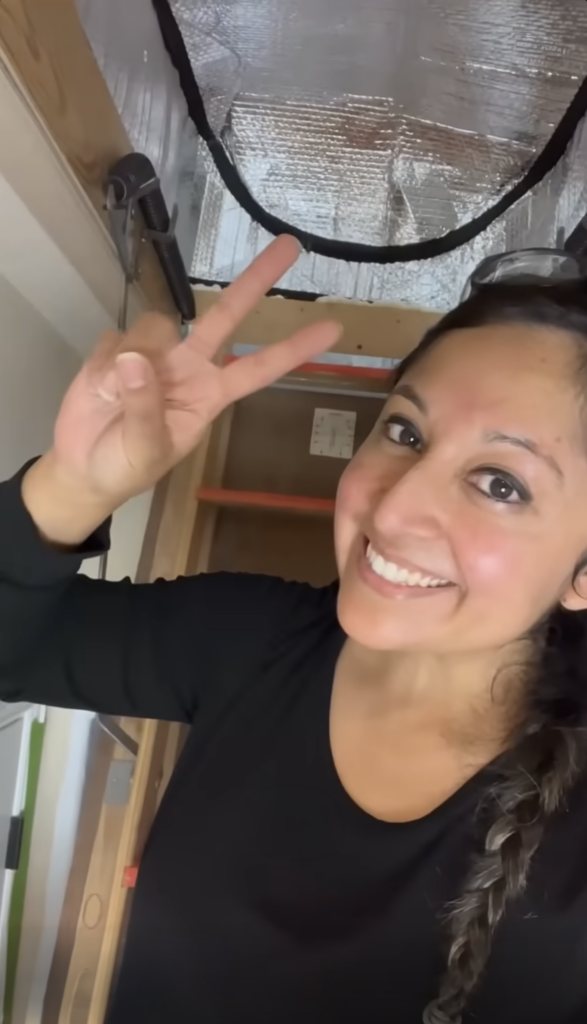
The product that makes this whole project work is a foil bubble wrap insulation cover designed specifically for attic hatches. It looks like a shiny quilted pouch, and it is lightweight enough to handle on your own. These covers are designed to create a real thermal barrier over your attic scuttle hole, blocking both heat transfer and air drafts at the same time.
The R-value (the materials thermal resistance) on these foil insulation covers varies by product, but even a modest R-value improvement over a completely uninsulated hatch is a significant upgrade. You are going from basically zero thermal insulation to something that actually slows air movement in both directions. That is a big deal for your HVAC efficiency.
Here is what you will need to get started:
- A foil bubble wrap attic hatch insulation cover (sized for your opening)
- A staple gun and staples
- A can of expanding spray foam insulation
- A ladder to reach the attic opening
That is it. You can pick up the cover and spray foam at your local hardware store or order them online. Most insulation covers for standard attic hatches run around $30, which is what makes this project so satisfying. The cost is low, the installation is simple, and the payoff shows up on your next energy bill.
How to Insulate Your Attic Hatch in 4 Steps
This is not a complicated project, which is exactly why I love it. You do not need any special skills. You do not need to spend a weekend on it. Here is how to stop drafts from your attic door once and for all.
Step 1: Measure Your Attic Opening
Before you buy anything, take a few minutes to measure your attic hatch opening. Standard sizes are common, but not universal. You want a cover that fits snugly over your specific opening so there are no gaps along the edges. Write down the length, width, and depth of your attic frame before you shop.
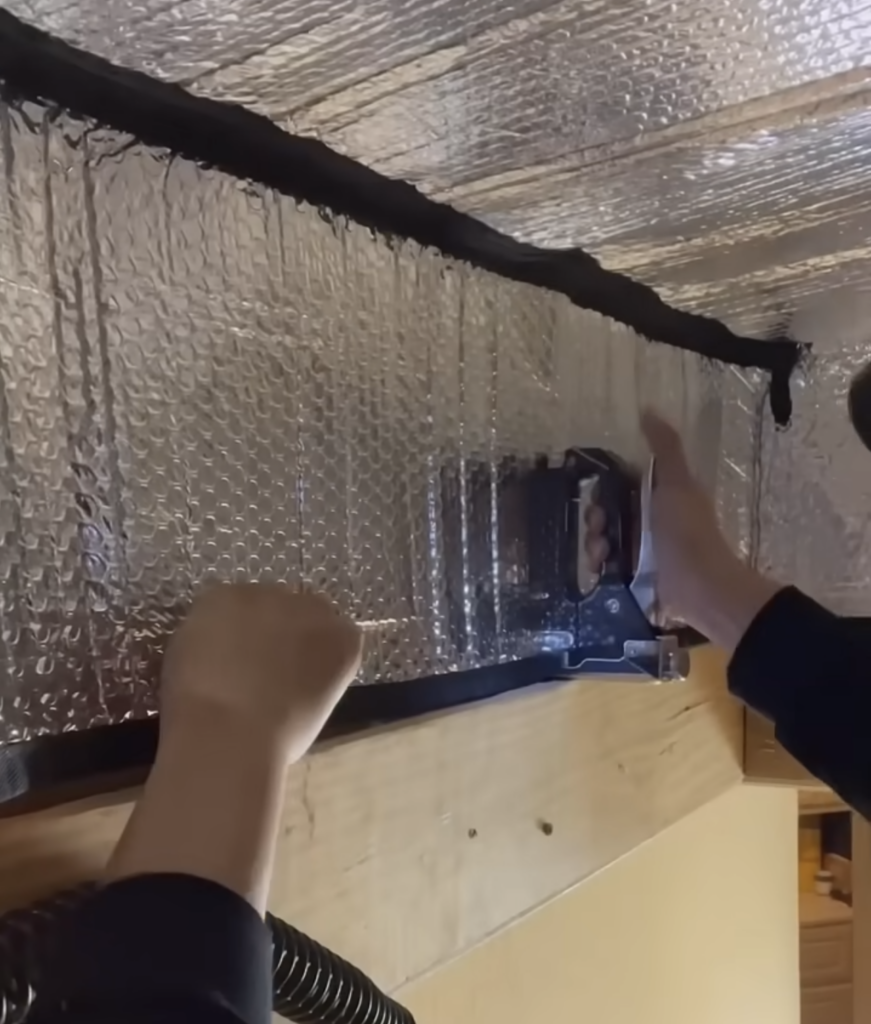
Step 2: Staple the Cover Around the Opening
Once you have your foil bubble wrap insulation cover, head up into the attic. Position the cover over the attic hatch opening and use your staple gun to secure it around the perimeter. Make sure you are getting good coverage along all four edges. You want this thing to stay in place and not sag or pull away over time.
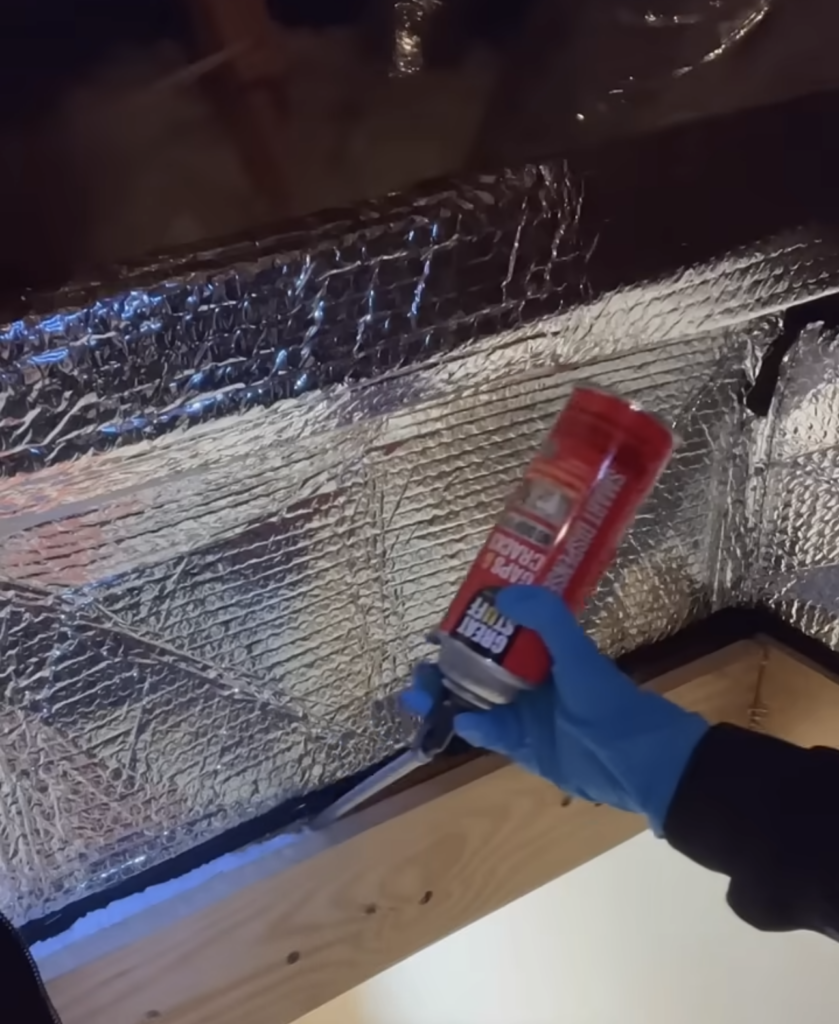
Step 3: Seal the Edges with Spray Foam
This step is the one most people skip, and it is honestly the most important one. After stapling the cover in place, run a bead of expanding spray foam around the entire perimeter where the cover meets the attic floor framing. This creates an air seal that closes off any small gaps the staples alone cannot address.
Weatherstripping is another option if you prefer something less permanent, but spray foam gives you a tighter, longer-lasting seal. Either way, do not skip the sealing step. The air seal is just as important as the insulation itself when it comes to reducing drafts and improving HVAC efficiency.
Step 4: Zip It Up and You Are Done
Here is the part I get asked about the most: can you still get into the attic? Yes. The foil insulation cover has a zipper opening built right into it. When you need attic access, just unzip the cover, climb up, do what you need to do, and zip it closed again when you come back down. No removing staples. No tearing anything down. It is completely functional.
What About the R-Value and Does It Actually Work?
I know some of you are thinking this sounds too simple to make a real difference. I get it. But think about what you are replacing. Before this project, your attic hatch was essentially contributing zero to your home’s insulation. A thin piece of drywall has an R-value so low it barely counts. Adding a foil barrier is a dramatic improvement over nothing at all.
And when you combine the insulation with the air seal from the spray foam, you are attacking the problem from both sides. You are reducing heat transfer through the cover itself, and you are stopping the air leaks that were pulling conditioned air out of your home around the edges. Both of those things matter for your energy bill.
Small Change, Big Impact on Your Energy Costs
This is the kind of project that does not make it onto a mood board. Nobody is pinning attic hatch insulation covers on Pinterest. But I am here for the projects that actually save money, and this is one of the best ones I have found.
When you start stacking up small energy improvements around your home, the savings add up faster than you would expect. Sealing your attic hatch, adding weatherstripping to your exterior doors, putting a cover on your dryer vent, checking the insulation around your recessed lights, none of these things individually is going to blow your mind. But together, they chip away at the air leaks and heat loss that are quietly running up your electric bill every month.
We live in Texas, which means our summers are brutal and our HVAC system works hard for months at a time. Every bit of help we can give it matters. Keeping conditioned air inside the house where it belongs is one of the most direct ways to reduce how hard your system has to run, and that translates directly into lower energy costs.
The fact that this particular fix costs about $30 and takes less than an hour makes it one of the best returns on investment in any home improvement category I have ever come across.
If Your Attic Hatch Is Not Insulated Yet, This Is Your Sign
Seriously. Go check it right now if you are not sure. Push the hatch panel up and peek inside. If you see bare framing and no insulation on the back of that panel, you have an air leak situation that is worth fixing this weekend.
You do not need a home energy audit to tell you that an uninsulated hole in your ceiling is a problem. You just need a $30 foil insulation cover, a stapler, some spray foam, and about 45 minutes. That is the whole project.
If you tackle this one and want more simple home maintenance projects that save money without requiring a contractor, I have more posts right here on the blog covering exactly that kind of thing. Because around here, we are all about practical fixes that make a real difference in your home and your budget.
Thirty dollars. A stapler. Some spray foam. One afternoon. That is all it takes to stop the energy drain coming from your attic hatch and start keeping more of that conditioned air where it belongs.


