

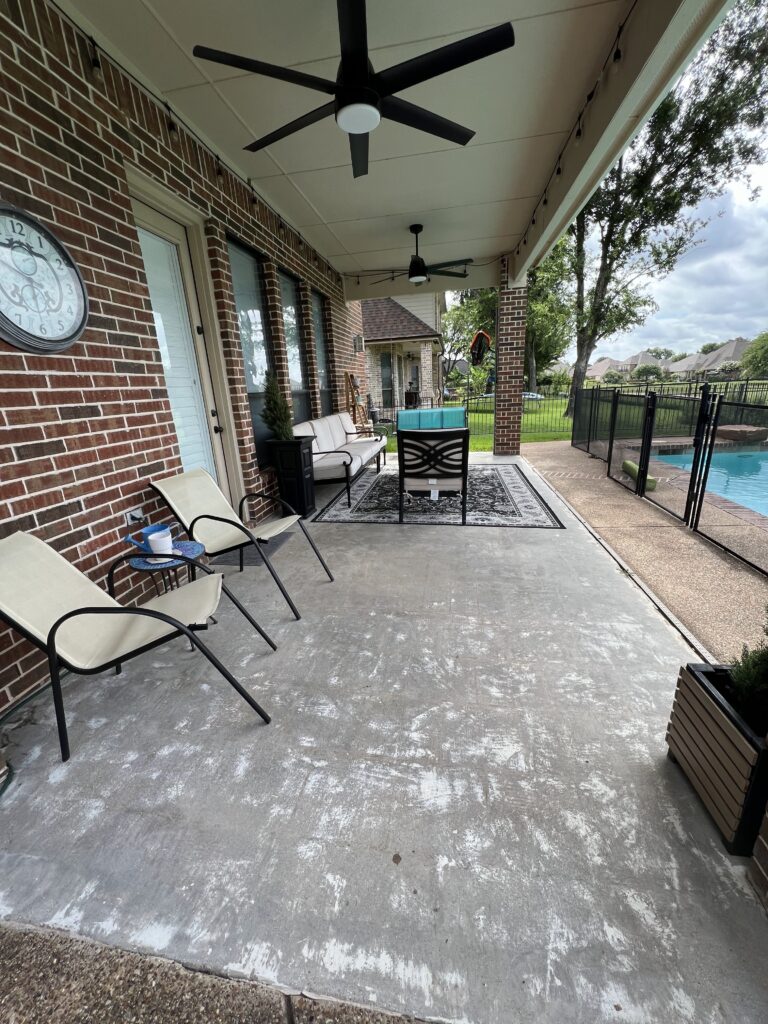
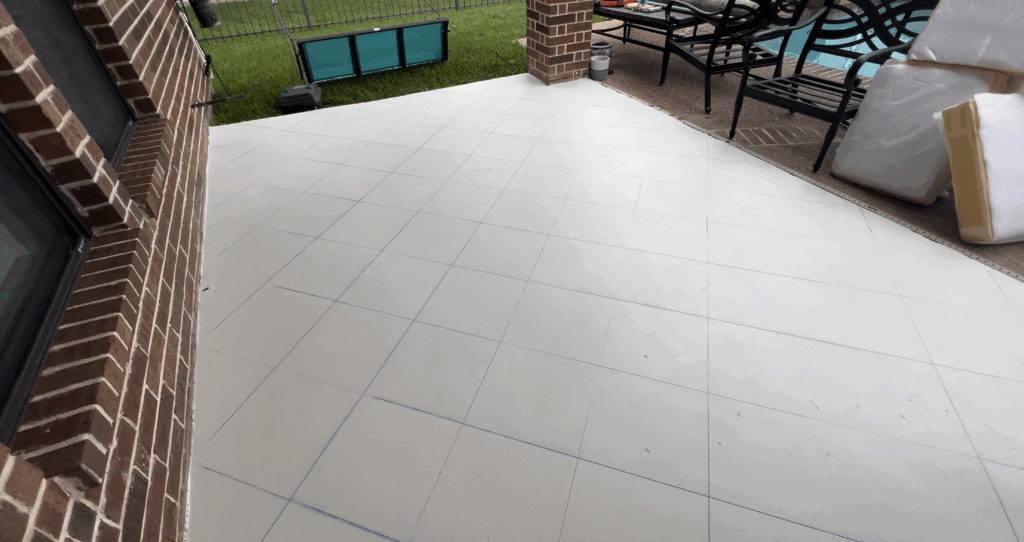
I love my patio, but the floor has been through it. We had old tile, I painted it once (chaos), then finally paid to have the tile removed… which left me staring at a plain, rough concrete slab. I tried hiding it with an outdoor rug. Hated that for me. So I did what I always do when a surface annoys me, I painted it. Because like I say, paint is magic.
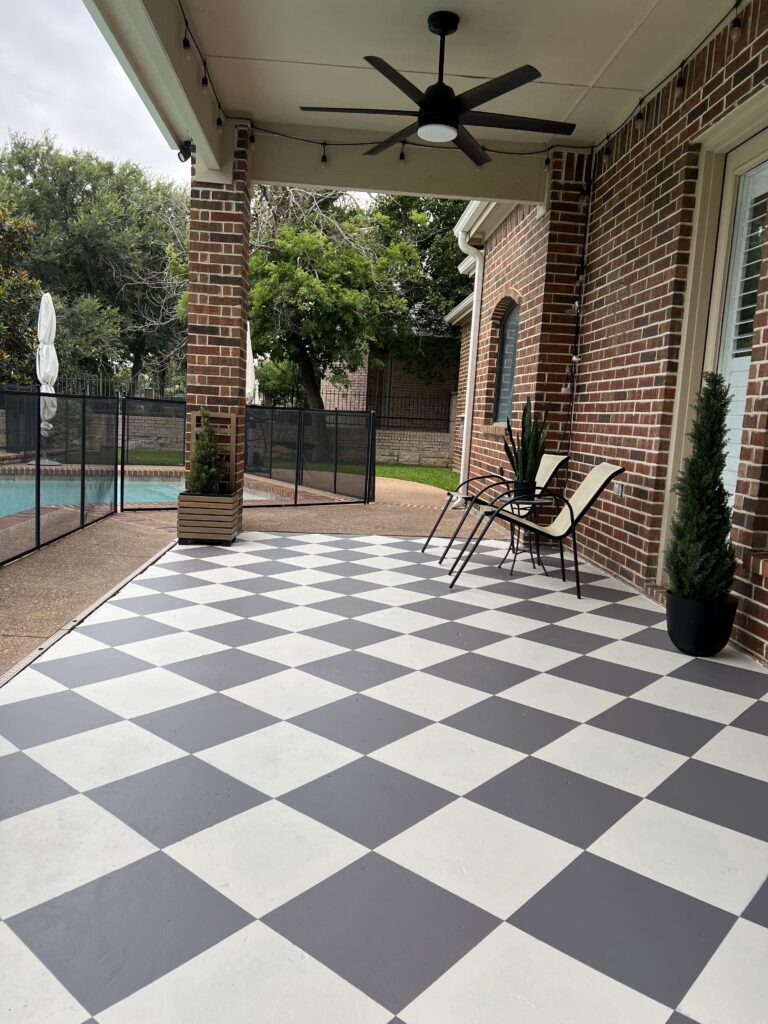
This guide walks you through exactly how I turned a sad, sun-baked slab into a classic checkerboard patio using Glidden Porch & Floor paint, Off-White for the base and Steel Gray for the squares. The painted area is roughly 240 sq ft. It took two focused days to get the pattern down, plus cure time. I did the layout and taping, my stepdad ran the roller, and my quads are still recovering. Worth it.
Quick disclosure: Glidden kindly gifted the paint for the project. The post, opinions, tips, and sore legs are all mine.
Project at a Glance
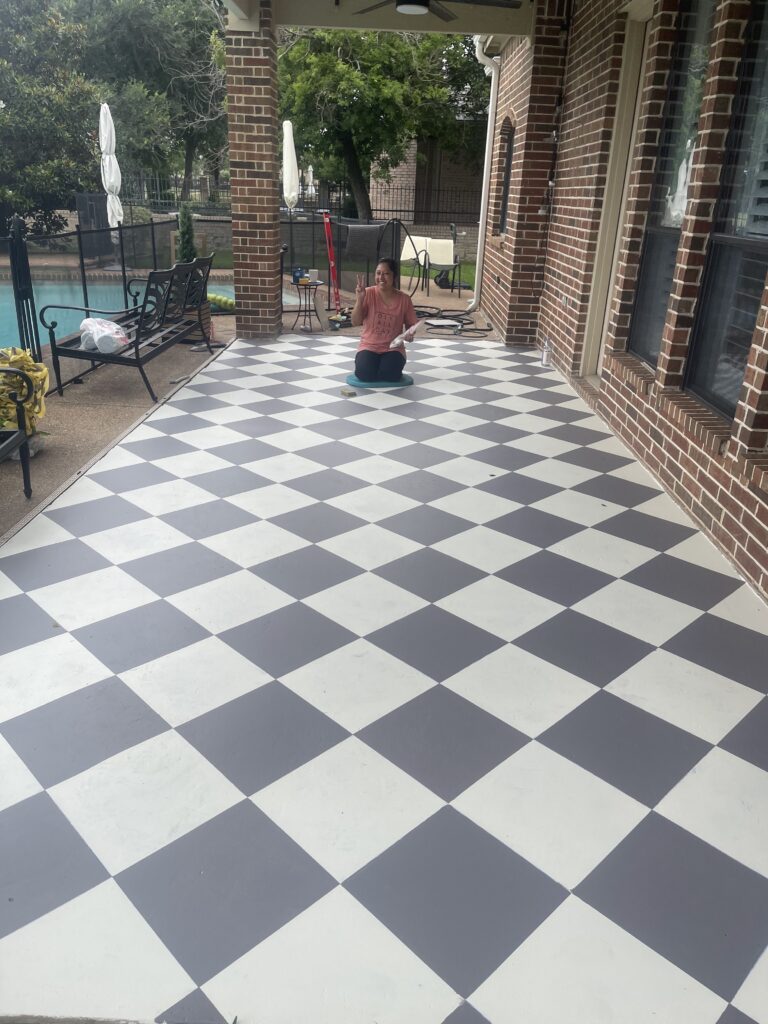
Here’s the vibe, a classic checkered glow-up in off-white and steel gray, rolled right onto the bare concrete we uncovered after the tile came up. The space is about 240 square feet, and we knocked out the layout and painting in two focused days (the only fussy part is snapping a straight grid). I used a bit over a gallon for two coats of the base and less than half a gallon for the gray squares. Let it dry for 72 hours and gave it a full seven days to cure. I chose Glidden Porch & Floor because it grips concrete and stays cooler underfoot by the pool.
What You’ll Need
Prep & Layout
- Pressure washer (or hose + stiff deck brush)
- Degreaser/cleaner & mop
- Chalk reel + chalk powder
- Measuring tape + pencil/marker
- One square tile or a carpenter’s square (to check your angles)
- Knee pads (trust me)
Painting
- Glidden Porch & Floor paint – Off-White (base), Steel Gray (squares)
- 9-inch roller frame + roller covers rated for smooth/semi-smooth surfaces
- Extension pole
- Angled brush (2″-2.5″) for edges
- Paint trays + liners
- High-quality painter’s tape (lots of it)
- Utility knife for clean tape cuts
- 5-in-1 scraper or “paint tool” for flicking out debris bumps
- Leaf blower or shop-vac (wind + outdoors = stuff falls in your paint)
Optional but smart
- Anti-slip sealer
- Replacement knee cartilage (kidding… mostly)
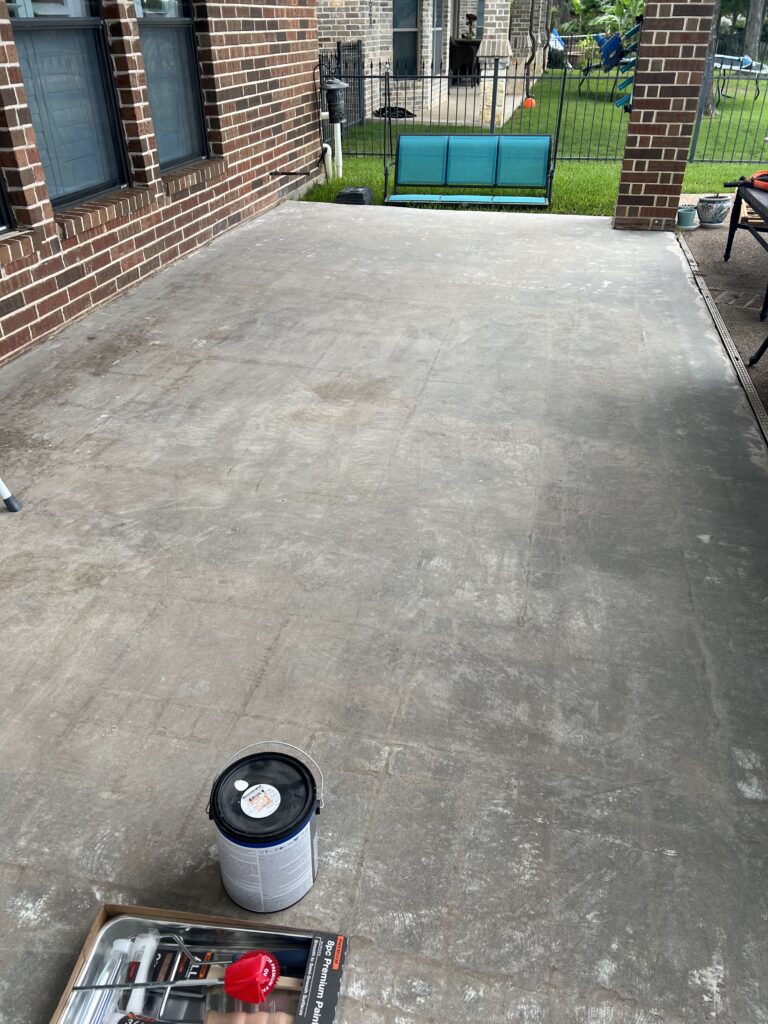
Step 1: Clean the Patio
Paint sticks to clean concrete, not dusty, chalky, or greasy concrete. I pressure washed the whole patio, then (because my mama is extra and also the best at cleaning) it got mopped after the wash. If you don’t have a pressure washer, scrub with a deck brush and a concrete-safe cleaner, then rinse well. Let the slab dry completely.
Pro tip: If you’re near trees or a pool, plan for wind. Little bits love to blow onto wet paint. Keep a blower or vac handy and do one last sweep before you open the can.
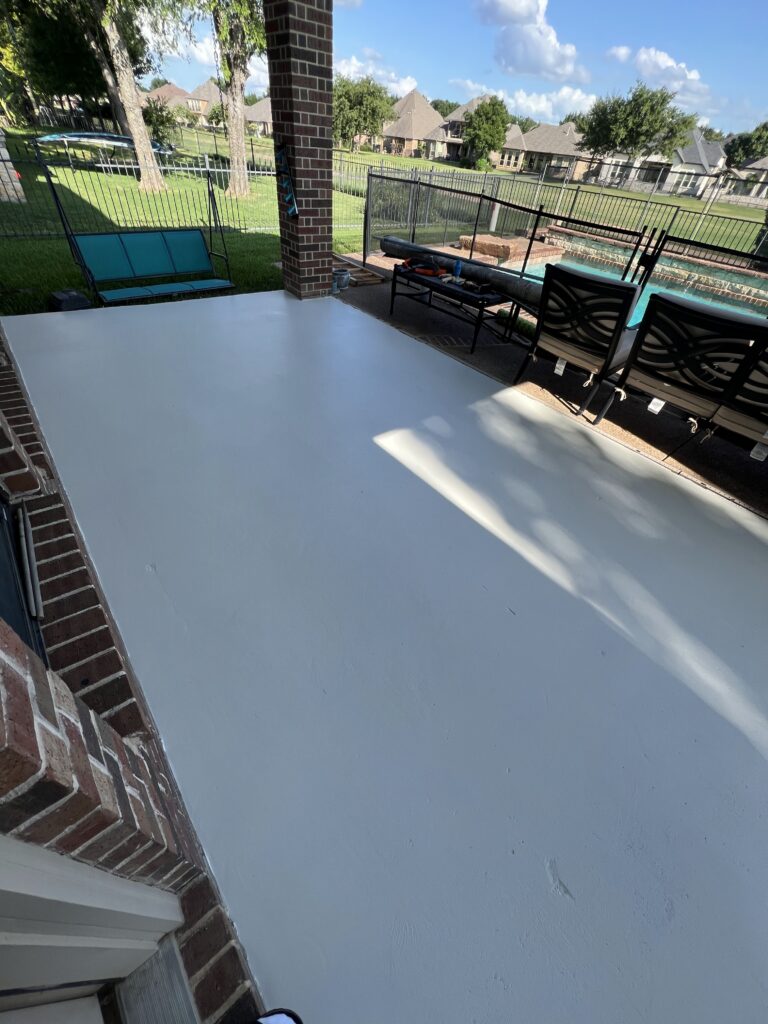
Step 2: Apply the Base Color (2 Coats)
I used Glidden Porch & Floor – Off-White for the base. Cut in the edges with a brush, then roll the main field with an extension pole. Two thin coats beat one thick coat every time. I used a little more than one gallon to get two solid coats over 240 sq ft.
Painting outside is a challenge. It was windy and kept blowing tiny things onto the slab. I let sections set up for a couple of hours, then went back with my scraper to lift off the little bits that landed in my wet paint. Annoying, yes. Fixable, also yes.
Step 3: Trace out the Grid for the Squares
At first I tried using a leftover square tile as a template to sketch my grid by hand. My stepdad arrived, looked at my pencil lines, and said, “Girl…grab the chalk reel.” Game changer.
- Pick a straight reference edge (house wall or slab edge).
- Measure out your square size, whatever looks balanced on your patio.
- Snap parallel chalk lines across the full patio at your chosen spacing.
- Turn 90° and repeat to create the full checkerboard.
- Step back and make sure you don’t have skinny slivers on an edge. If you do, nudge your layout over before you tape.
For ~240 sq ft, the two of us snapped the full grid in a little over an hour. Way faster and straighter than hand-drawing.
Step 4: Tape the Squares
You’re going to tape every single line. Yes, all of them. This is how you get crisp edges and protect the base color.
- Press tape firmly at the edges, run a putty knife or a clean finger along the line to seal it down.
- Use a utility knife to trim overlaps cleanly at corners.
- If your slab has hairline texture, a pro trick is to brush a quick pass of the base color along the tape edges first to “seal” them. Then roll your contrast color. (This extra step dramatically reduces bleed.)
I taped while my stepdad handled the roller. By the end I had approximately 1,000 squats logged and a new respect for tile setters.
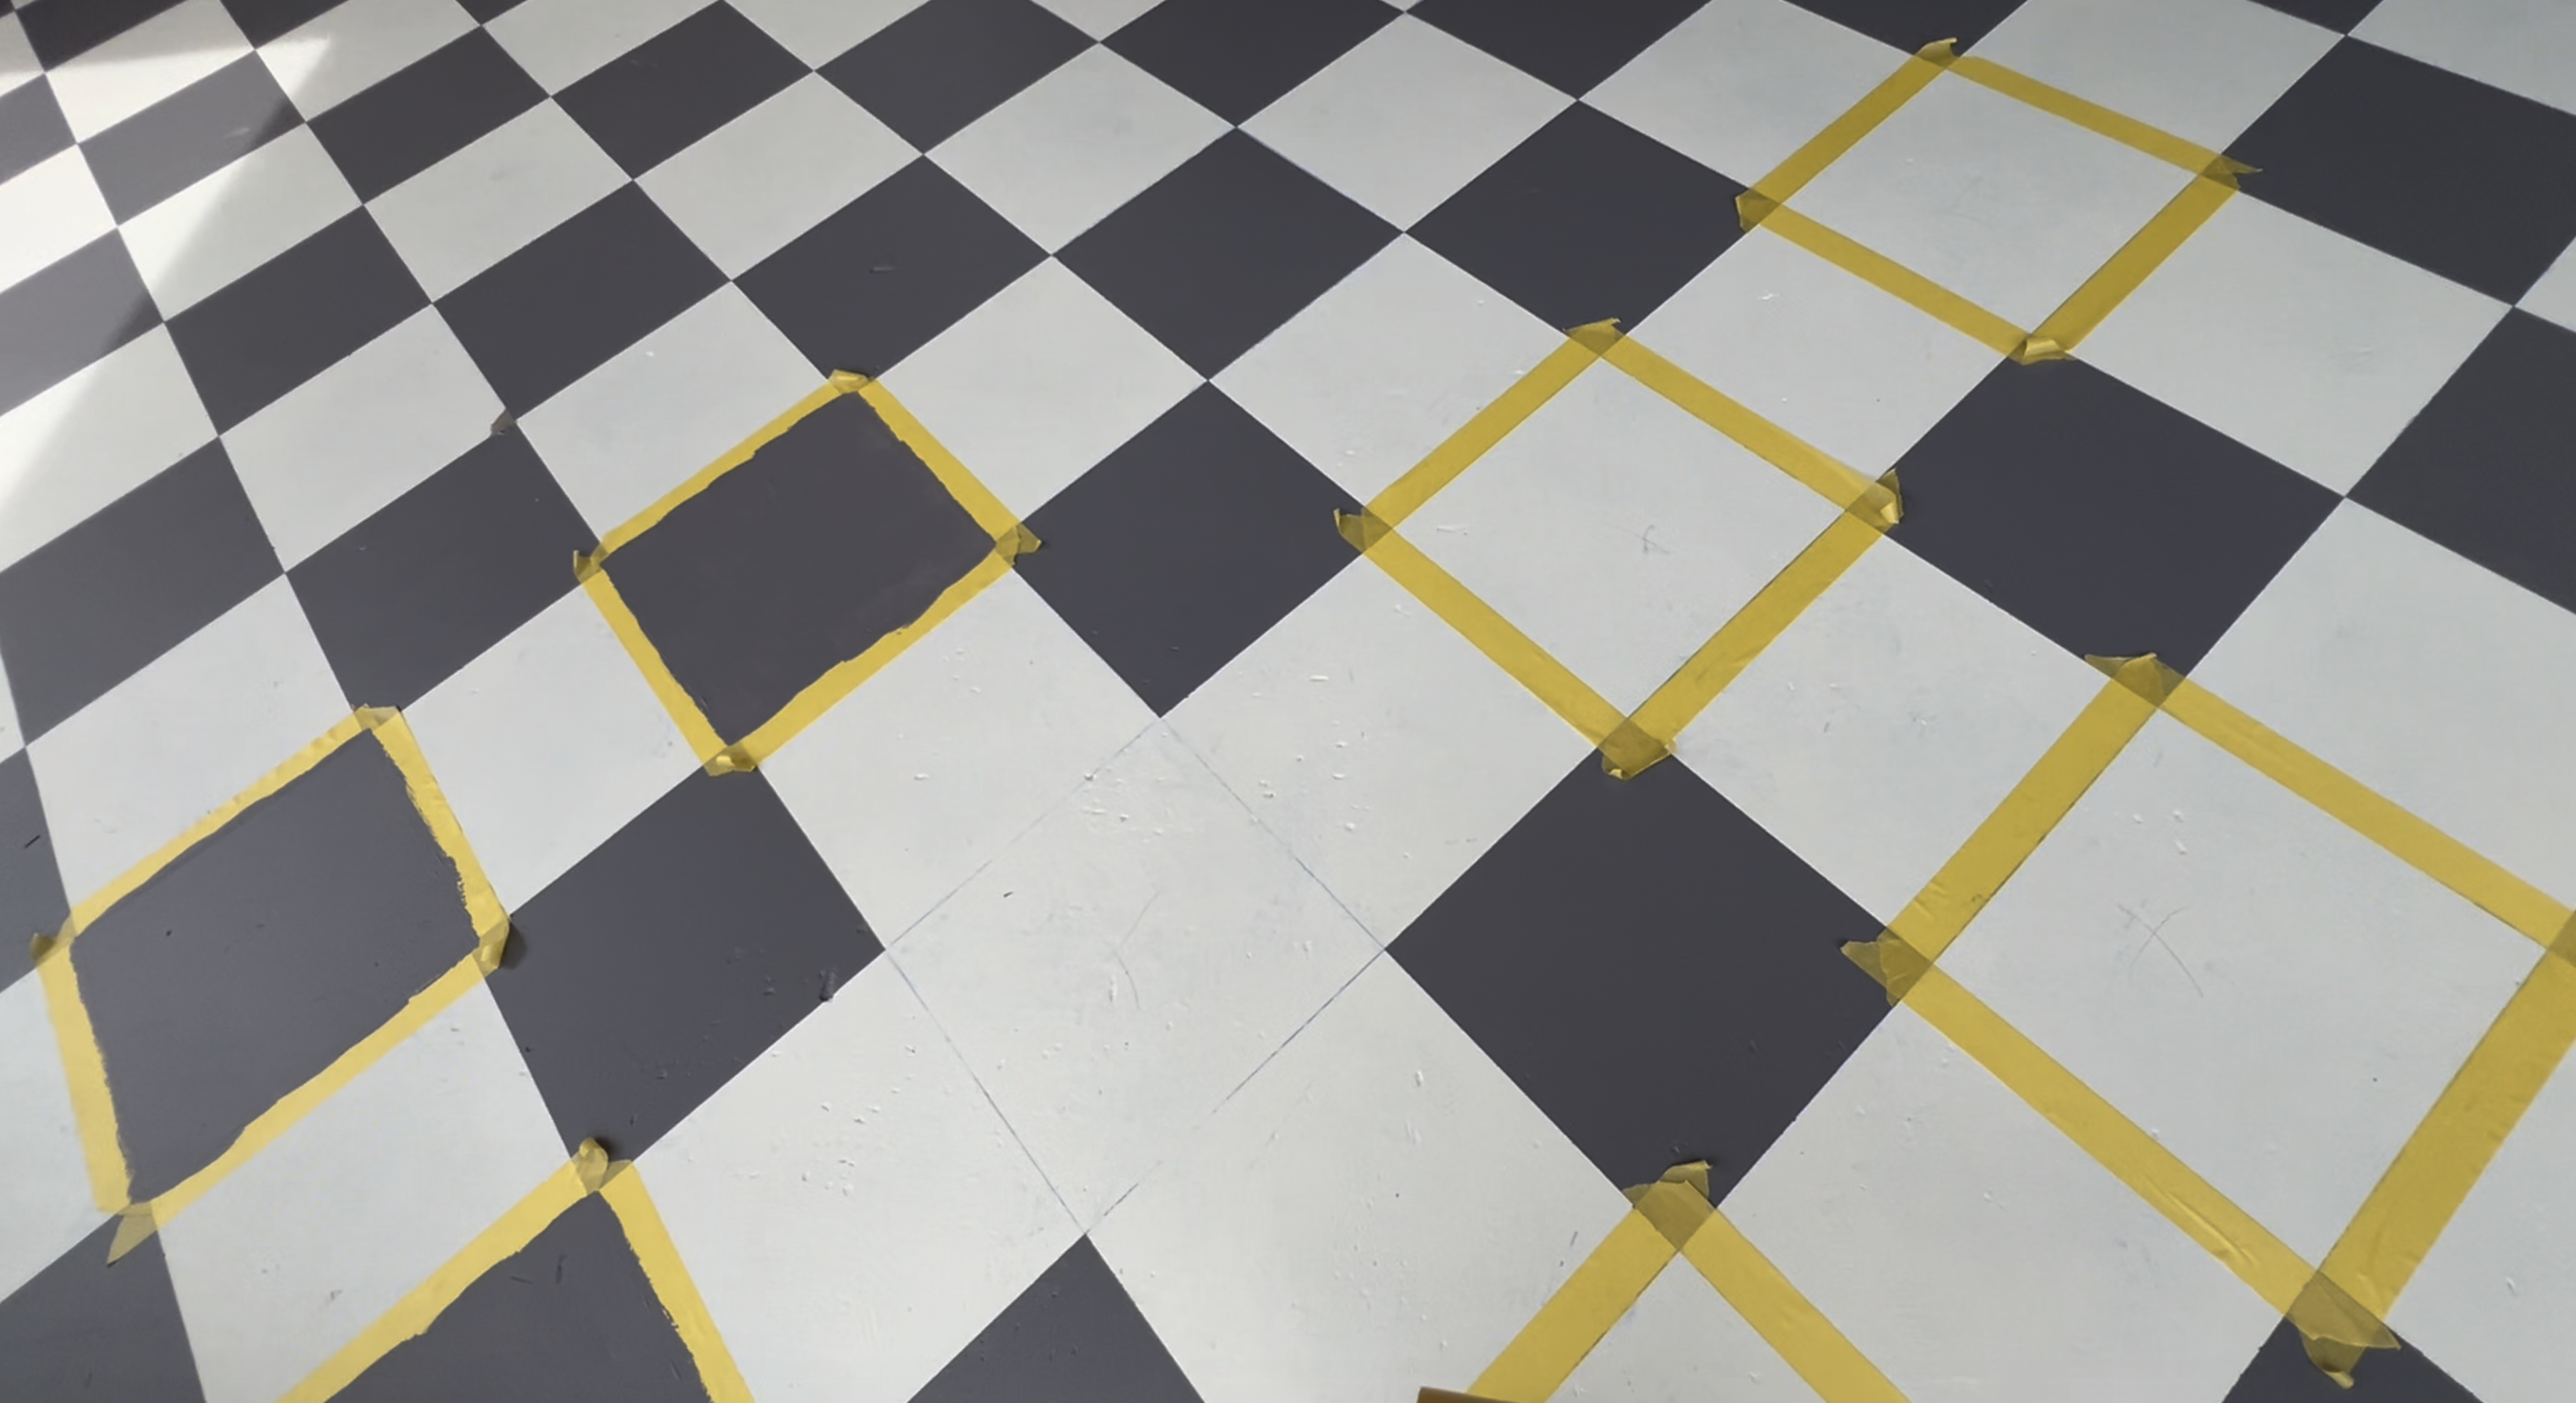
Pro Tip: I used green Frog Tape for the first set of squares, but switched to the yellow Frog Tape on the second layer, so as not to damage the fresh paint on the first set.
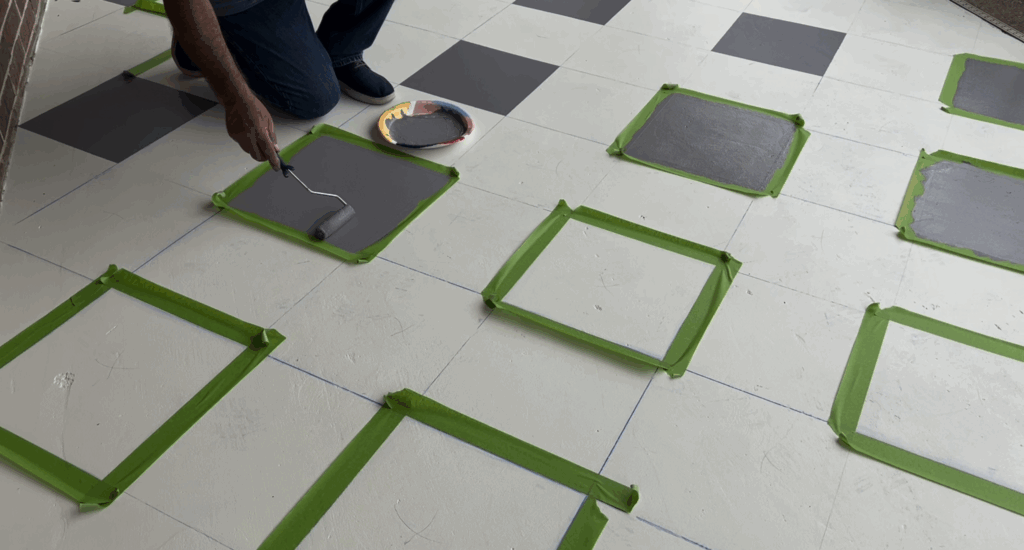
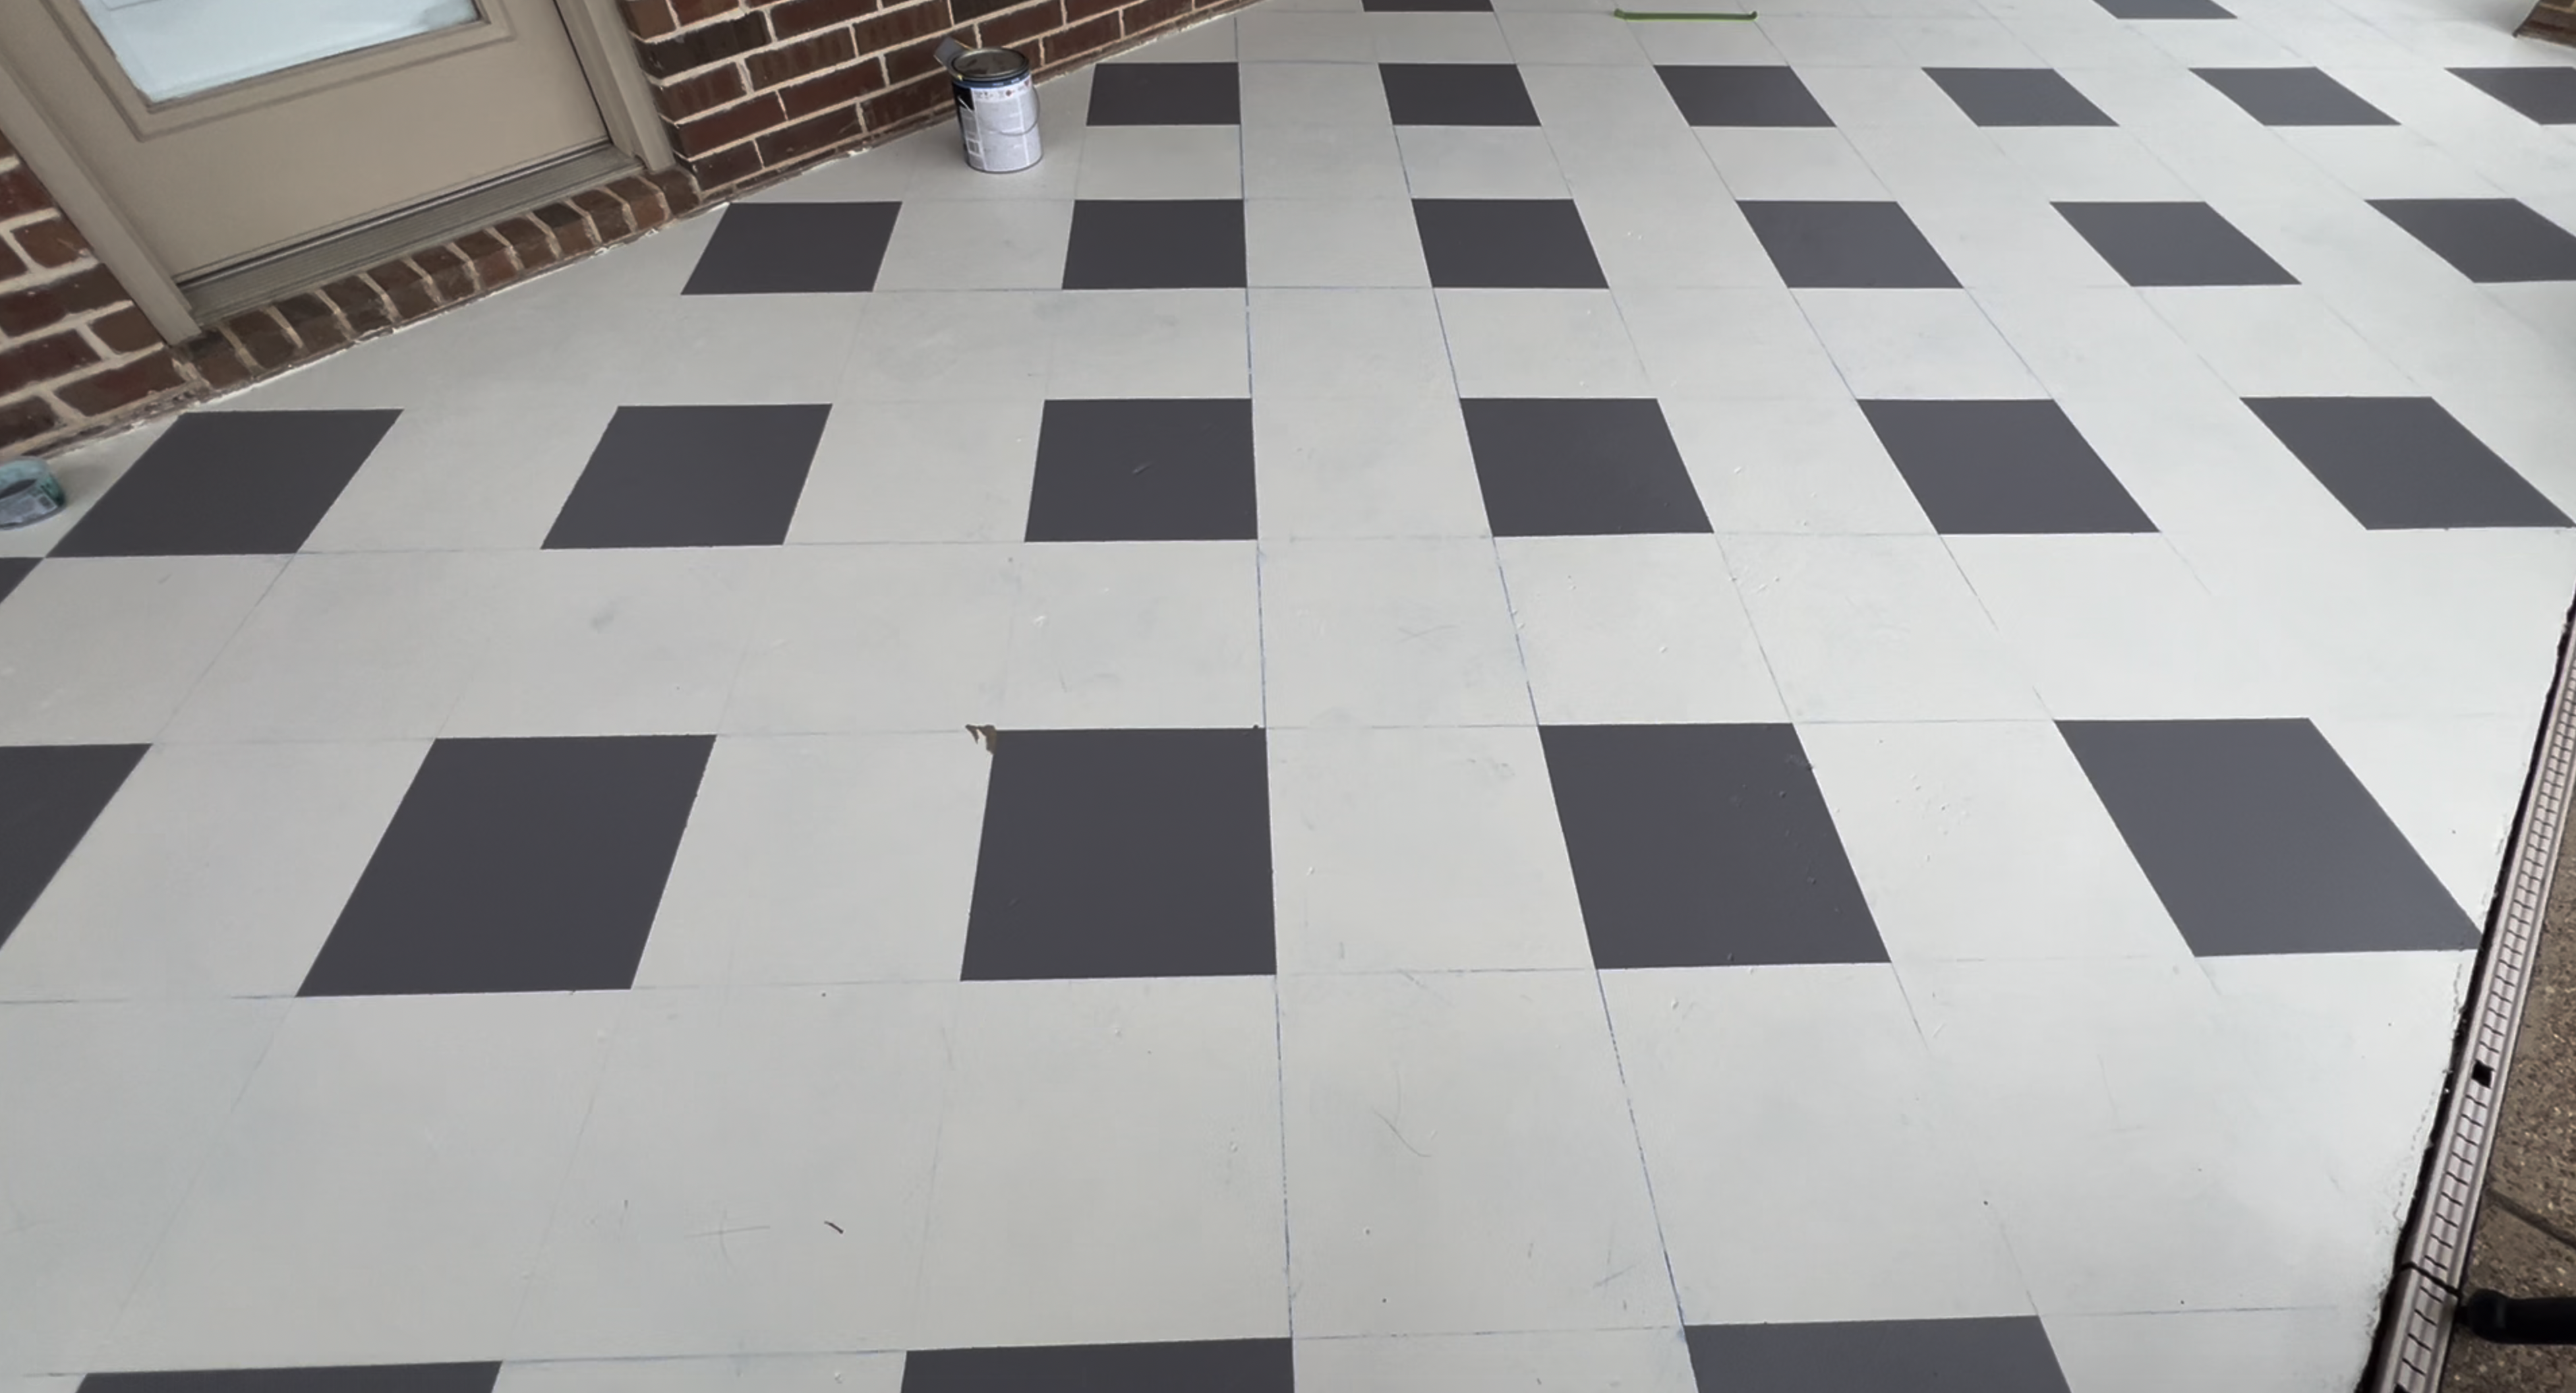
Step 5: Paint the Contrast Squares
We used Glidden Porch & Floor – Steel Gray for the dark squares. A small roller makes this fast.
- Start at one corner and work diagonally, painting every other square like a chessboard.
- Keep a damp edge and watch for drips at tape lines.
- One coat may cover; do a light second coat if needed (we still used less than half a gallon for the squares).
- Peel tape while the paint is still slightly tacky for the sharpest line. Pull it back on itself at a 45° angle.
If you do get bleed, welcome to the club. Let it dry and touch up with a small artist brush. No one will notice but you.
Step 6: Let It Cure, Don’t Rush This
It looks amazing, you want your furniture out there, the group chat is screaming for photos. I get it. But longevity comes from patience. I waited 72 hours before normal foot traffic.
I’m giving the paint at least 7 days to fully cure before sealing it. If you seal too soon, the topcoat can trap moisture and peel.

Step 7: Seal It (Especially for Sun + Pool Areas)
This particular paint doesn’t require a sealer, but here’s my reality: I live in Texas. It’s hot, the patio gets direct sun on both sides at different times of the day, and it’s right by the pool. I want extra protection and anti-slip under wet feet.
I’m going with Slip Doctor “Top Coat” because it adds traction. I’ll apply it after full cure, following the label.
If you’re in a milder climate or fully shaded area, you could skip sealer. But if you’ve got blazing sun, heavy use, or water exposure, a good outdoor sealer helps the finish last.
Update: I tried the Slip Doctor product but did not like it. It has a yellow tint to it. So for now I am going to leave it as is and circle back to this project in the Spring.
Cost & Time Check
- Paint: 1.5 gallons total (ish)
- Tape & supplies: You’ll use more tape than you think.
- Time: We knocked out layout + paint in two days because I had help and a deadline. If you’re solo or it’s windy/humid, plan for a long weekend.
- Energy: High. There’s a reason I keep writing “squats.”
Could I have done it slower and made fewer touch-ups? Absolutely. Would I still be out there painting squares next month? Also yes. Pace yourself based on your life.
Troubleshooting & Realistic Expectations
Tape bleed along texture lines – Press tape hard, “seal” edges with base color first, and keep coats thin. Touch-ups happen. It’s fine.
Hot climate worries – UV and heat are brutal. If you’re in a high-sun area, plan on sealing and don’t skimp on cure time.
Slab hairline cracks – Filling tiny cracks is optional with a concrete patch before paint. Structural cracks? Don’t paint over problems, address those first.
Beginner friendly – This project is totally doable if you take your time. The only “technical” part is getting the grid square. The chalk reel fixes that. Patience is 90% of success.
How to Keep a Painted Patio Looking Good
- Sweep or blow it weekly to keep grit from acting like sandpaper.
- Spot mop with a mild cleaner, no harsh solvents.
- Felt feet on furniture. Dragging metal chair legs across your fresh art? Absolutely not.
- Re-coat high-traffic zones as needed. Touch-ups take minutes and keep the whole thing crisp.
Final Thoughts
If your concrete patio is ugly, you don’t have to live with it or cover it with a rug you’ll resent all summer. With the right paint and a little patience, a painted concrete patio checkerboard looks high-end and handles real life, pool splashes, kids, dogs, and the occasional backyard dance party.
Mine makes me smile every time I step outside. And yes, like I say in most DIY projects, paint is magic.
FAQ’s for Painting a Checkered Concrete Patio:
Use a dedicated porch & floor concrete paint (100% acrylic latex) for adhesion and durability outdoors. I used Glidden Porch & Floor – Off-White for the base and Steel Gray for the squares, and it’s held up well next to the pool.
Snap straight lines with a chalk reel using a wall or slab edge as your reference, then tape along the grid. For crisp edges, press the tape down firmly and “seal” the tape line with a quick pass of the base color before rolling the gray squares.
Plan for 72 hours before normal foot traffic and 7 days for a full cure. Always check your can’s label, and only apply sealer after the cure window to avoid trapping moisture (which causes peeling).
Sealer is optional but recommended in high sun or pool areas. Choose a water-based clear sealer with an anti-slip additive/topcoat for traction when wet and extra UV protection.
Expect a little over 1 gallon for two base coats and under ½ gallon for the contrast squares (1-2 thin coats). Highly porous concrete may need more; thin, even coats last longer than one heavy coat.


