


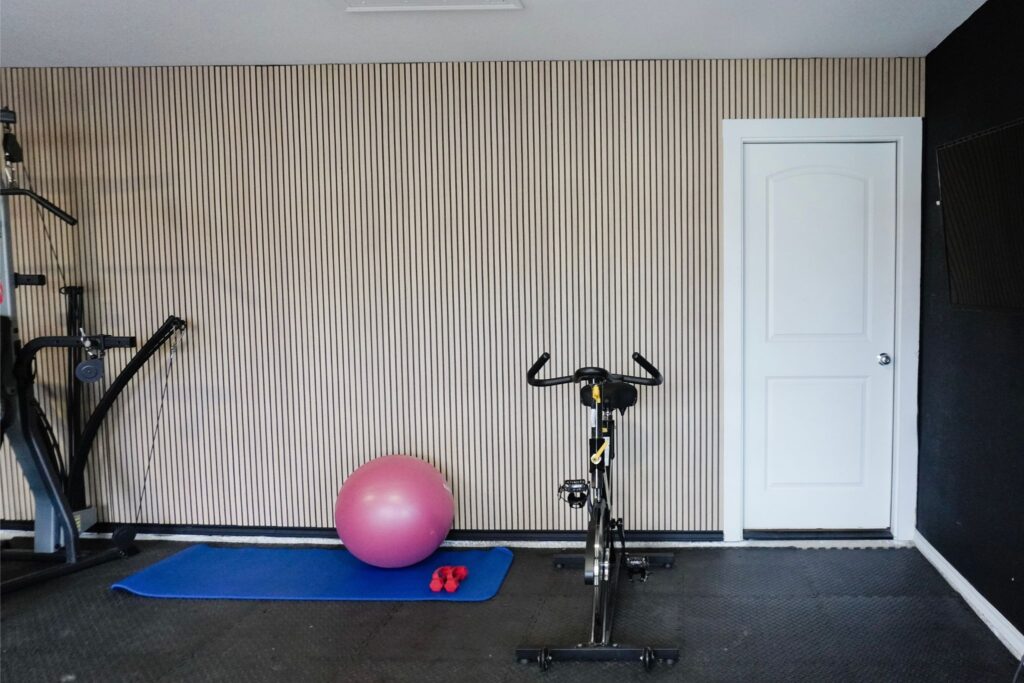
I have built slat walls three different ways. I have used individual wood strips, I have used acoustic panels, and I have used these MDF fluted panels from Lowe’s. And honestly? If I had to do it all over again, I would skip straight to the panels every single time. This project cost us about $450, covered a 24-foot wall, and my cousin and I knocked it out in half a day. Half a day, y’all.
If you have been thinking about adding a wood slat accent wall to your home but keep putting it off because it feels complicated or expensive, this post is for you. I am going to walk you through exactly how we did it, what tools you need, where to spend your money, and where you can save it.
*This post contains affiliate links. Please see full affiliate disclosure here.
What Are Fluted MDF Wall Panels?
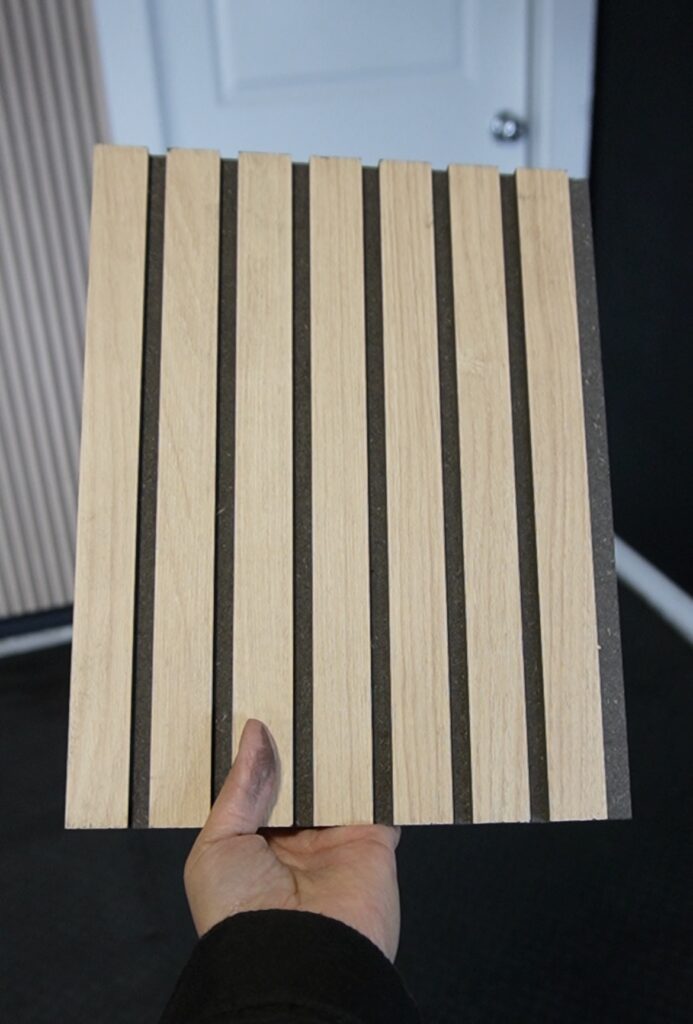
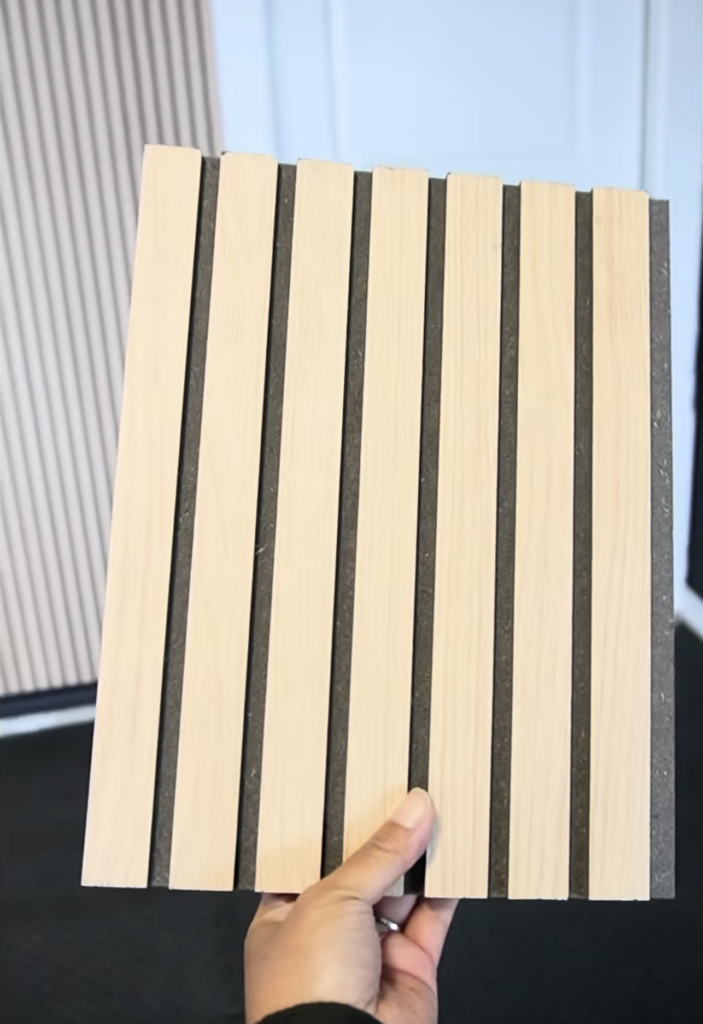
These are MDF panels with a fluted, ribbed profile and shiplap edges. They come in 8-foot and 10-foot lengths. The shiplap edges sit flush against each other and give you a clean, seamless look. The panels are available at Lowe’s in a warm oak finish with deep black slats (that contrast is what gives the wall so much dimension) and they are significantly more affordable than solid wood alternatives.
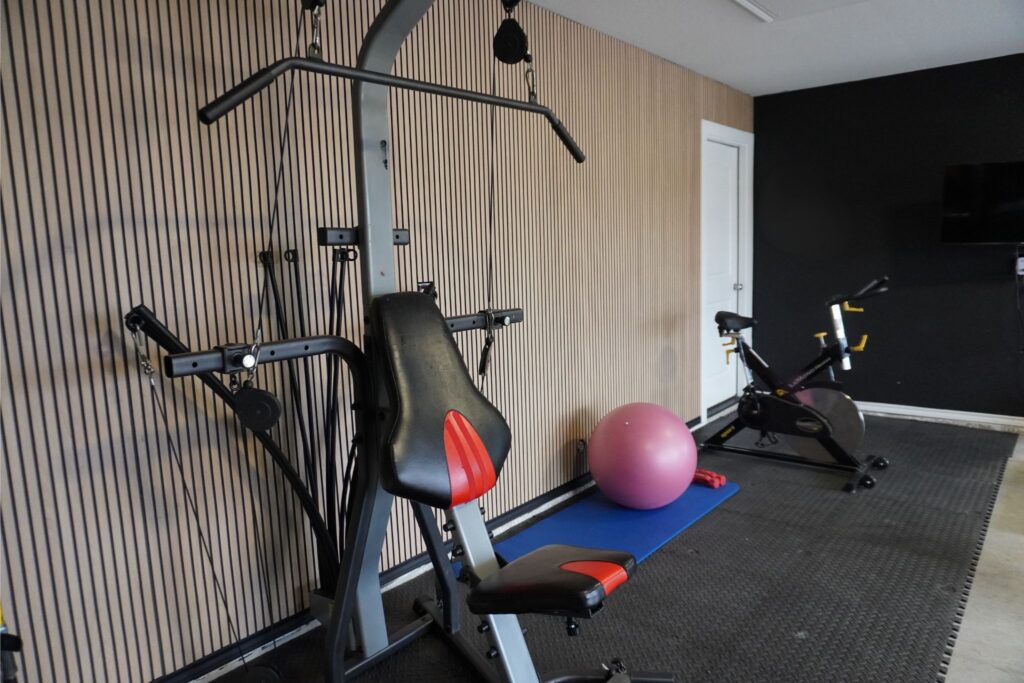
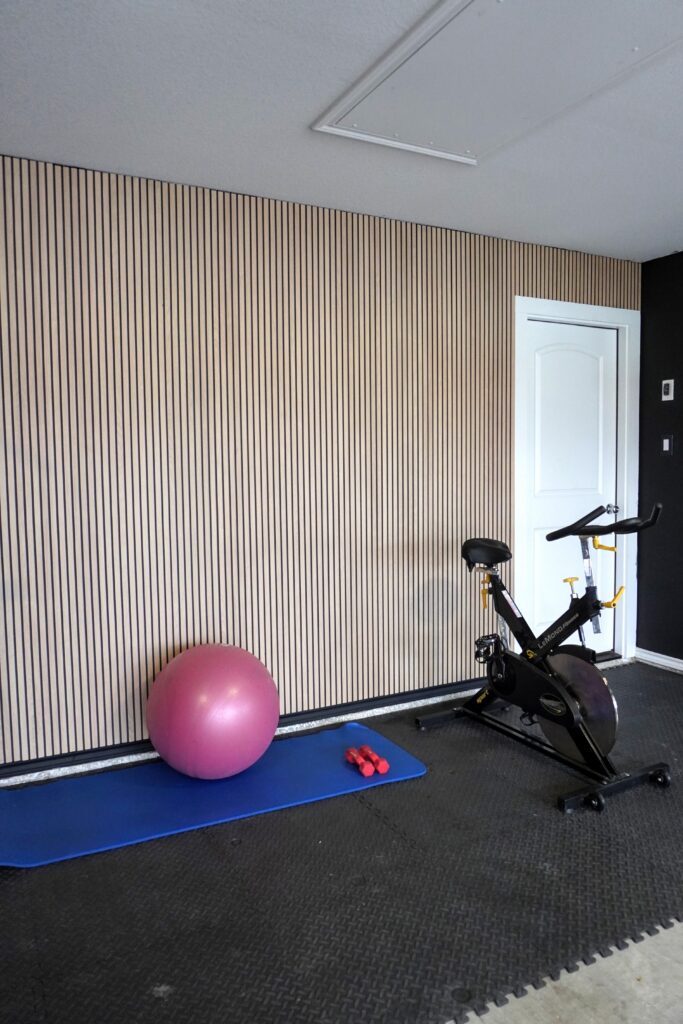
MDF stands for medium density fiberboard. It is smooth, it paints beautifully, and it is easy to cut. It is not waterproof, so I would not use it in a bathroom, but for a living room, bedroom, dining room, or entryway, it is perfect. We used them on a feature wall in a garage and the result looks expensive in all the best ways.
Why These Panels Beat Other Slat Wall Methods
Here is the thing about DIY slat walls: the individual board method takes forever. You have to measure and cut every single piece, space them evenly, and nail each one individually. One mistake and your whole wall looks off. I have done it. It is not terrible but it is time-consuming.
These fluted panels solve all of that. The shiplap edges line up flush against each other, so you get a clean, consistent look without obsessing over spacing. You place one panel, glue it, nail it along the edge, and the next panel slides up to cover those nails. No visible fasteners. No obsessive measuring. No headaches.
For a 24-foot wall, we worked at a relaxed pace and finished in about four hours between the two of us. Compare that to the full weekend I spent on my last individual-board slat wall and yeah, I am a convert.
Tools and Materials You Need
Here is your full shopping list before you get started.
Materials
- Fluted MDF panels (shop the panels here) – measure your wall and calculate the number of panels needed; they come in 8 ft and 10 ft lengths
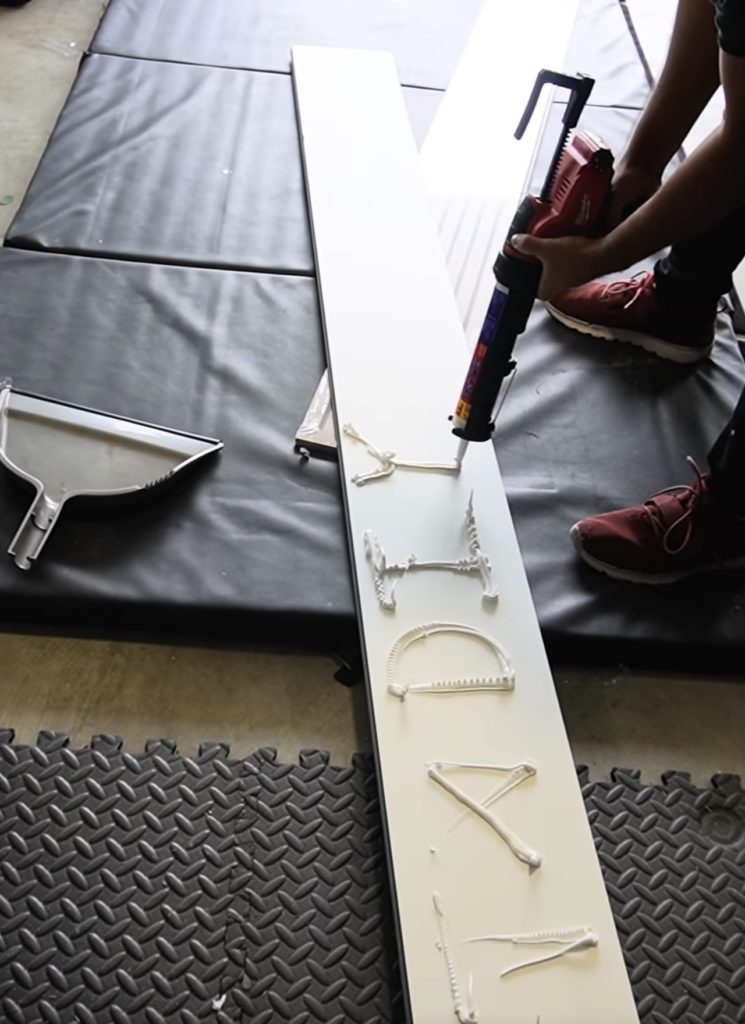
- Construction adhesive (Liquid Nails) – you do not need a ton, just enough to hold each panel to the wall
Tools
- Circular saw – for straight cuts if your wall is taller than 8 feet or you need to trim panels to width
- Dewalt Jigsaw – a must-have for cutting around outlets; do not try to do outlet cuts with a circular saw
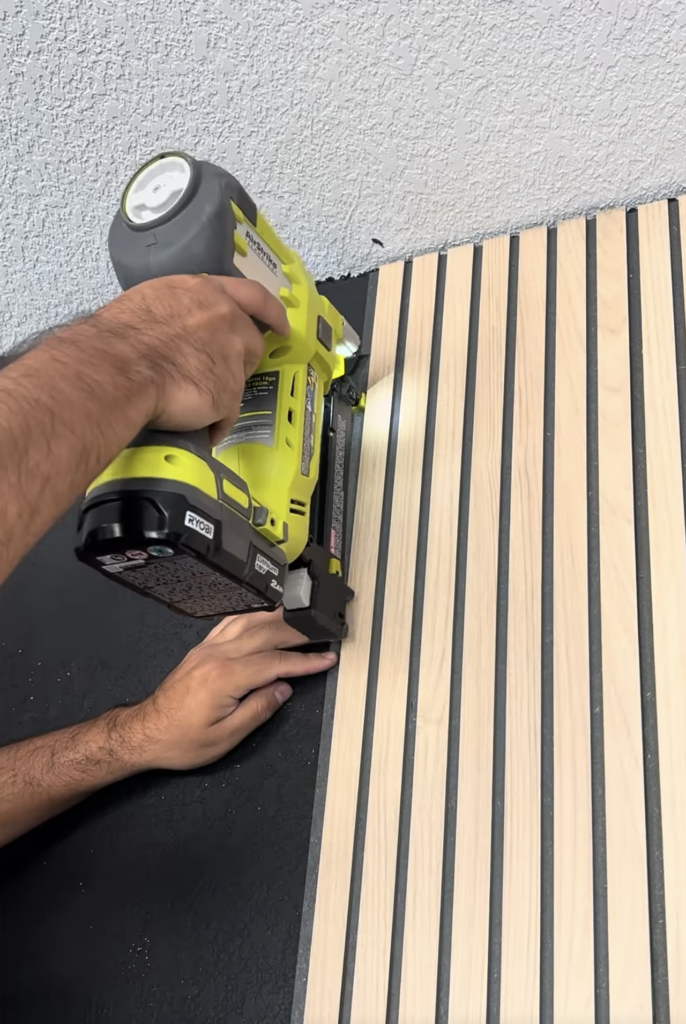
- Ryobi Brad Nailer – this is what secures the panels while the adhesive dries and reinforces the whole wall long-term
- Miter saw (optional) – great for clean 90-degree cuts if you have one, but a circular saw works fine
- Measuring tape, pencil, level
One thing I want to point out: if your walls are exactly 8 feet tall, you may not need to cut a single panel lengthwise. The only cuts you will likely need to make are around electrical outlets. That is where the jigsaw earns its place. Do not skip it.
How to Install MDF Fluted Panel Accent Wall Step by Step
Prep your wall.
Make sure the surface is clean, dry, and as flat as possible. If you have any major bumps or texture, sand them down. The panels are fairly forgiving but a clean surface means better adhesion.
Plan your layout.
Measure your wall and figure out how many panels you need. Start from one side and work your way across. If you have a centered fireplace or window, you may want to start from the center and work outward so the wall looks balanced. Mark your starting point lightly with a pencil.
Cut panels to height if needed.
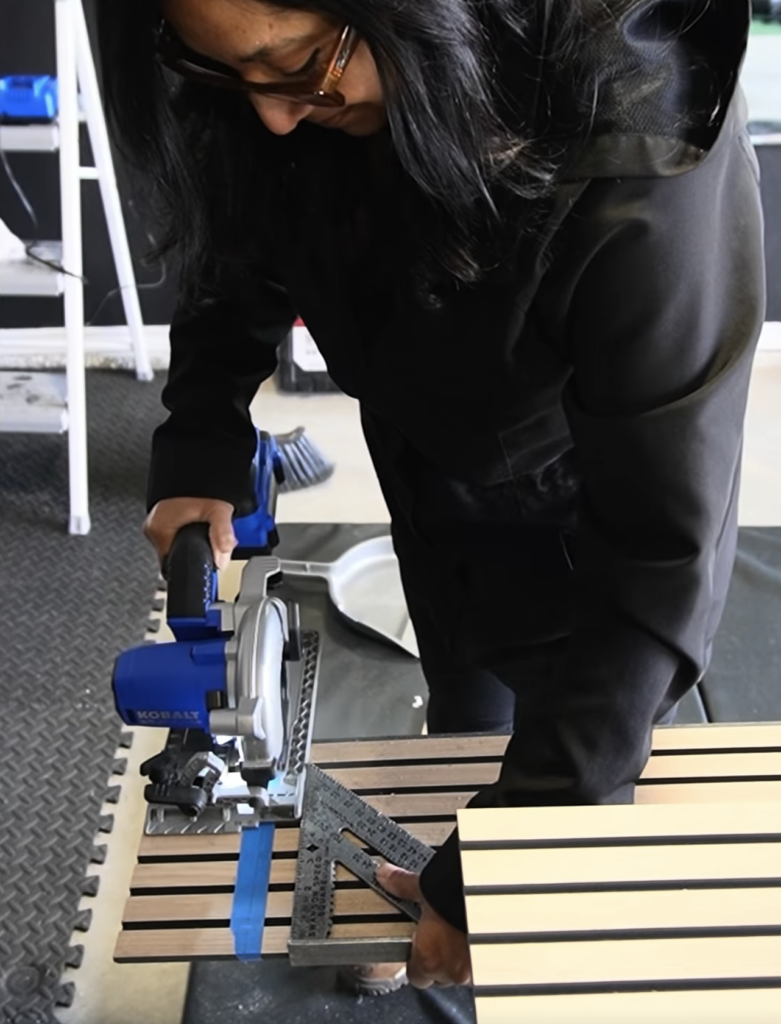
If your ceilings are 8 feet, you are probably good to go without any length cuts. If your ceilings are taller, use your circular saw or miter saw to cut the panels down. Always measure twice. MDF cuts cleanly with a fine-tooth blade. I added tape to reduce tear out (areas where wood fibers are ripped, torn, or splintered away from the surface by a cutting tool).
Mark and cut outlet openings.
Hold the panel up to the wall, mark where the outlet box falls, and use your jigsaw to cut out that section. Take your time here. A jigsaw gives you control on those interior cuts in a way that a circular saw just cannot. Cut slightly inside your line and test the fit before gluing anything.
Apply construction adhesive.
Run a few beads of Liquid Nails on the back of the panel. You do not need to go crazy with it, a few zigzag lines is plenty. Too much adhesive and it squeezes out around the edges. Just enough to make good contact with the wall.
Press the panel into place.
Start at one end of your wall and press the first panel firmly against the surface. Use a level to make sure it is plumb before you move on. This first panel sets everything else up, so take the time to get it right.
Nail along the top edge of the panel.
This is the key to hiding your fasteners. Use your brad nailer to shoot nails along the outer edge of the panel. When you place the next panel, its lower shiplap edge overlaps and covers those nails completely. You end up with a wall that looks like it was professionally installed with zero visible fasteners.
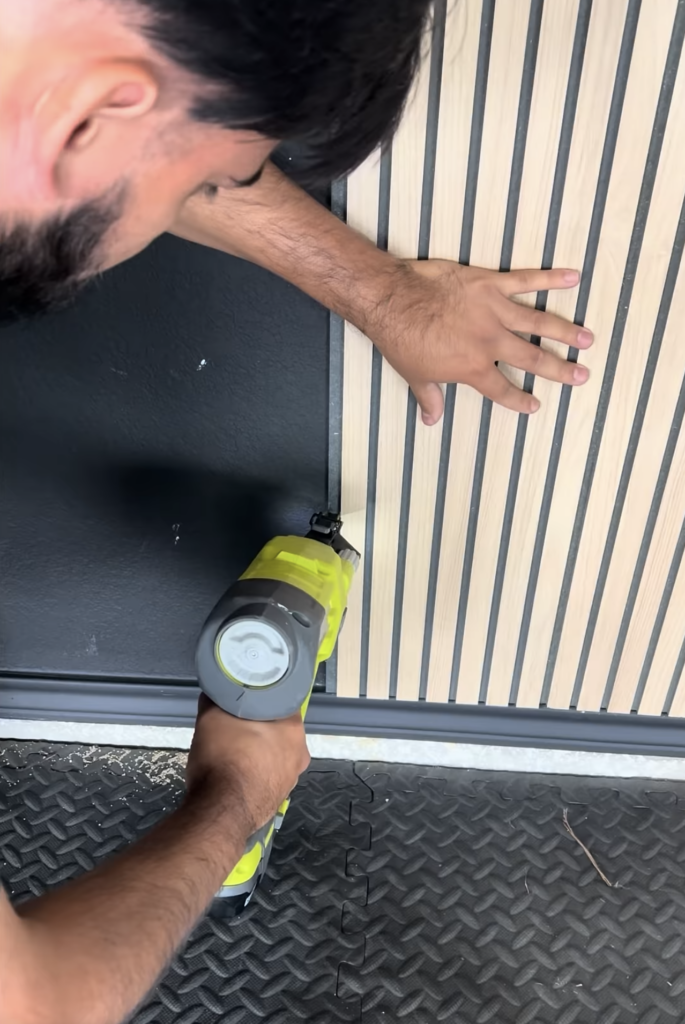
Continue panel by panel.
Glue, press, nail along the top edge, slide the next panel into place over the nails, repeat. Work your way across the wall. It genuinely gets faster as you go because you develop a rhythm.
How Much Does a Fluted Panel Accent Wall Cost?
Our total for this project came in at about $450. That covered a 24-foot wall. The panels themselves are the biggest cost, and the price will obviously vary depending on how long your wall is. But compared to hiring someone to build a custom slat wall or buying real wood boards and doing the whole thing by hand, this is genuinely one of the more budget-friendly accent wall options out there.
The tools are a one-time investment. If you already have a brad nailer and a saw, your out-of-pocket for this project could be even lower. The construction adhesive is cheap and a single tube goes a long way.
For reference: a professional shiplap or slat wall installation can run anywhere from $1,000 to $3,000 or more depending on the wall size and your market. We did ours for $450 and a Sunday morning. You do the math.
Tips for the Best Results
- Let the panels acclimate. Bring them inside and let them sit for 24 to 48 hours before installing. MDF can expand or contract slightly with humidity changes and you want them to settle before you glue them to the wall.
- Work with a helper. These panels are long and a little awkward to maneuver by yourself, especially when you are trying to hold something level and nail at the same time. Having a second set of hands made the whole job go faster and cleaner.
- Use a fine-tooth blade. MDF can chip on the cut edge if you use a rough blade. A fine-tooth blade gives you a much cleaner cut, which matters especially around outlet openings where the edges show.
- Check your walls for plumb and level before you start. If your walls have any lean or bow, you may need to use shims or add a little extra adhesive in certain spots to compensate. Better to know ahead of time than to discover it on panel eight.
Frequently Asked Questions
Technically yes, but I recommend having a helper. The panels are long and it is hard to hold them in place, keep them level, and nail at the same time. If you are determined to solo it, work in shorter sections and use a few brad nails to tack each panel lightly before fully nailing it off.
MDF is not moisture-resistant, so I would not recommend it for a bathroom, especially in a shower area or anywhere water is likely to splash. For a powder room with no direct water contact, you might get away with it, but I would steer toward PVC or solid wood panels for wet areas.
Traditional shiplap is a flat board with overlapping edges that create a slight reveal between boards. These fluted panels also use a shiplap edge connection, but the surface of each panel has a carved, ribbed profile built in, so you get that three-dimensional fluted texture rather than a flat wall. Think of it as shiplap installation with a much more dramatic visual result.
Yes, and here is why: the construction adhesive is what really holds the panel to the wall long-term, but it takes time to cure. The brad nails hold everything in place while the glue sets. Using both gives you a solid, stable wall that is not going anywhere.
You can, but there is no need to paint these as they already come with a black background and a wood toned slat.
Measure your wall width and divide by the width of the panel to get the number of panels needed. Add about 10% for waste and mistakes, especially if you have a lot of outlets or obstacles to cut around. Check the panel dimensions at Lowe’s to get exact numbers for your space.
If you take on this project, I would love to see how it turns out. Tag me or send a photo, there is nothing I love more than seeing y’all transform your spaces. This one is seriously one of the easiest high-impact projects I have done and I cannot recommend it enough. If you are working on other projects, you can check out my DIY tutorials and posts.


